Fleet Guide
The fleet module is designed to manage fleet activities of an ISP business. It aims to keep operations informed to when their vehicles are due for license renewal and when they are due for service.
1. Permissions
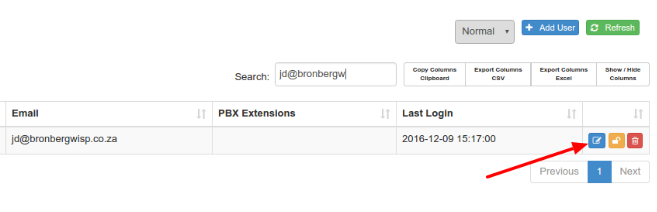
In order to be able to access and use the fleet module you need to navigate to Setup > Admin Users.
Search for the user that needs to responsible for the management of fleet and click on edit user.
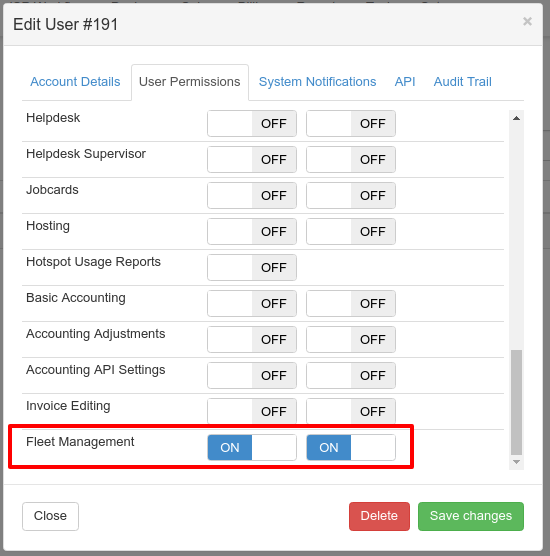
Click on the User Permissions tab and scroll down to Fleet Management and depending on the user’s authority you can decide whether the user should be able to make changes to fleet data or whether the user should only be able to view the fleet data.
2.Business Unit
To add a business unit navigate to ISP Workflow > Fleet Management > Setup > Business Units. Click on add.
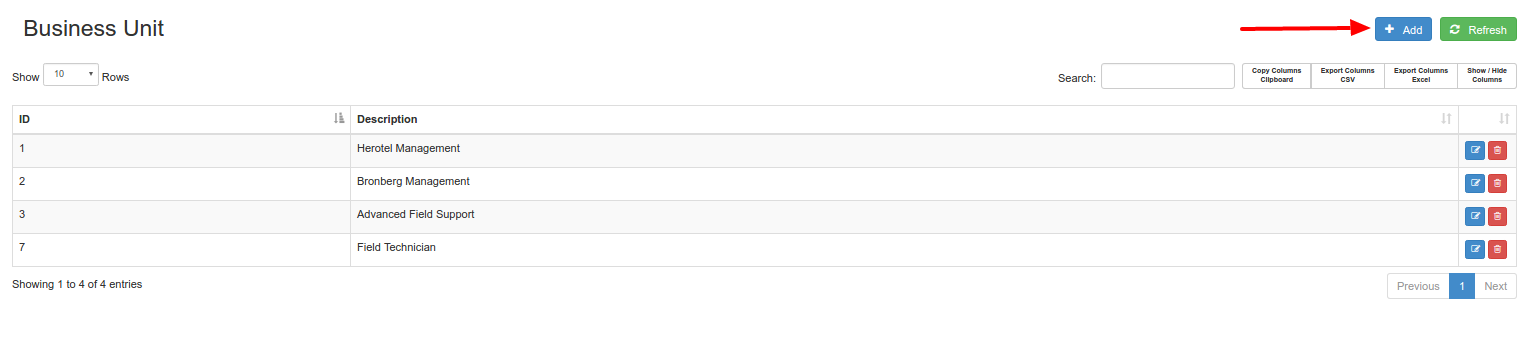 Enter the name of the business unit and click Add Business Unit.

3. Cellphone Packages
Should your company issue cellphone packages to drivers, this can be managed using HeroTill. Cellphone packages should be loaded before they can be allocated to drivers.
To add a cellphone package navigate to ISP Workflow > Fleet Management > Fleet Functions > Cellphone Packages.
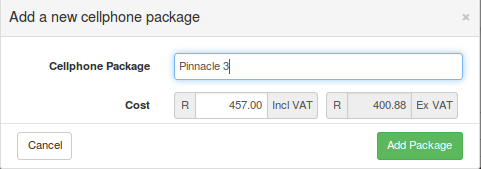
In order to add a Cellphone package click on Add, Enter the description of the cellphone package as well as the cost and click on Add Package.
4. Vehicles
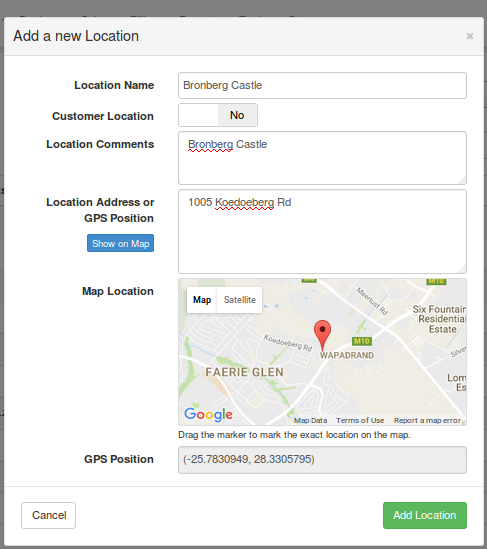
4.A Add Location
In order to add a vehicle you need to first add a location for where the vehicle is based at. To add a location navigate to ISP Workflow > Workflow Setup > Locations.
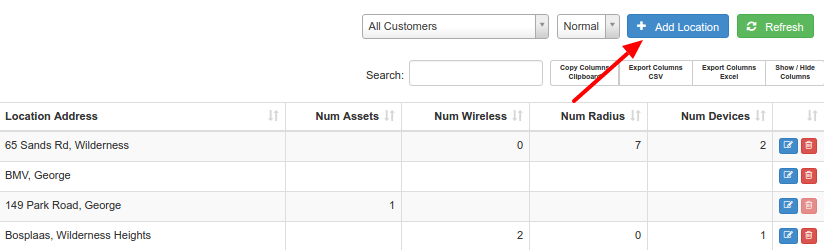
Click on Add Location.
4.B Add Vehicle
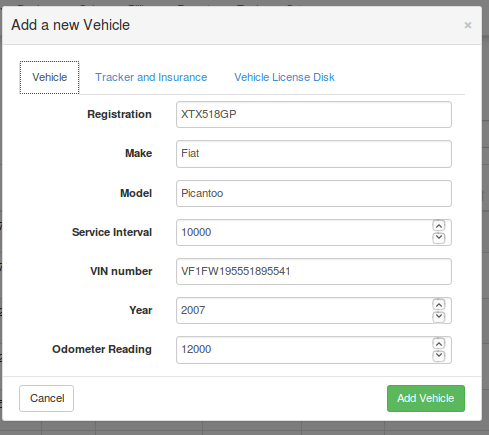
In order to add a vehicle to the system navigate to ISP Workflow > Fleet Management > Fleet Functions > Vehicles and click on add.

On the Vehicle tab fill in the vehicle registration (has to be unique in the system), make, model, service interval eg. 15000 km,VIN number (has to be unique), year and the odometer reading.
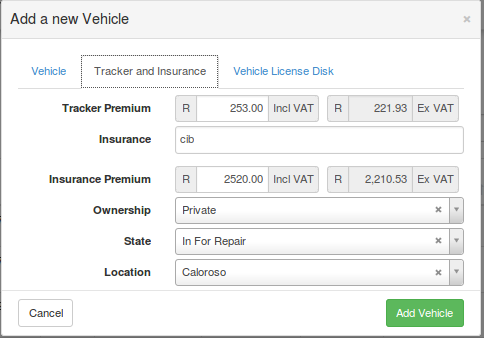
On the Tracker and Insurance tab fill in the Tracker Premium (if applicable), the name of the Insurance company the vehicle is insured at, Insurance Premium, Ownership (Leased, Private, Owned), State (Operational, In For Repair, Non Operational), Location (That you have added in 4.1).
On the Vehicle License Disk tab you can upload a photograph of the vehicle license.

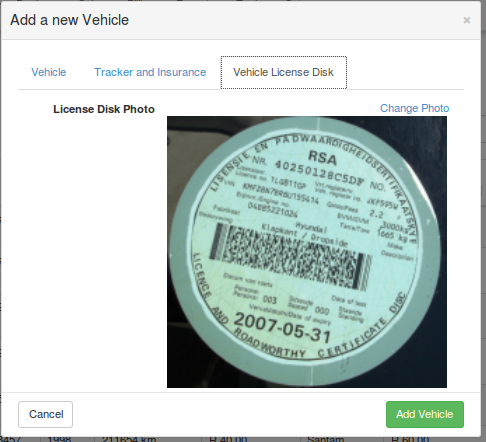
After all the information has been supplied in click on Add Vehicle.
4.C Update Mileage
In order update the mileage of a vehicle click on edit vehicle.
Enter the updated odometer reading and click on save changes.

4.D Renew License
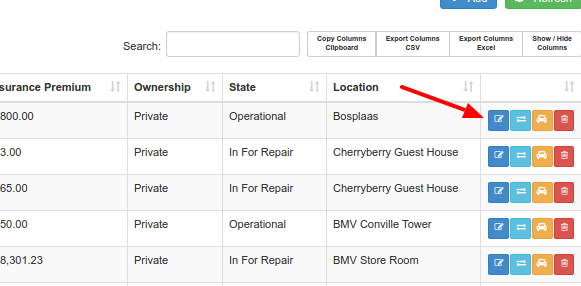
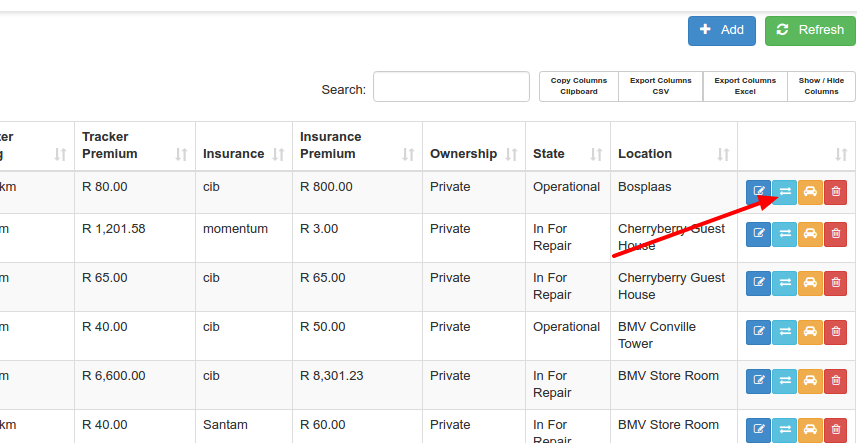
In order to renew a vehicle’s license, navigate ISP Workflow > Fleet Management > Fleet Functions > Vehicles and select the vehicle you would like to renew a license for by clicking on “Renew License”. (light blue button)
Specify the date the renewal has taken place (renewal date), specify the date that the license expires (expiry date) and the cost of renewal (renewal fee).
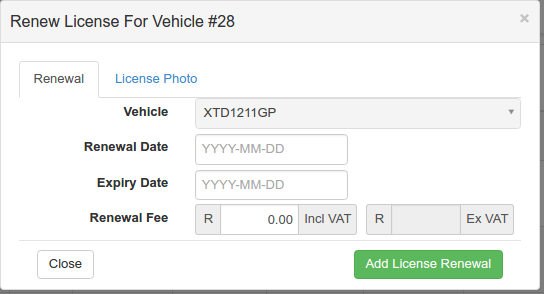
If you would like to upload the photo of the vehicle license click on license photo, upload the license photo and click on add license renewal.
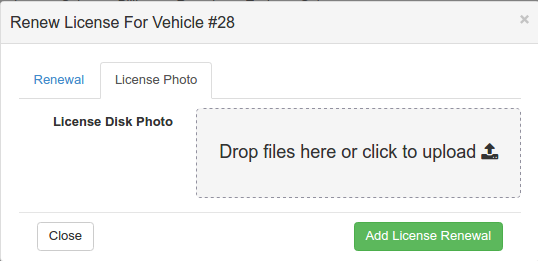
To view the license photo click on edit vehicle and navigate to the license photo tab and thee photo will be there.
4.E Book Service
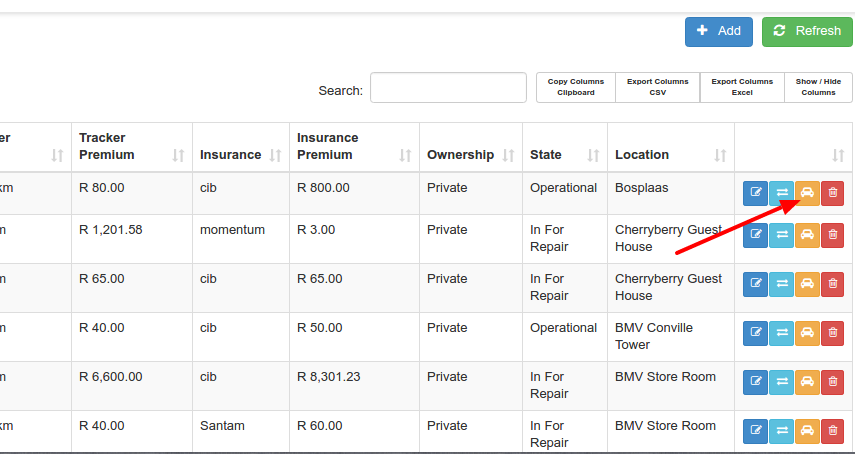
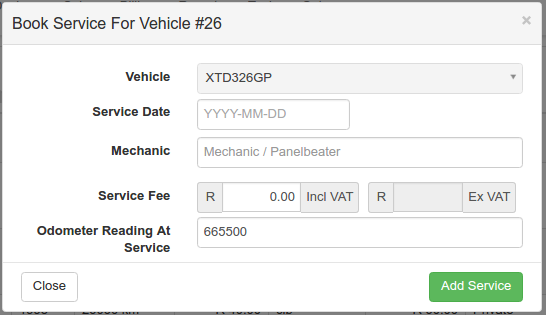
In order to book a vehicle for a service navigate to ISP Workflow > Fleet Management > Fleet Functions > Vehicles and select the vehicle you would like to renew a license for by clicking on “Book Service”
Specify the date of service, the mechanic or panelbeater that serviced the vehicle as well as the odometer reading at service and click on add service.
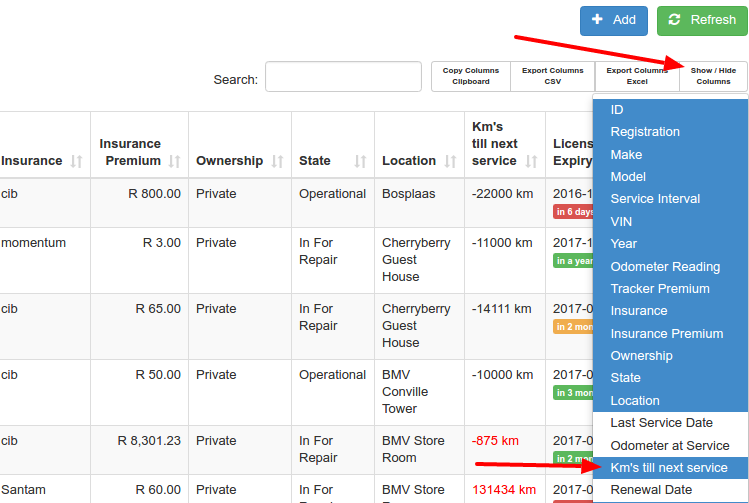
Once a service has been added, click on show hide columns then click on Km’s till next service to be able to view the kilometers.
4.F Notifications
E-mails notifications are sent when a vehicle is less than 1000 km from a service and when a vehicle is less than 60 days from license expiry.
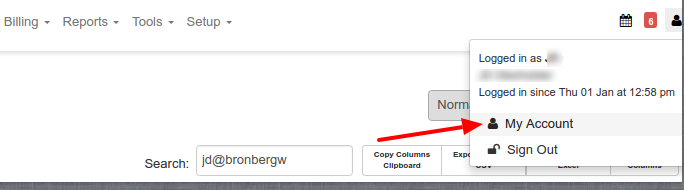
In order to be able to receive e-mail notifications you need to navigate to and click on My Account (click on picture of person on top right corner of the menu). Here you will be able to specify which notifications you would like to receive.

To be able to receive Fleet License Renewal and Fleet Service Due emails you need to turn on the settings on the my account page and click update.
5. Drivers
In order to add a driver, the driver first has to be an admin user on HeroTill (no permissions required for the driver).
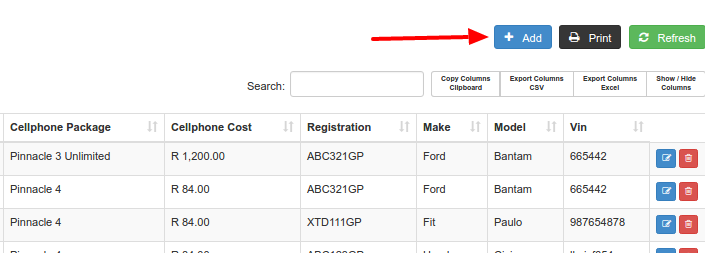
To add a driver you first need to navigate to ISP Workflow > Fleet Management > Fleet Functions > Drivers and click on Add.
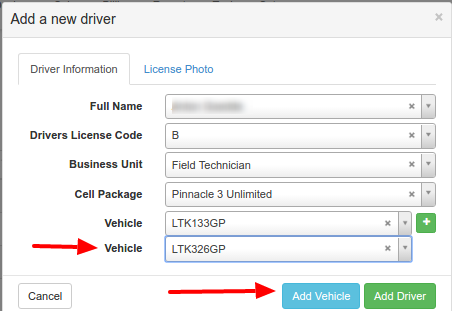
On the Driver Information tab, select the name of the driver (has to be an admin user), the drivers license code, the business unit driver belongs to, the cellphone package the driver is allocated to as well as the vehicle the driver will be making use of.
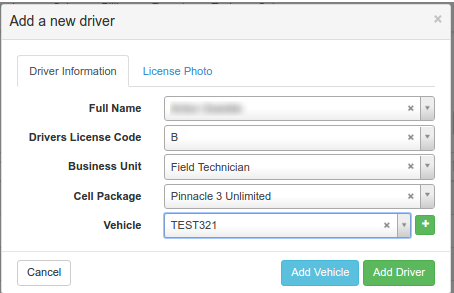
It is possible for a driver to be able to drive multiple vehicles. In order allocate another vehicle to a driver click on add vehicle and select the vehicle to be allocated to the driver.
It is possible to add a drivers license photo by clicking on the license photo tab
On the Vehicle License Disk tab you can upload a photograph of the vehicle license.
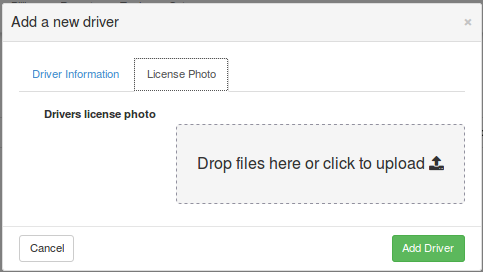
Once all the information has been supplied you can click on Add Driver.
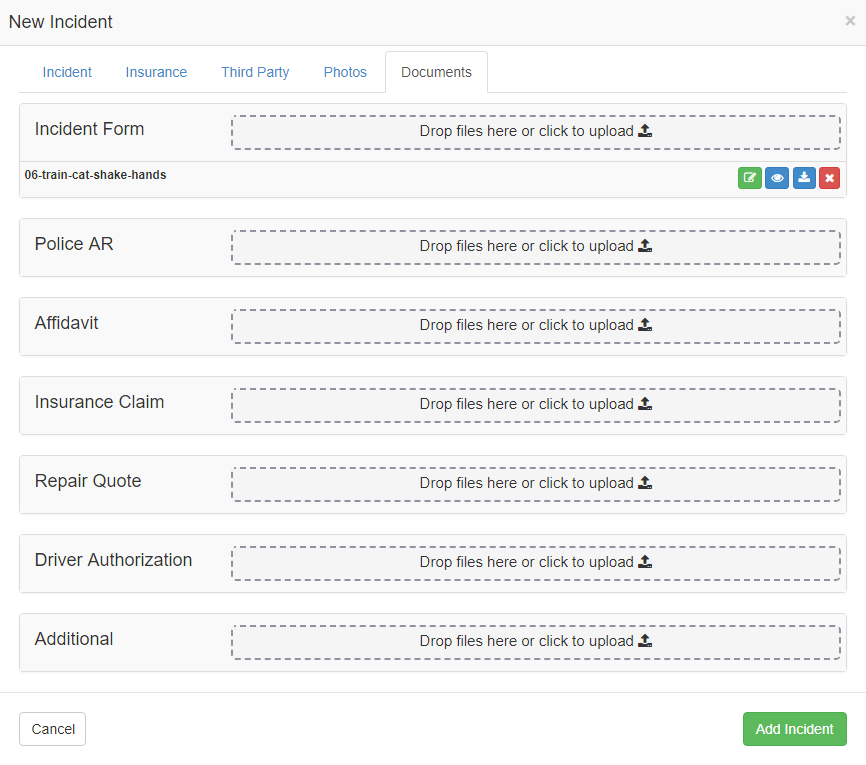
6. Incidents
In order to add an Incident the user needs the “Fleet Write” permissions.
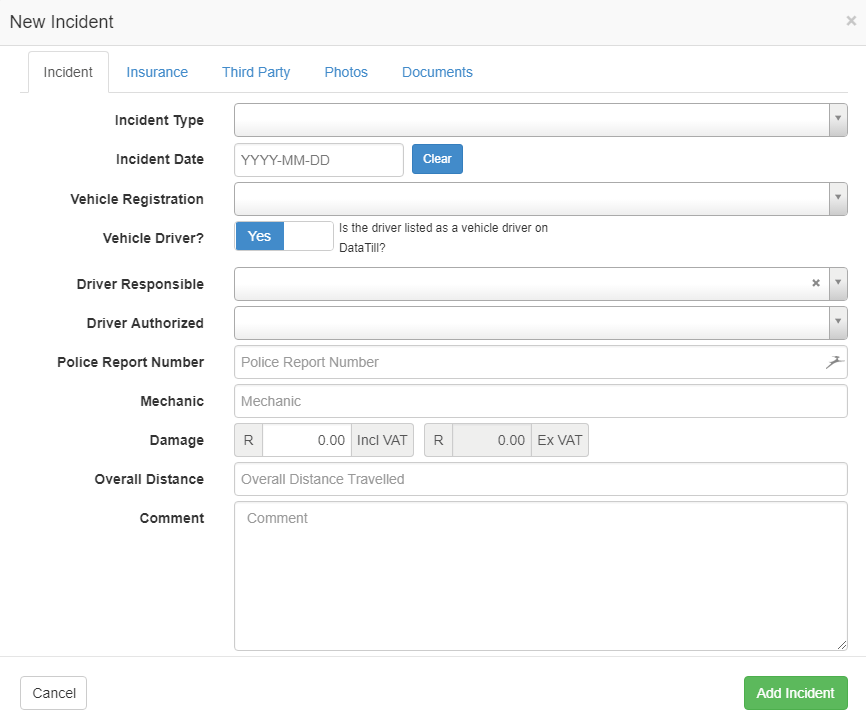
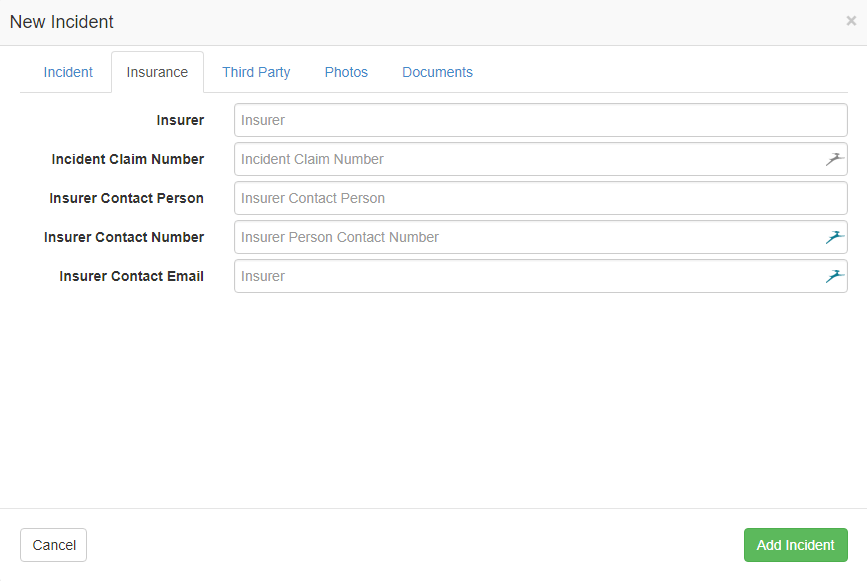
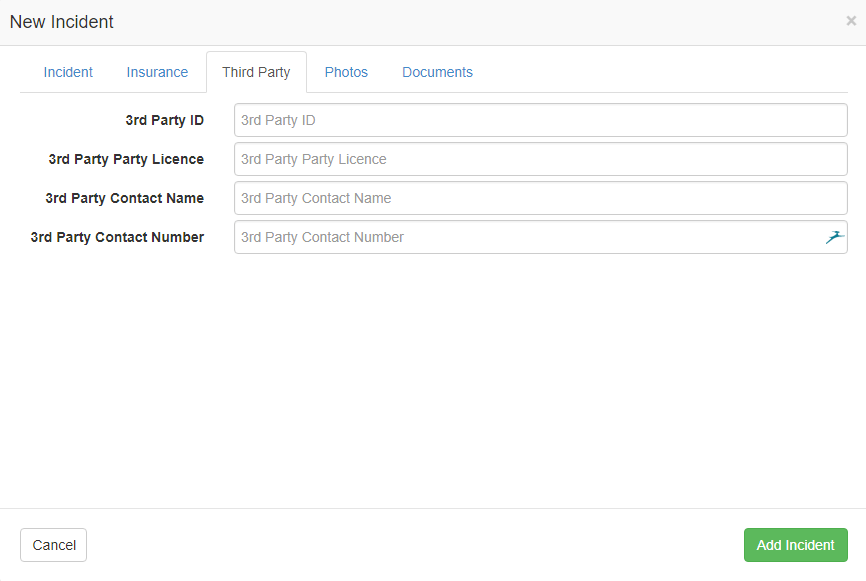
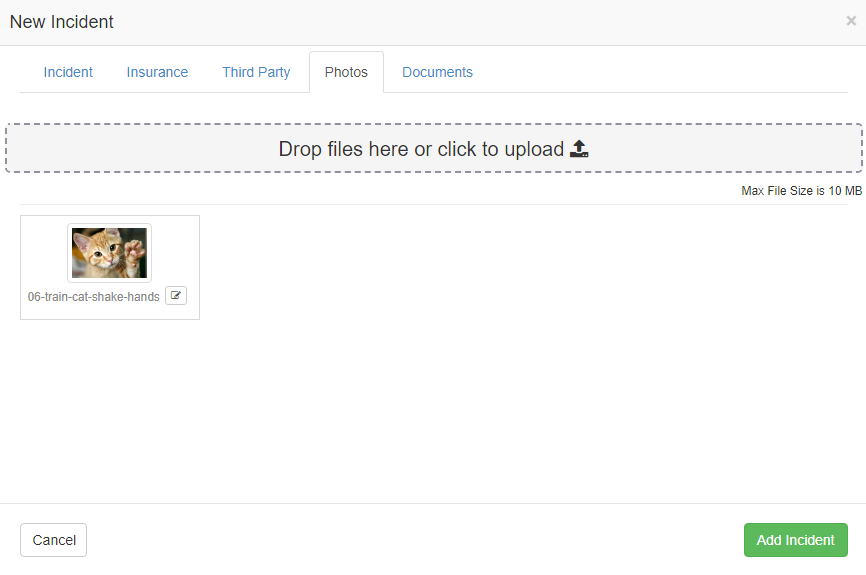
To add a driver you first need to navigate to ISP Workflow > Fleet Management > Fleet Functions > Incidents and click on Add Incident.
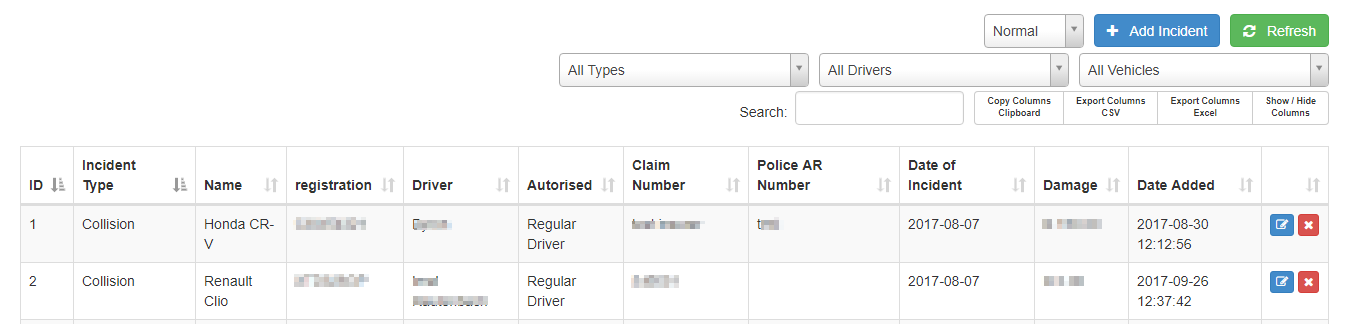
Add all the relevant Information. The “Driver Responsible” allows the user to select a driver from listed in “Fleet Driver”. The Driver Authorized is to indicate whether the driver was allowed to driver the vehicle.