
- Hotspot Setup
- Walled Garden Entries
- Hotspot IP Bindings
- Hotspot Packages
- Hotspot Locations
- Hotspot Promotions
- Hotspot Voucher Batches
- Hotspot Vouchers
- Hotspot Purchases
- Hotspot Purchase Summary
- Summary Report
- Hotspot Sessions
- Hotspot Usage Graph
- Hotspot Usage Dashboard
- Hotspot Usage Statistics
- Free Trial Users
- Blocked Sites
- Unify Controllers
Hotspot Setup
How to set up the hotspot itself on Mikrotik side: Hotspot Setup Guide
This guide will only show on HeroTill’s side.
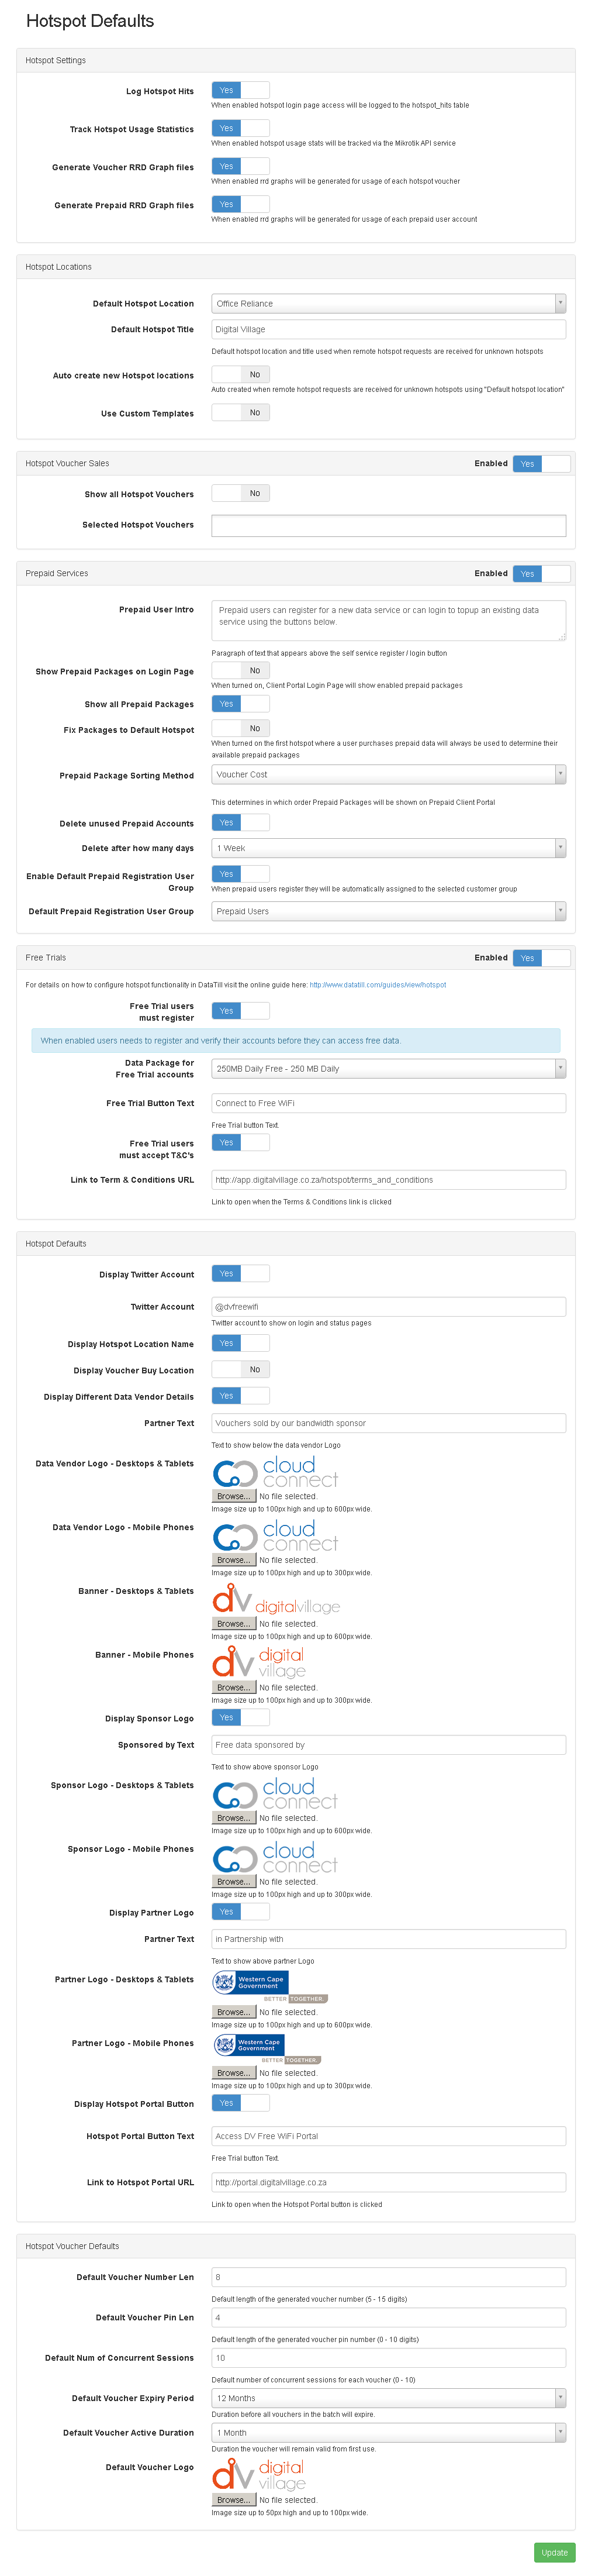
Hotspot Settings
 Hotspot Templates
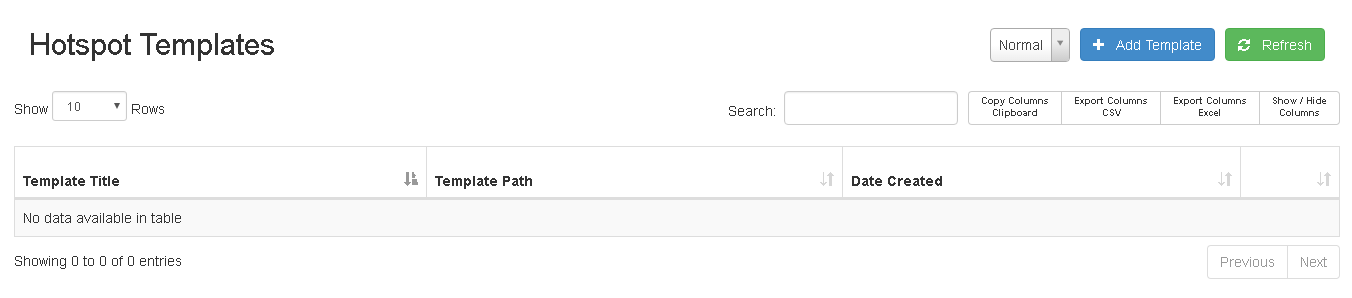
Hotspot Templates are used to create custom Hotspot landing pages for users to see. In order to get there you have to click on Hotspots -> Hotspot Setup -> Hotspot Templates, then click on + Add Template at the top right of the page. Add New Hotspot Template:
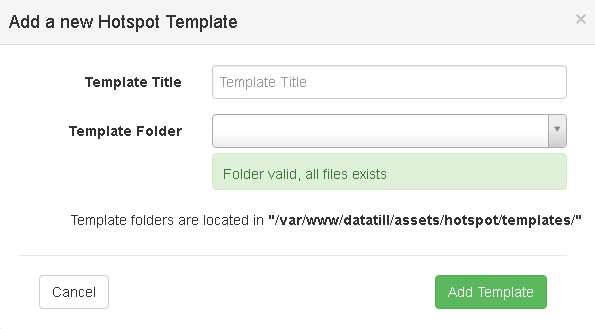
Here you can name the template you would like to use. Then you have to select the template folder which you added in the folder located in: “/var/www/html/datatill/assets/hotspots/templates/”. To set up the Customer Template which you just added, you will need to Add a new Hotspot Location. Add a new Hotspot Location:
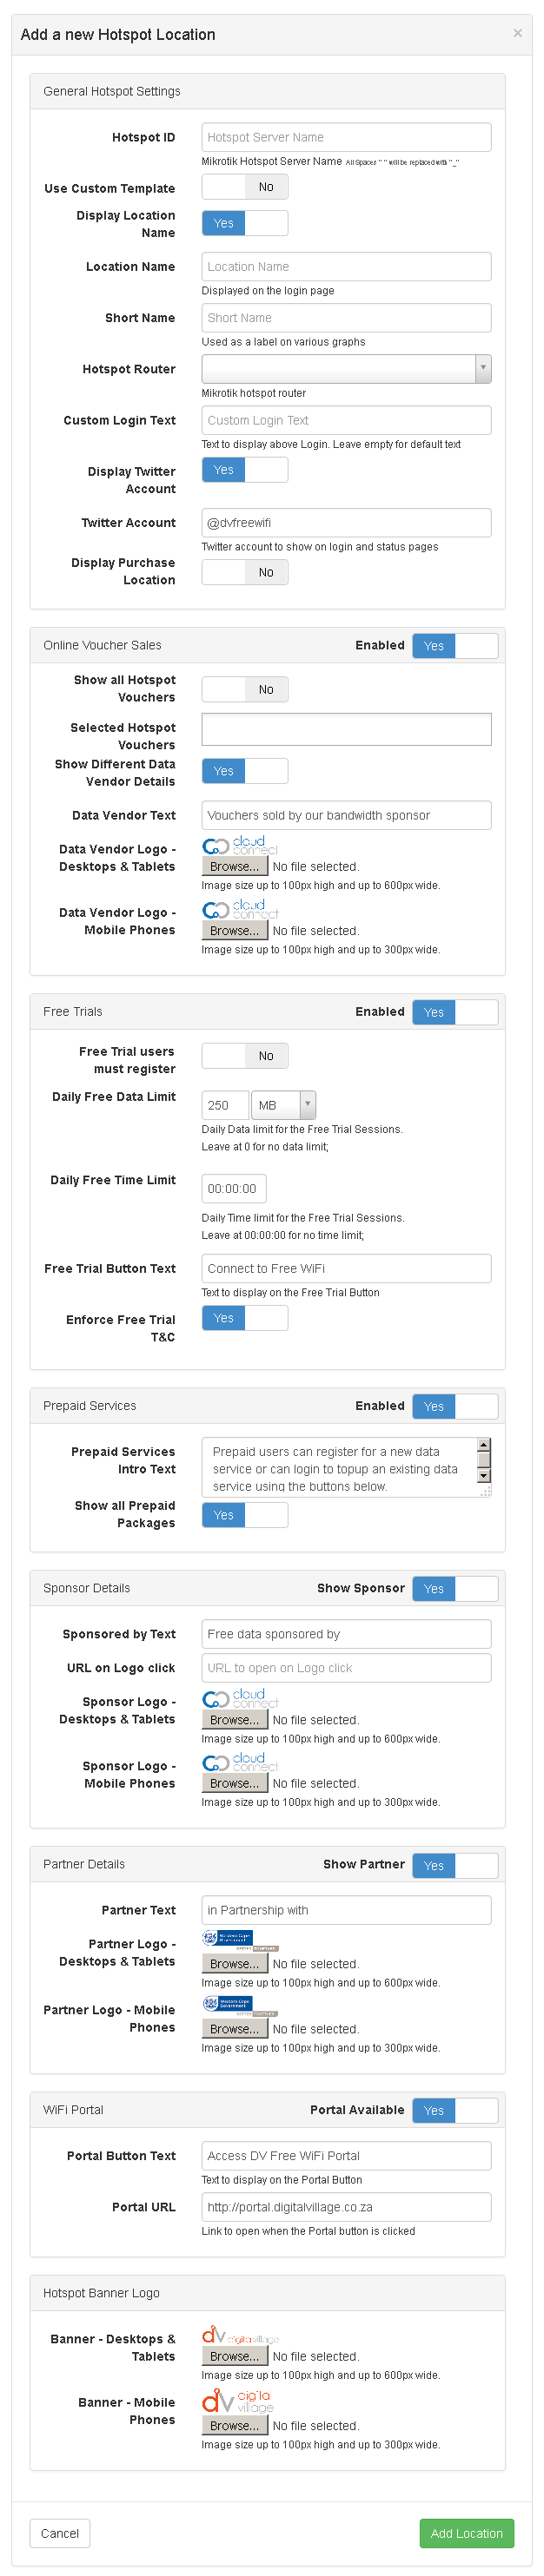
- Start by going to Hotspots -> Hotspot Locations.
- Then Click on + Add Location.
- Type in your Hotspot ID
- Enable ‘Use Custom Template’.
- Disable ‘Location Name’.
- Type in the Short Name for your Hotspot Temlate.
- Then type in your Custom Login Text (Example: Free WiFi Login).
- Then Scroll down to the ‘Free Trials’ part of the page and type in your ‘Free Trial Button Text’ (Example: Go Surf Now). This will be the text that displays on the button for the Hotspot landing page.
Hotspot Terms and Conditions
The Hotspot terms and conditions are inserted here using a WYSIWYG editor. During the install of HeroTill a default terms and conditions is generated. You can use and edit this if you wish otherwise you can create your own.
Walled Garden Entries
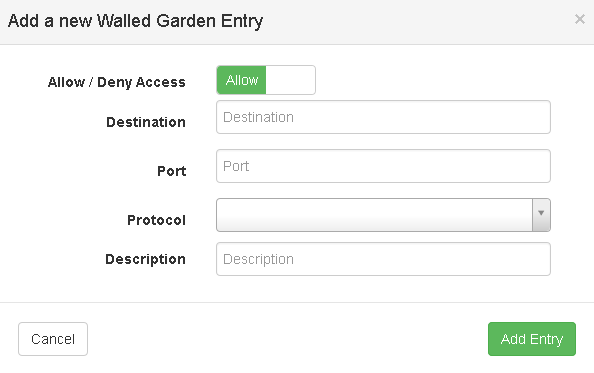
The Walled Garden Entries…. .After Making changes don’t forget to click on Update Routers (The red button at the top).
 Add Walled Garden Entry
Hotspot IP Bindings
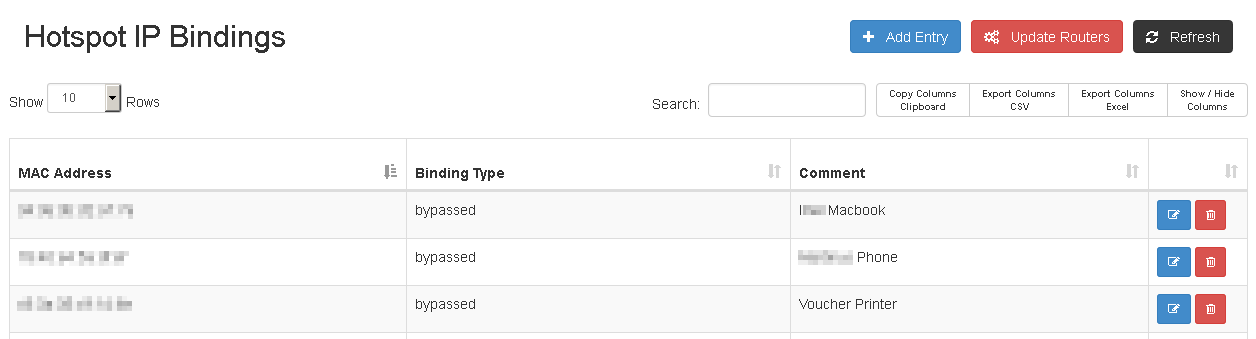
This can be used to allow certain devices to automatically be authenticated and bypass the walled Garden Entries and Blocked Sites. After Changing any of the entries make sure you update the routers. Regular entries perform as if the entry is not there.
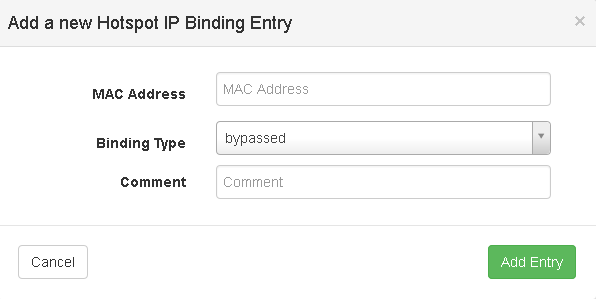
 Add Entry
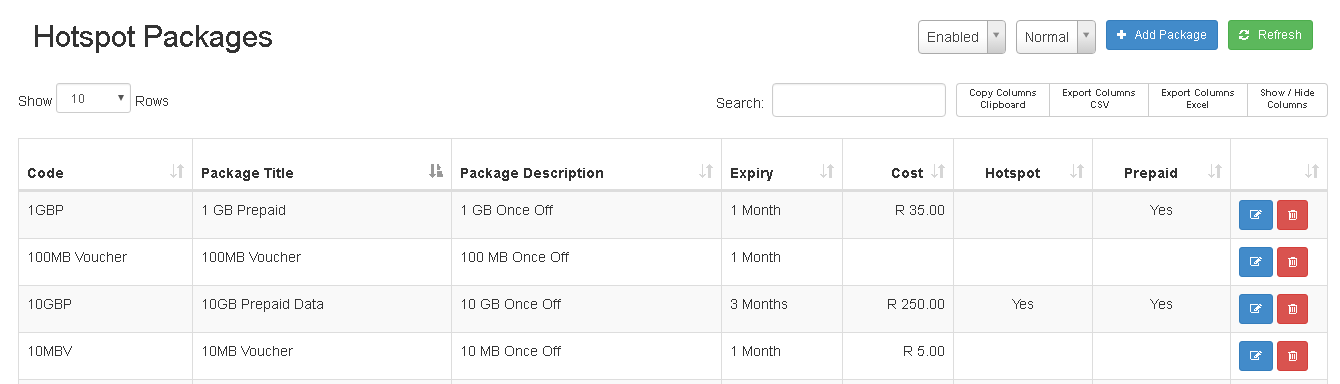
Hotspot Packages
These are your Hotspot data Topup packages that users can purchase. Hotspot Packages can be restricted to certain Hotspot locations, However this is done at hotspot locations.
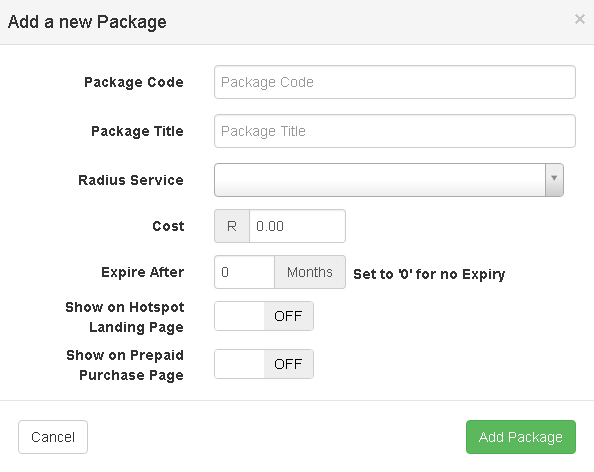
 Add Package
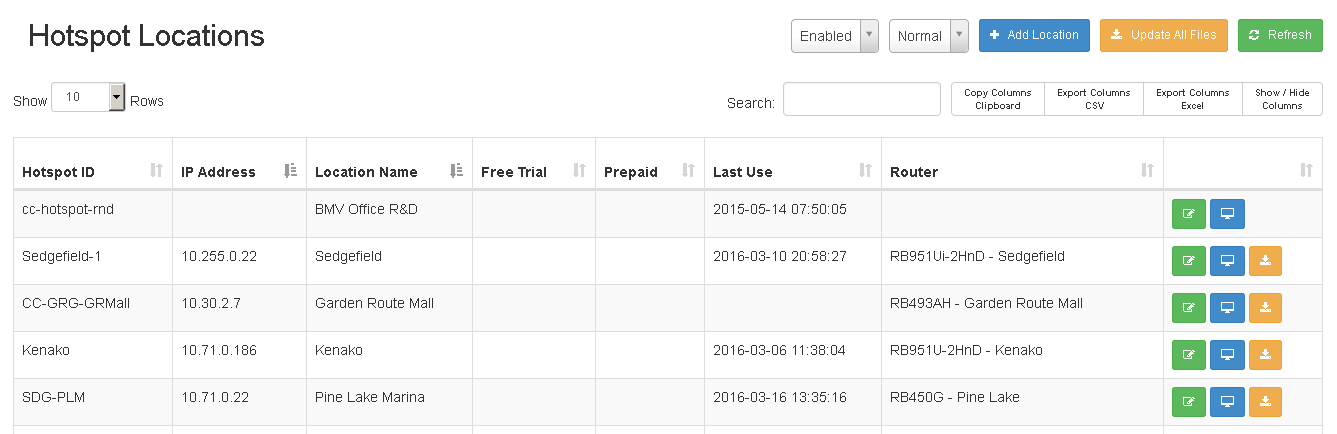
Hotspot Locations
These are different hotspots at different locations. Each location has its own landing page with custom fields. Each Hotspot Location needs its own Mikrotik Router, Which needs to first be added as a network device before the Hotspot location can be created.
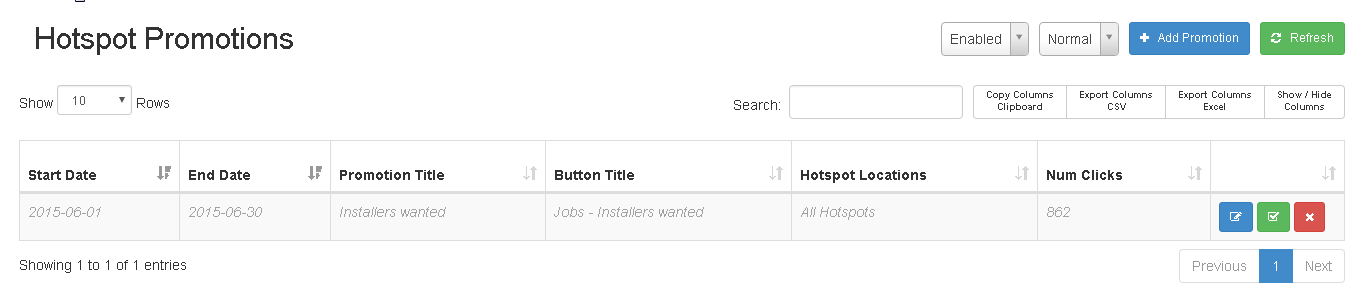
Hotspot Promotions
 Add a Promotion
This is basically a text based ad with a link.

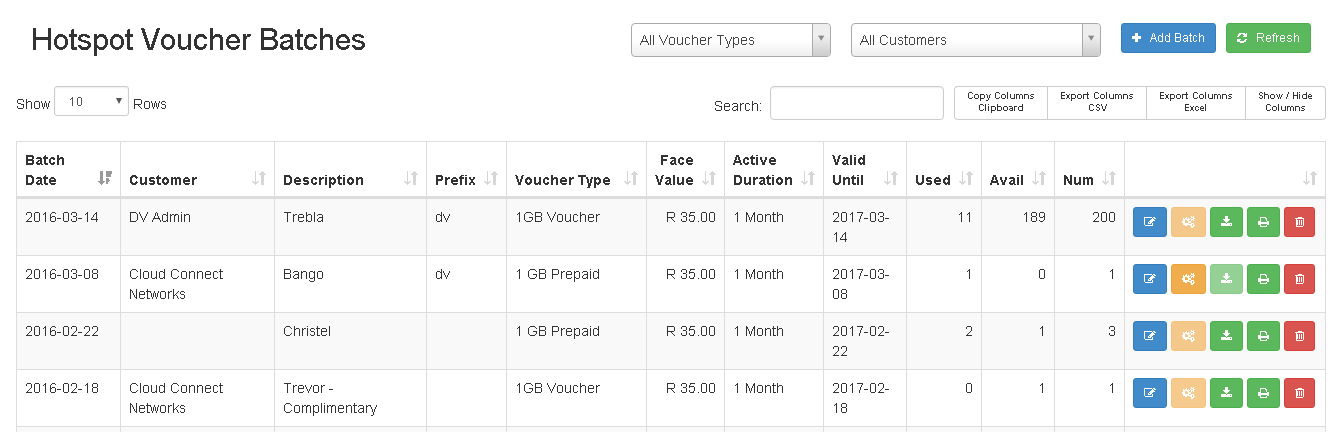
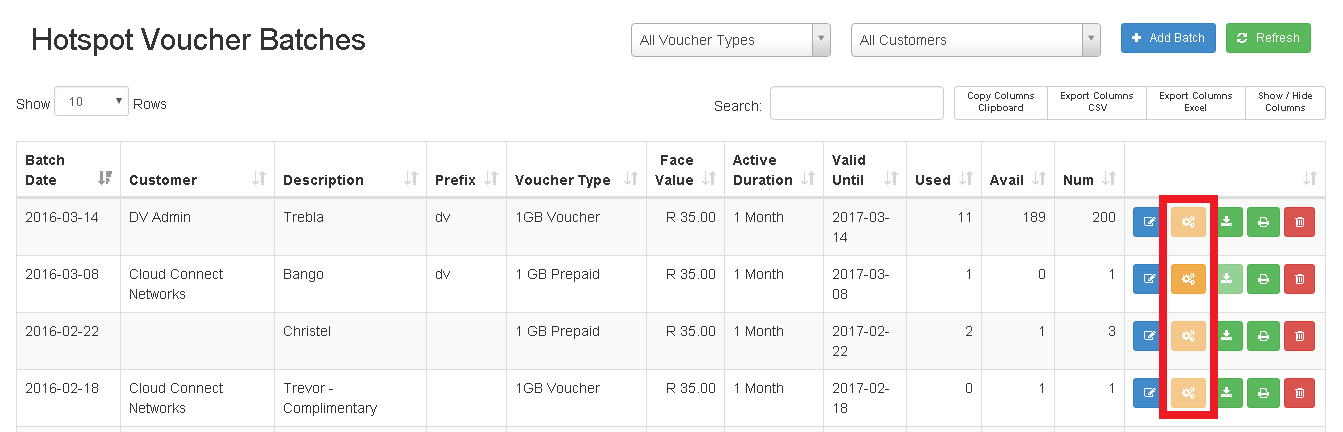
Hotspot Voucher Batches
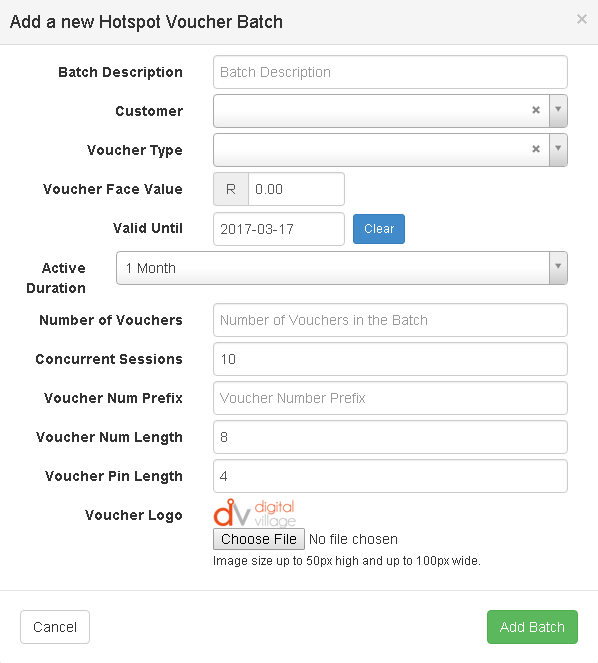
 Add Batch
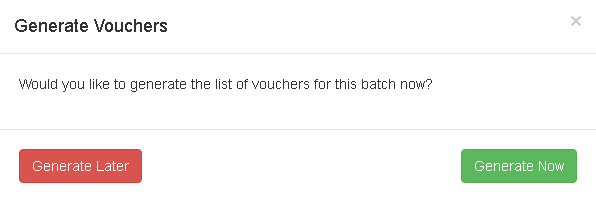
Batches are voucher cards that can be printed and sold. A batch first needs to be created and are they activated when needed by generating them. Once generated the vouchers cannot be changed. However they can be deactivated.
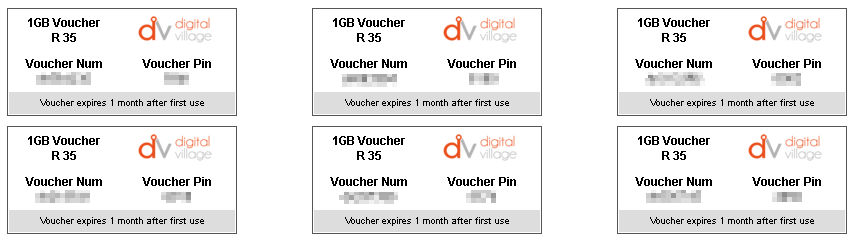
Generated Batch
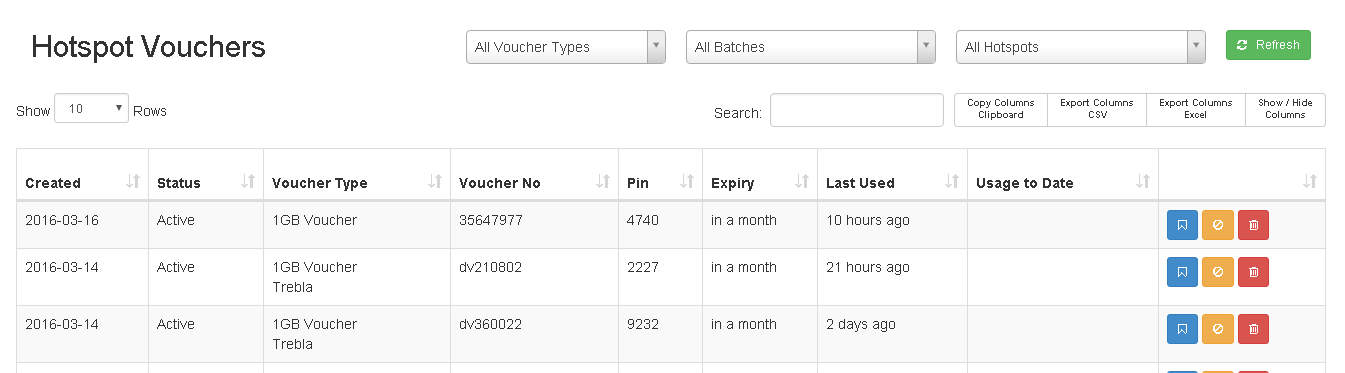
Hotspot Vouchers
This is a list of all the generated Vouchers that have been used or expired.
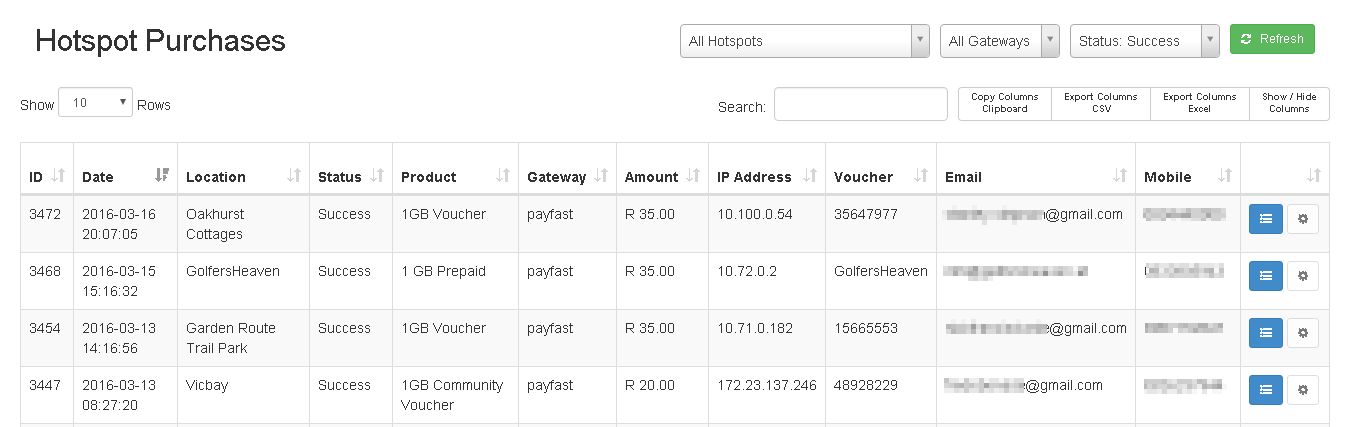
Hotspot Purchases
This is a list of all the hotspot voucher Purchases.
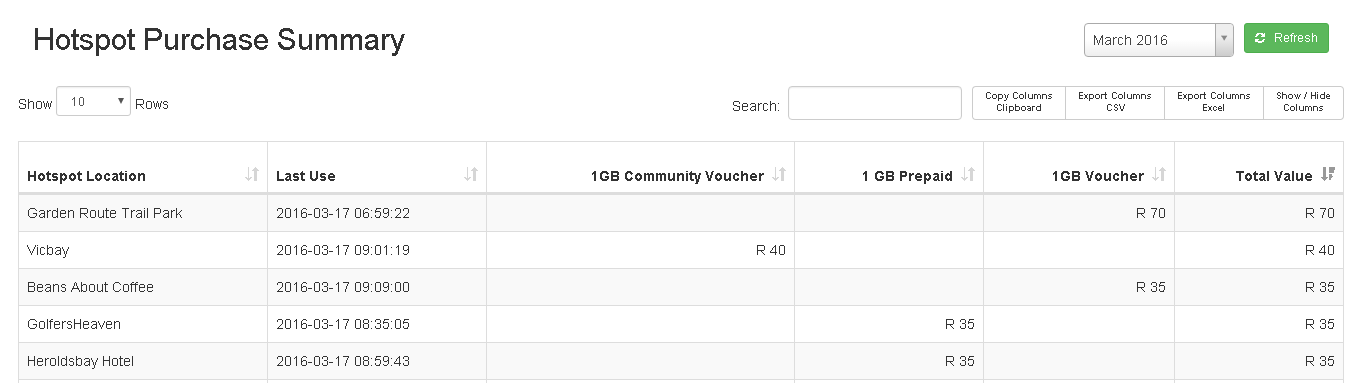
Hotspot Purchase Summary
This is a summary of all the vouchers purchase at a hotspot location.
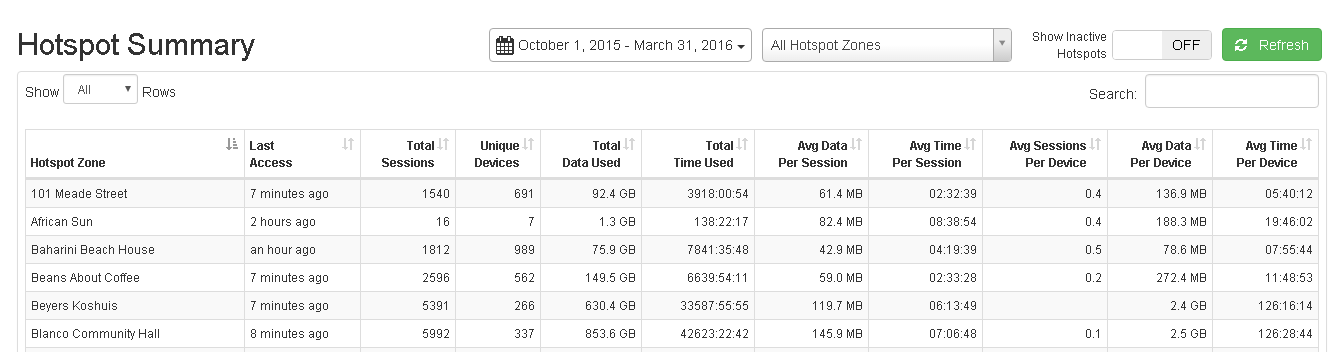
Hotspot Summary Report
This is a summary of the data usage for each hotspot location.
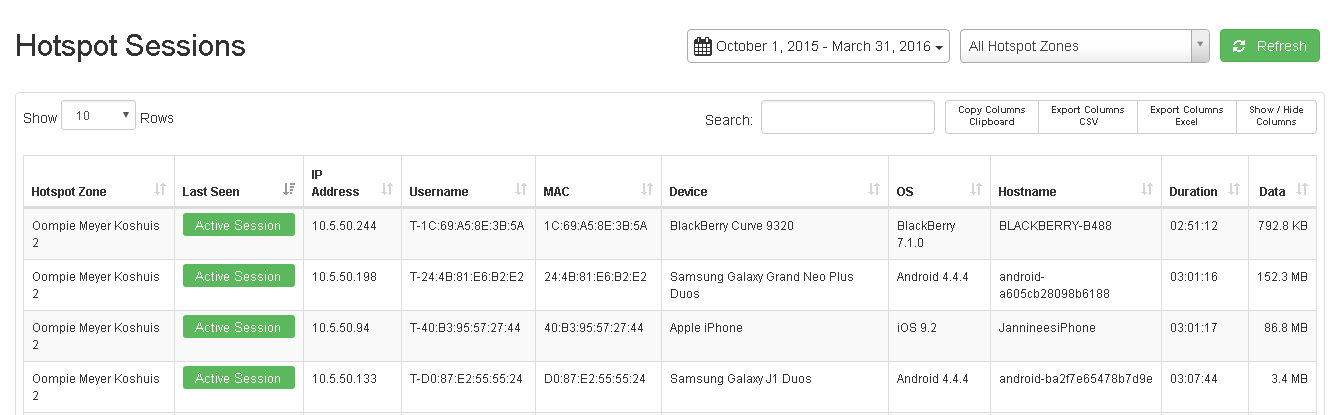
Hotspot Sessions
A list of all the devices using the hotspots.
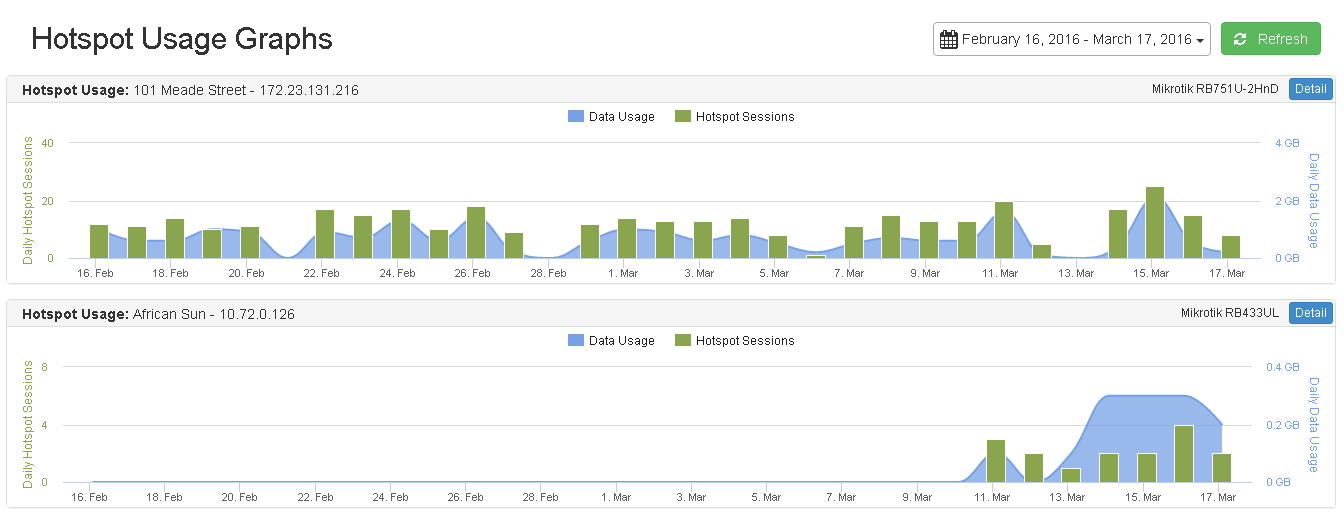
Hotspot Usage Graph
Hotspot usage graph per hotspot.
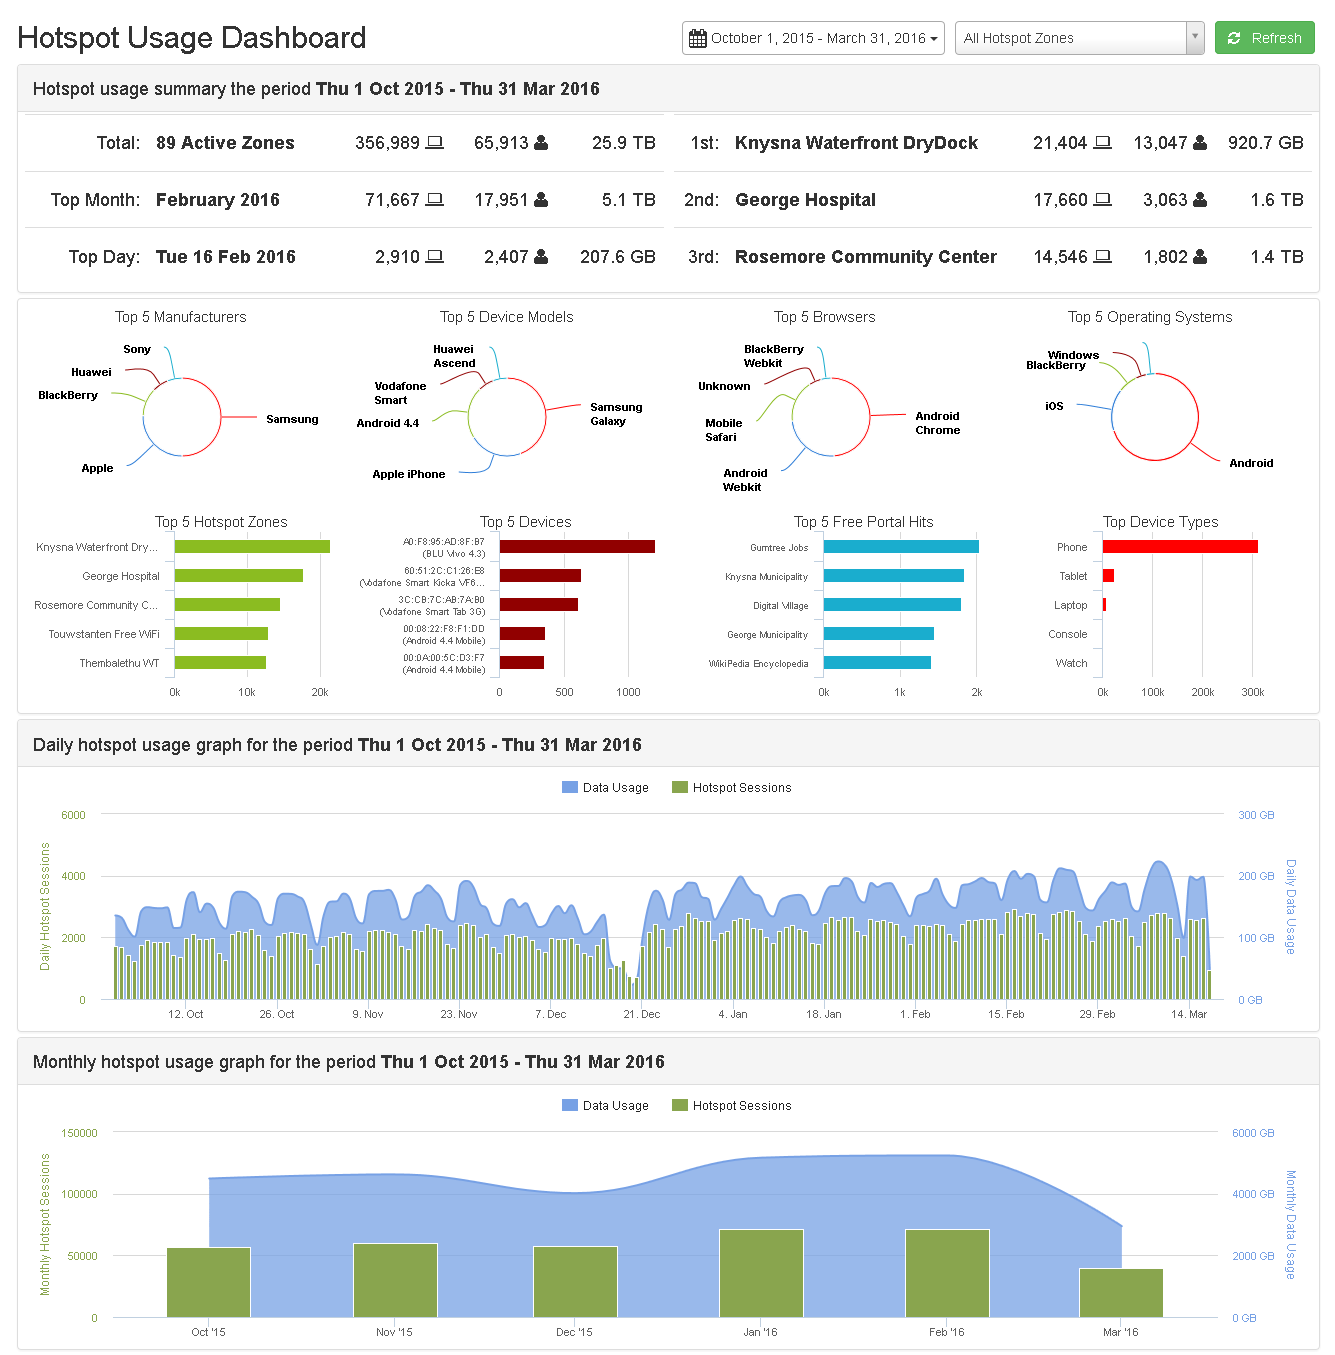
Hotspot Usage Dashboard
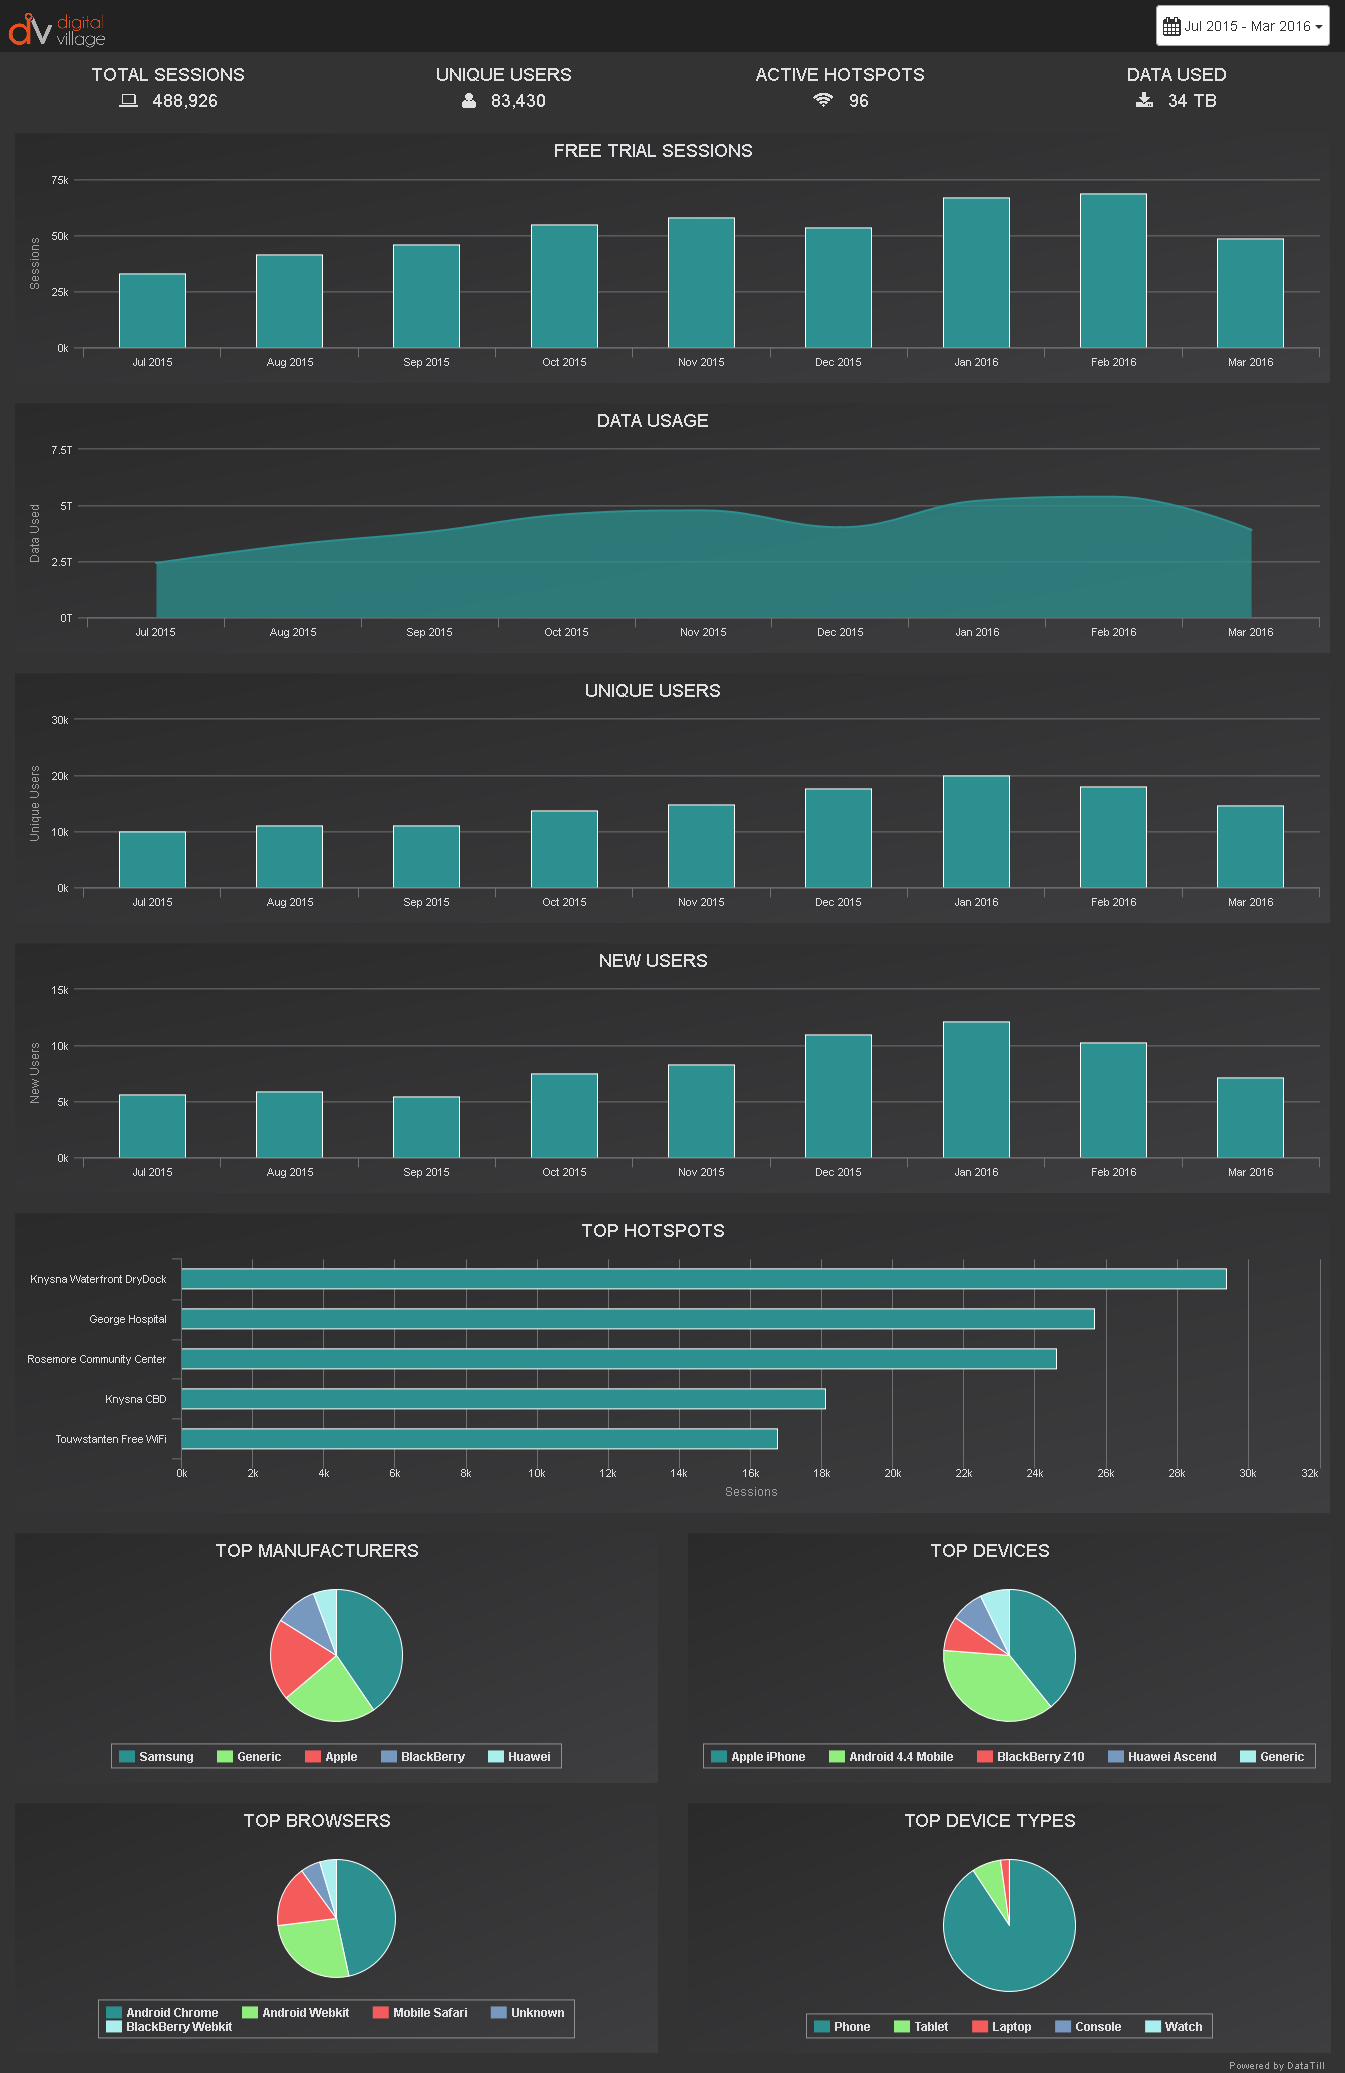
Hotspot Usage Statistics
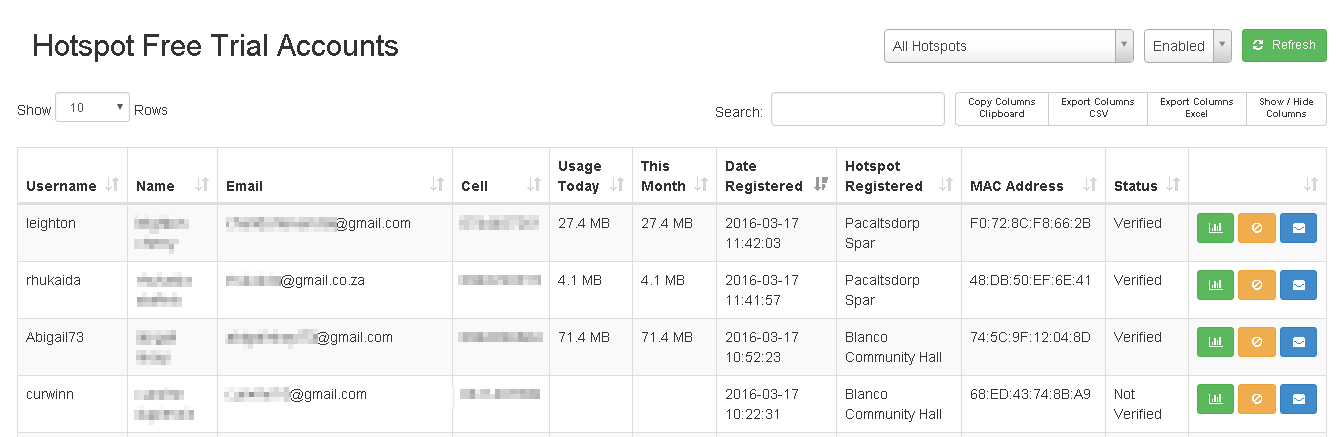
 Free Trial Users
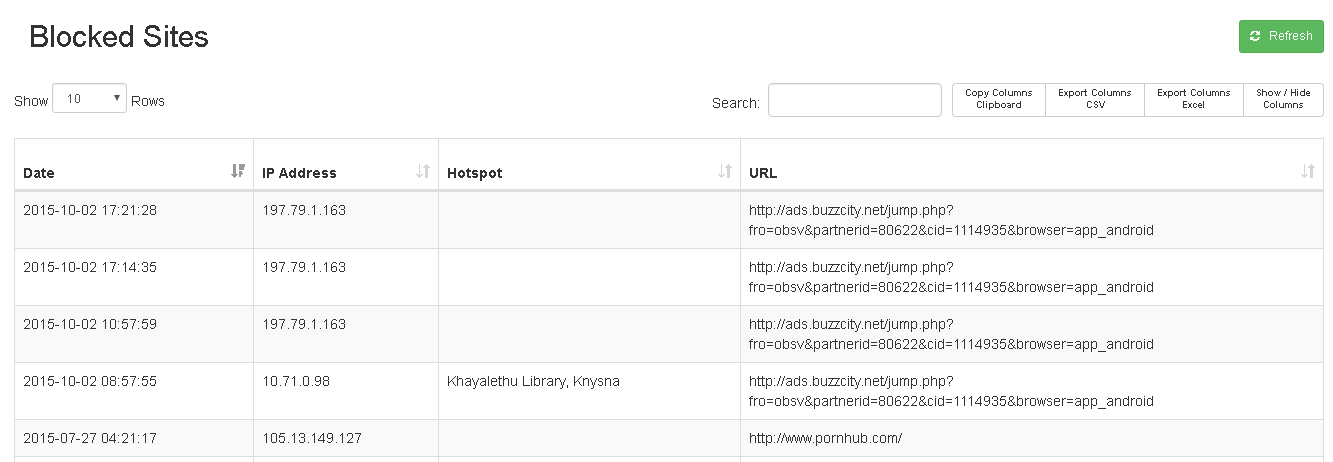
 Blocked Sites
*These Entries can only be added by manually inserting them into the database. Please contact our support for assistance.
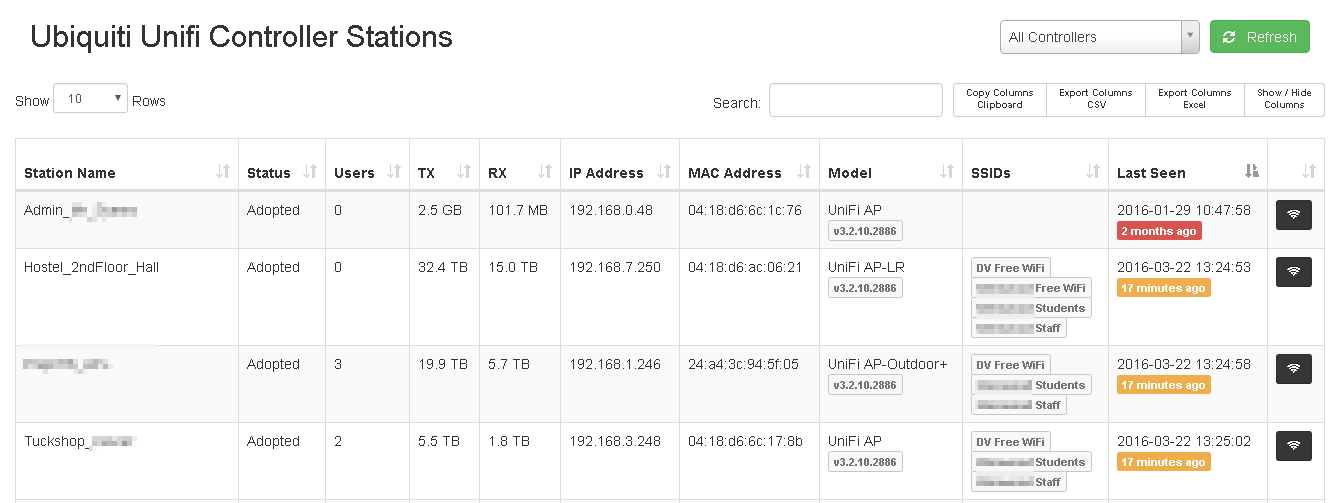
 Unify Controllers
Controller Stations
 Manage Prepaid Users
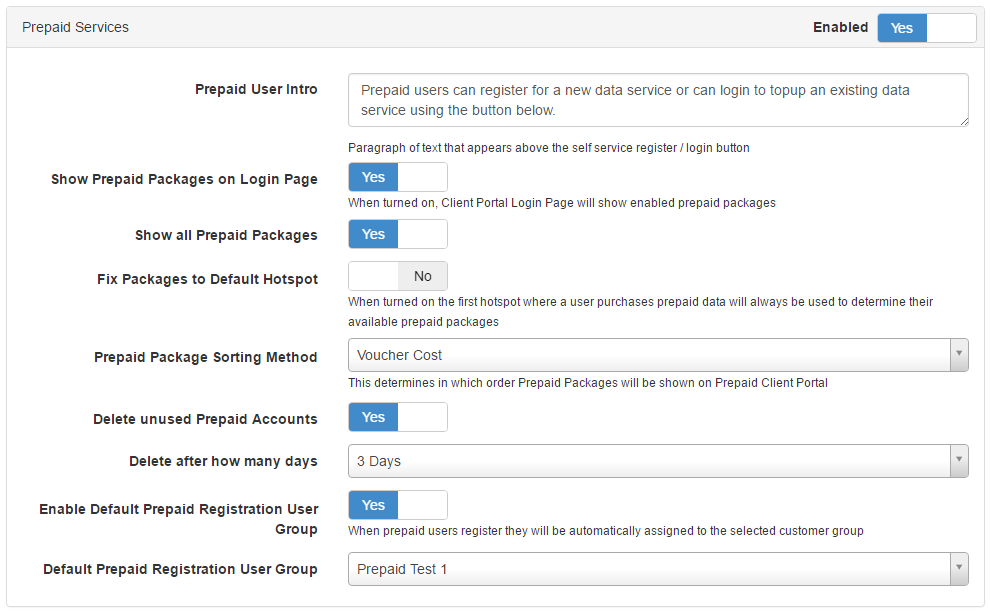
The following is to manage prepaid users and give prepaid users monthly data. First create the default prepaid registration user group that you want to use (suggested name: Prepaid Unconfirmed Customers), then enable default prepaid registration user group, and set the group to a new group that you have created. Hotspot -> Hotspot Setup -> Prepaid Services
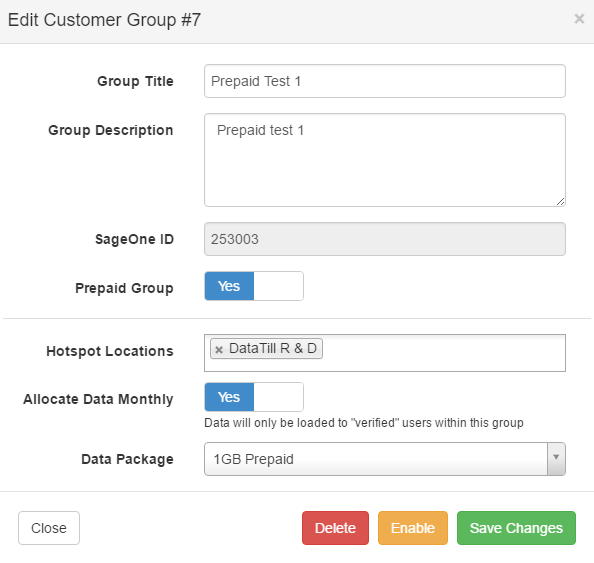
Create a default customer group that all prepaid customers get assigned to by default. This customer group must not have any data package assigned to it. Create a customer group for every residence that you have a hotspot in.
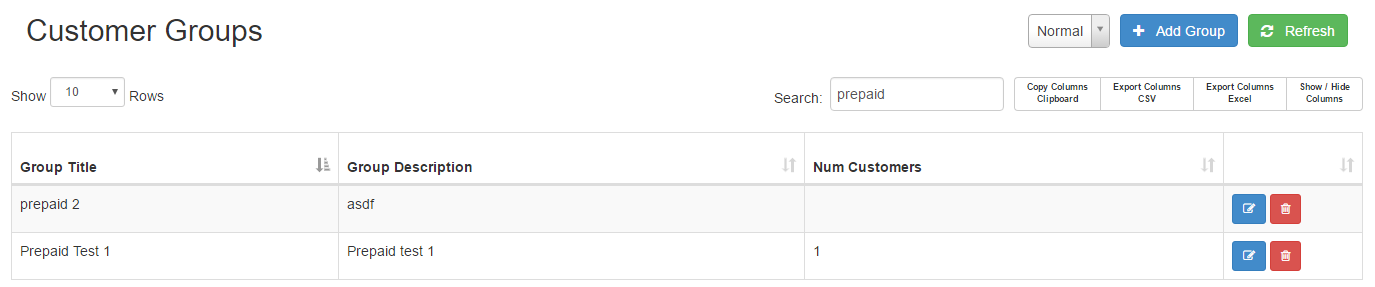
For each residential group set the monthly cap for the hotspot. This data will only be given to prepaid customers at the start of the month. If the user has just registered, then an admin must give the user a topup, so that they can have data for the month.
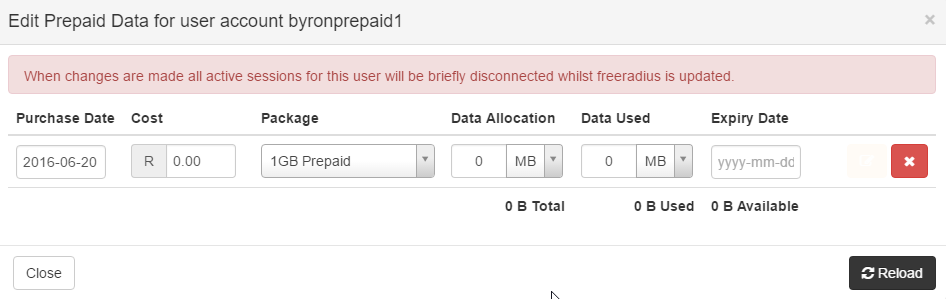
Data Topup for Users
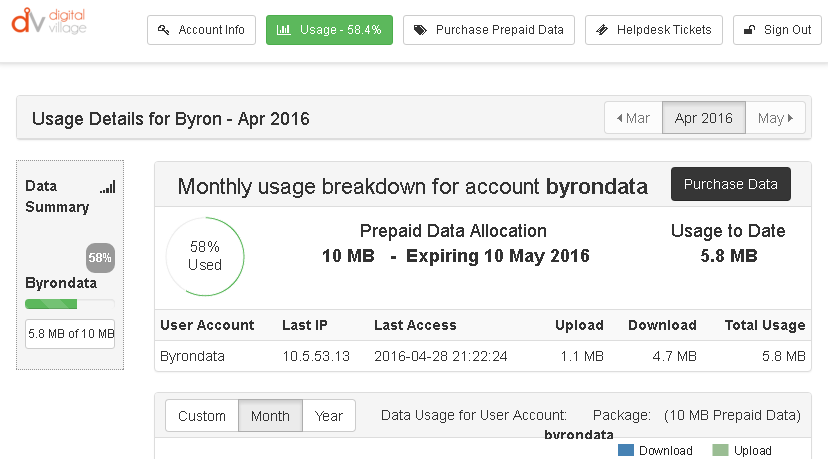
Data Usage for user:
Prepaid History in Data Usage: 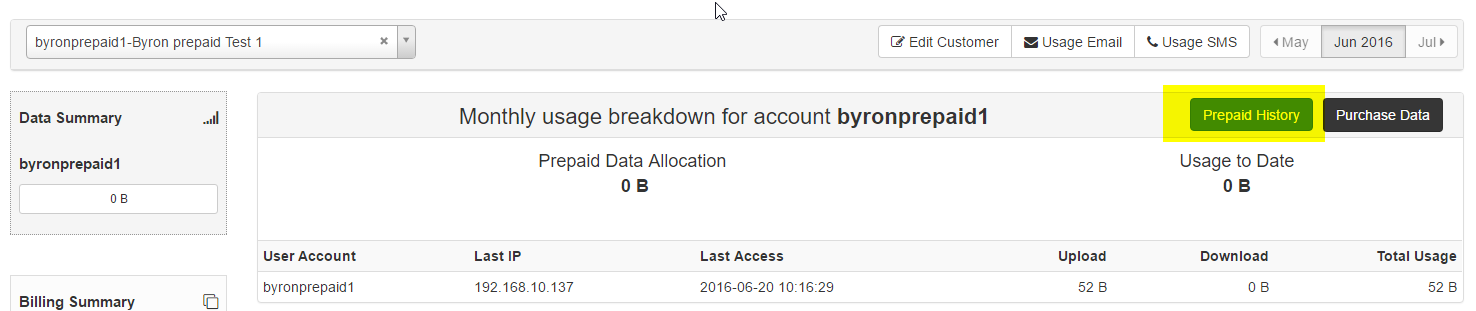
Adding a Data Package in Prepaid History:
The process
- A prepaid client registers on the hotspot landing page.
- A customer and a Radius user account is automatically created in HeroTill and the customer gets put in the default prepaid customer group.
- An admin must then check whether the customer is allowed to be registered. If the customer is allowed then, the admin must move the customer to the correct prepaid customer group (which has a monthly datapackage)
- The admin must then topup the user in the customer usage page.
- When the user runs out of data they will be able to topup with a hotspot package, using their credit card, or they can use a hotspot voucher if they have one.