
1. (Re)Sending the invoices to the customer.
So a big part of billing and debt collection is actually ensuring that the customer received the invoice. In this regard, you can split your customers up into 4 groups: “The dog ate my invoice” customers. “I had connection issues / no internet and I want credit” customers. “You are the best internet provider and I am always happy to pay” customers. And last but not least super honest “I want to pay but I haven’t received invoices in quite a while” customers. To ensure any disputes with these customers, ensure that customer contact details are correct from the get go and that the details are updated accordingly upon the customer’s request.
5.1. Sending the invoice(s): From the invoices screen.
The main way to send invoices to the customers is to go to the invoices section. Sending invoices from the invoice screen is usually done in the billing run as part of the month end processing, and is usually done by only one person each month. A setting can be turned on in invoice setup to send out invoices automatically to the customers when you push invoices to Sage One. (Individually, selected, or “Push All To Sage”.)
Guide: How to complete the month end billing run on HeroTill
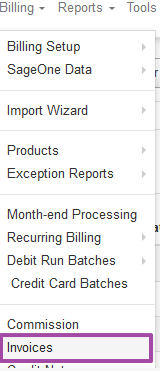
To get here, you go to the “Billing” tab and then click on the “Invoices” option.
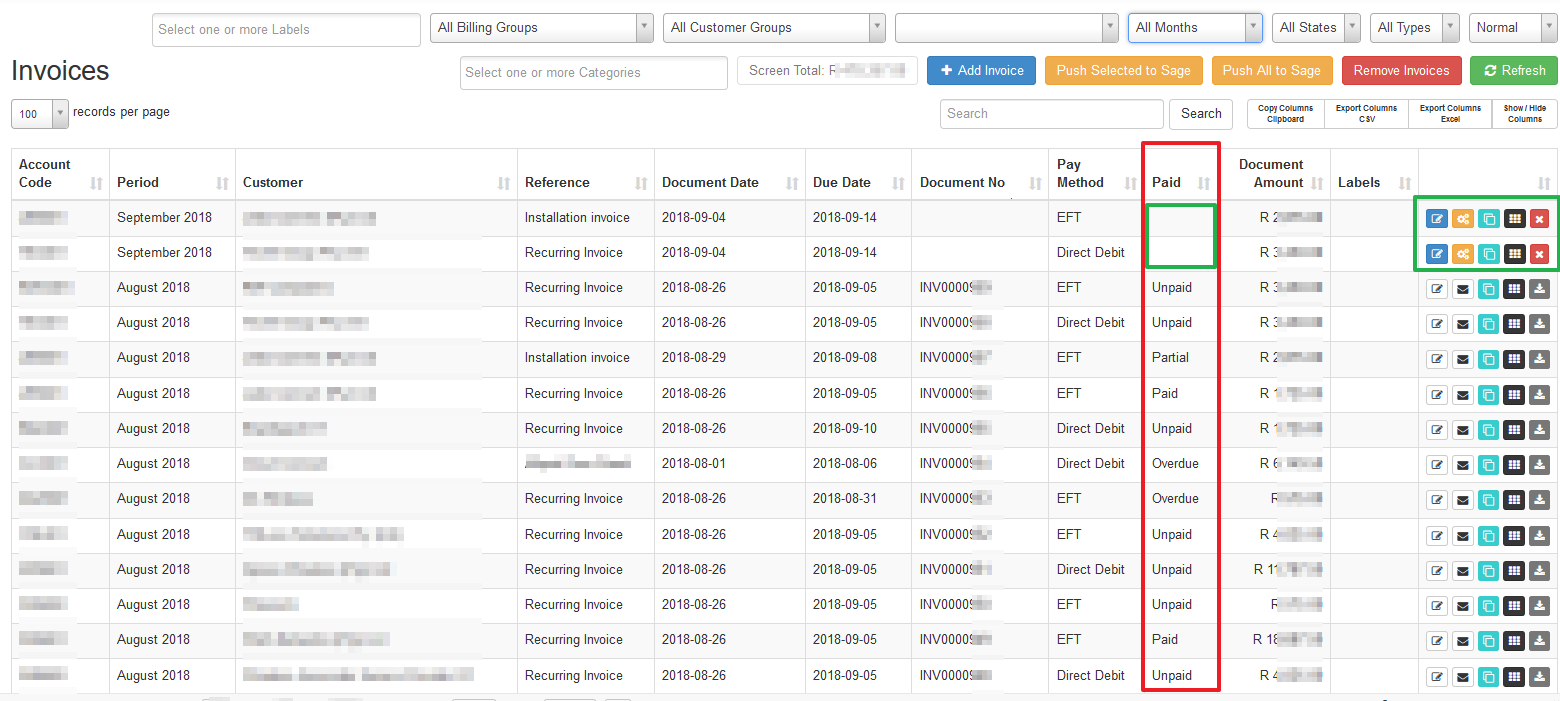
On the screen that follows, you will see two types of invoices – invoices that still need to be sent to customers and invoices that have already been sent to the customers. If there are colourful buttons next to the invoice line, this means that the invoice hasn’t been sent to the customer and that changes can still be made to the invoice. Invoice lines without any colourful buttons mean that the invoice has already been sent to the client. You cannot make any changes to this invoice, but you can send it to the customer again.
5.2. Re-sending invoices
5.2.1. Invoice status:
Before re-sending, the invoices to the customers, be sure that these invoices haven’t been paid yet. You obviously don’t want to upset the customers by sending them invoices that they have already paid. The invoice status can be seen in the red section. This will show you if the invoice is unpaid, partially paid, paid or overdue.
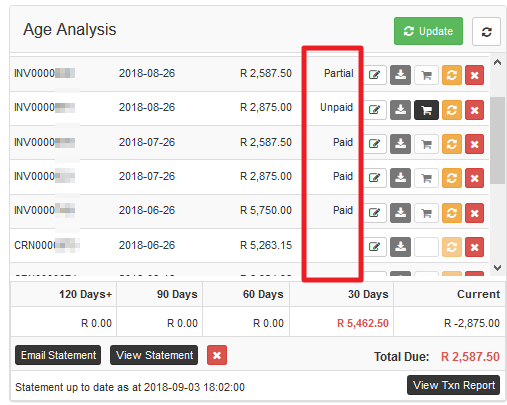
*In cases where the total due amount is R0 but the invoices show partially paid, unpaid or overdue, please log into sage one and match the customers’s payment to the correlating invoice.
5.2.2. If you need the customer’s updated details on the invoice:
Example: The customer already received their latest invoice, but wants some of their details to change, such as their name, VAT number or address. Update the customer details on their profile, then delete the invoice’s PDF, then update the age analysis and download the PDF again.
To delete the PDF version of the invoice, click on the Red button. The Orange button will restore the PDF version invoice. In a typical scenario, the invoices will only be deleted if the customers have updated their details and want the previous invoices to have the new details on. To view the new details on the invoice, delete the invoice, update the age analysis and then update the age analysis and invoice. When you download the invoice, the new details should show on the invoice.

5.2.3. Downloading and sending the invoice(s): From the customer profile.
To download an invoice, click on the Gray button next to the invoice that you want to download. Remember to always update the age analysis before you respond to any customer queries.
When the invoices have finished downloading, a new tab will open in your internet browser. You will now be able to view, download or print the invoice.
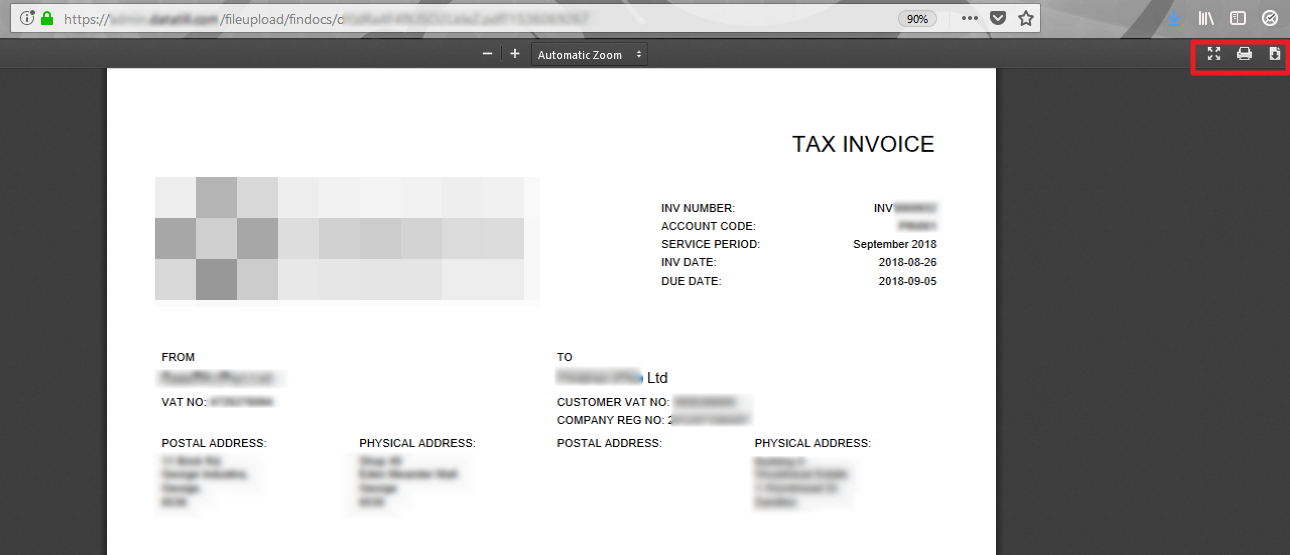
Save the downloaded invoices in a place where you will easily be able to find them again.
If you want to attach the invoice PDF on a helpdesk ticket on HeroTill: Once the invoice(s) has been downloaded, attach them to the correlating ticket, type your message to the client and then click on the “Submit New Note” button.