1. Introduction
Radius proxy is used when a radius request is not handled by the radius server that first receives the request. The radius requests are either passed on to an external third-party radius server for authentication, or a third-party radius request is received for authentication on a local radius server.
Telkom OpenServe uses proxy to authenticate against a HeroTill instance. The request at the client’s house is sent to the Telkom NAS by his router. The Telkom NAS then forwards this request to the HeroTill instance linked to the customer’s realm. The HeroTill instance processes the request (authentication or accounting) and then passes the result back to the Telkom NAS, which then relays it back to the originating client router.
2. NAS Setup
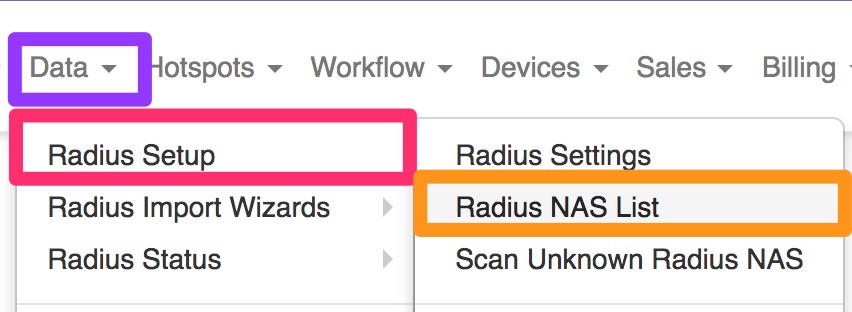
First, you will need to complete the NAS setup that is used for POD and Proxy requests. To do this, go to “Data” → “ Radius Setup” and then click on the “Radius NAS List” option.
You will now see the following screen:
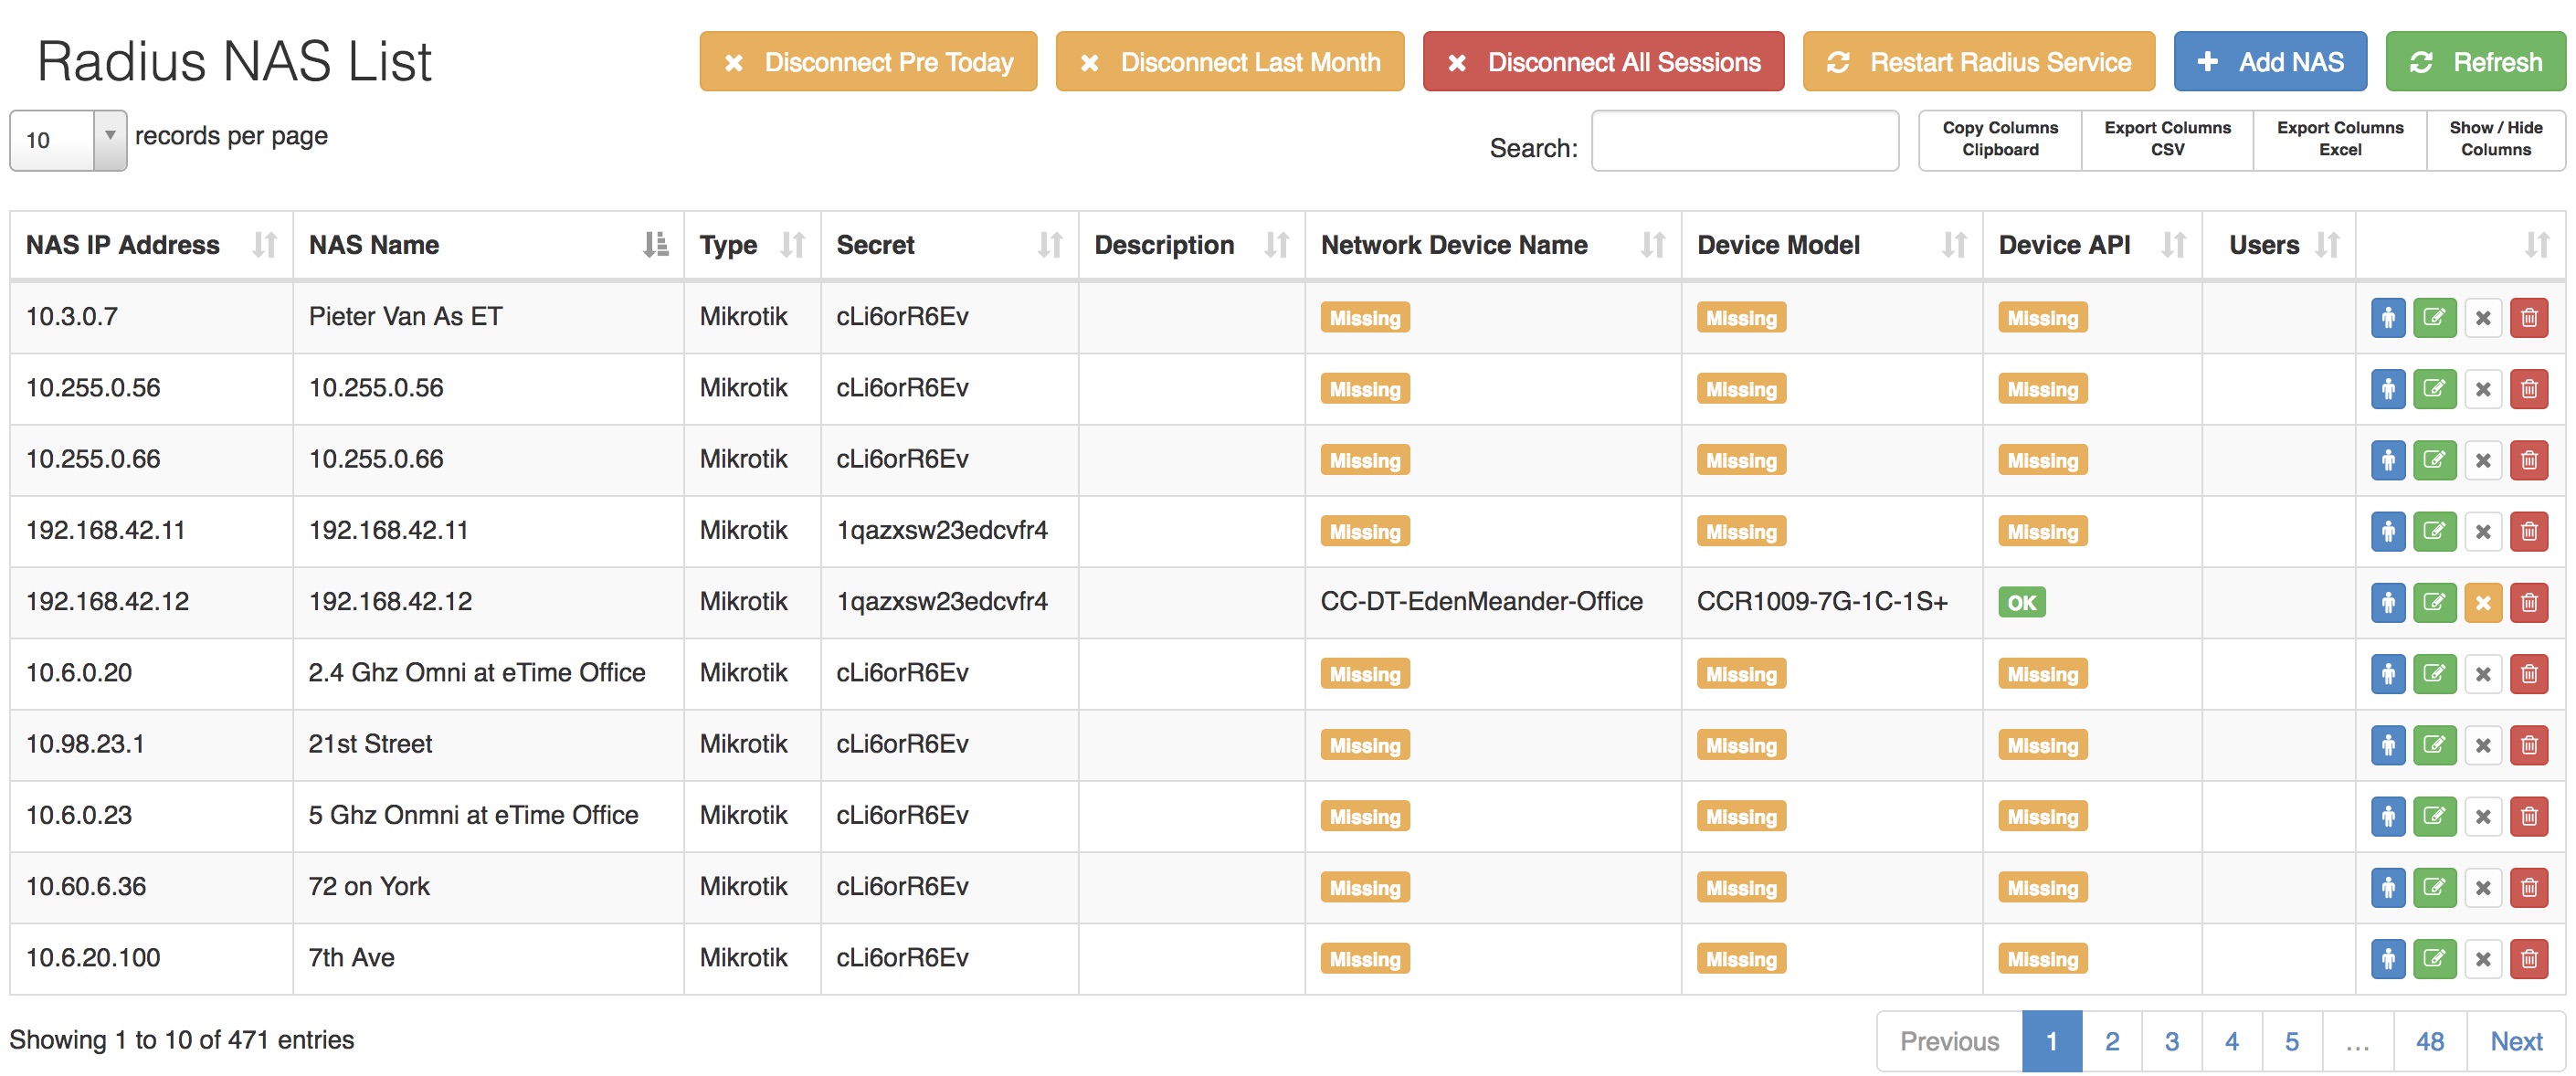
2.1. Adding the NAS
You will now need to add the IP’s that are used for the POD and Proxy requests with Telkom’s secret: (telkom_radius_secret). To add these IP’s, click on the “Add NAS” button.
On the following screen, you will need to add the IP Address, NAS name, secret, NAS Type and a description. Below is a list of example IP’s:
- 196.43.1.86
- 196.43.1.87
- 196.43.1.88
- 196.43.1.89
- 196.43.3.86
- 196.43.3.87
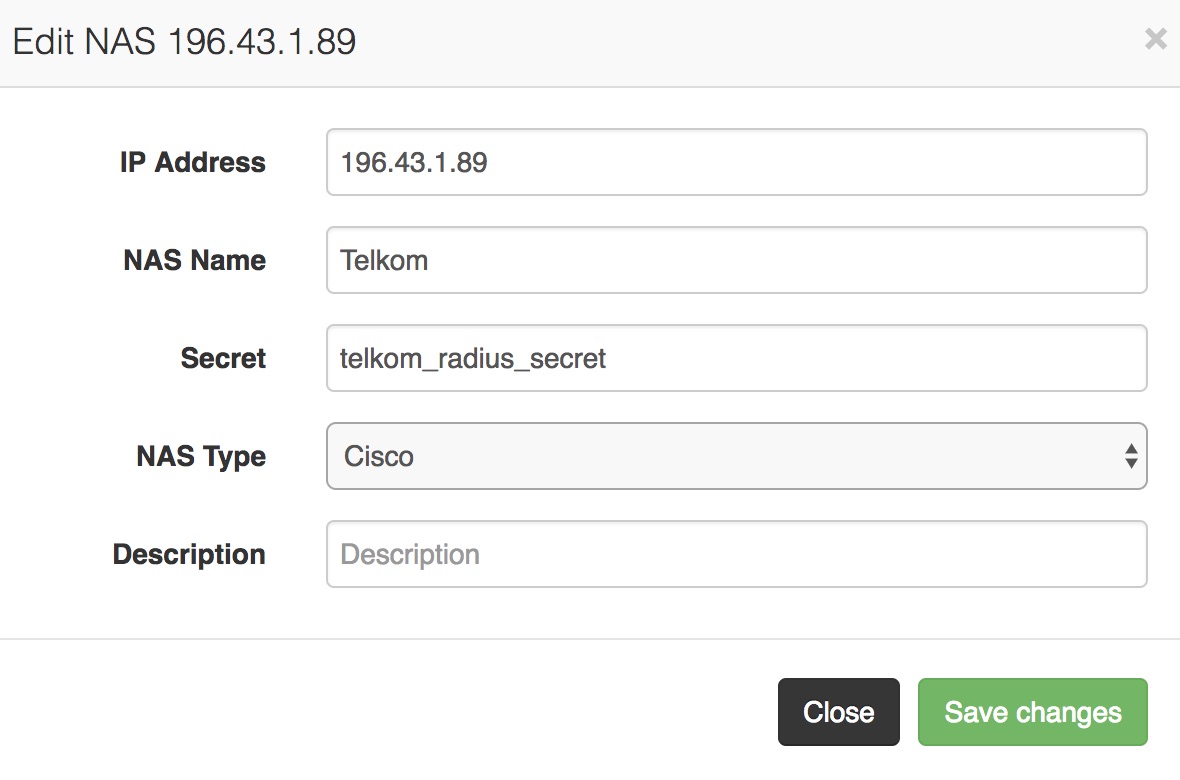
After adding the information, click on the “Save Changes” button.
3. Custom Attributes
Previously, you to first add your radius service before you were able to create your data product. After fair usage policy was introduced to HeroTill, you now only have to create the product. Once the product has been created, the radius service will be created in the background. This means that all custom radius attributes will now be added on the product and not the radius service.
3.1. Adding the custom attribute in HeroTill
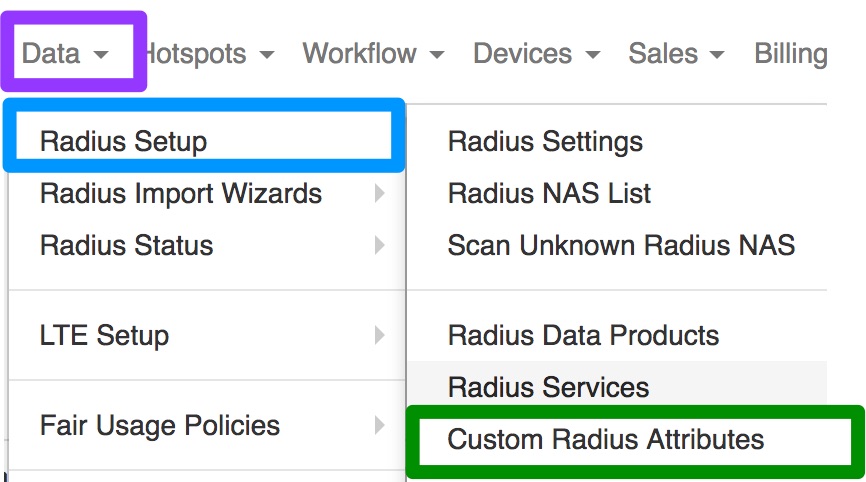
To add the custom attribute, go to “Data” → “Radius Setup” and then click on the “Custom Radius Attribute” option.
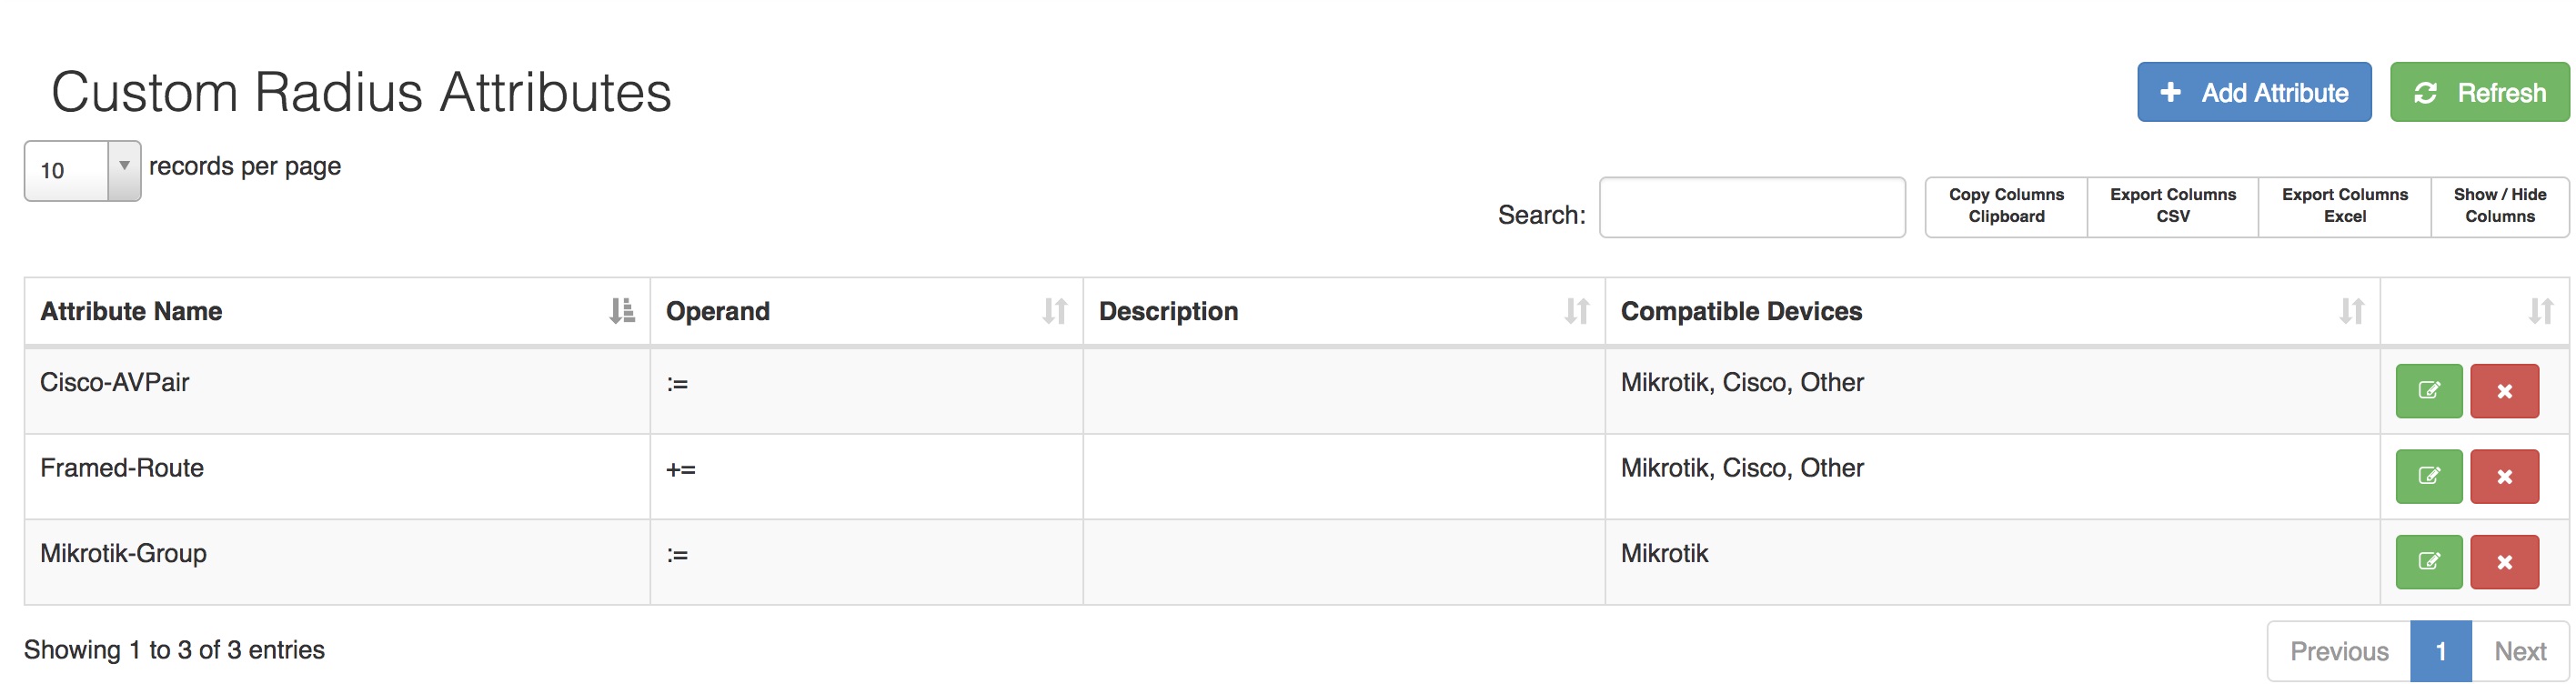
On the following screen, click on the “Add Attribute” button.
On the following screen, you will need to complete the details as follow:
- Attribute Name: Cisco-AVPair
- Operand: +=
- Compatible NAS type: Cisco.
- Attribute Description: Add if necessary.
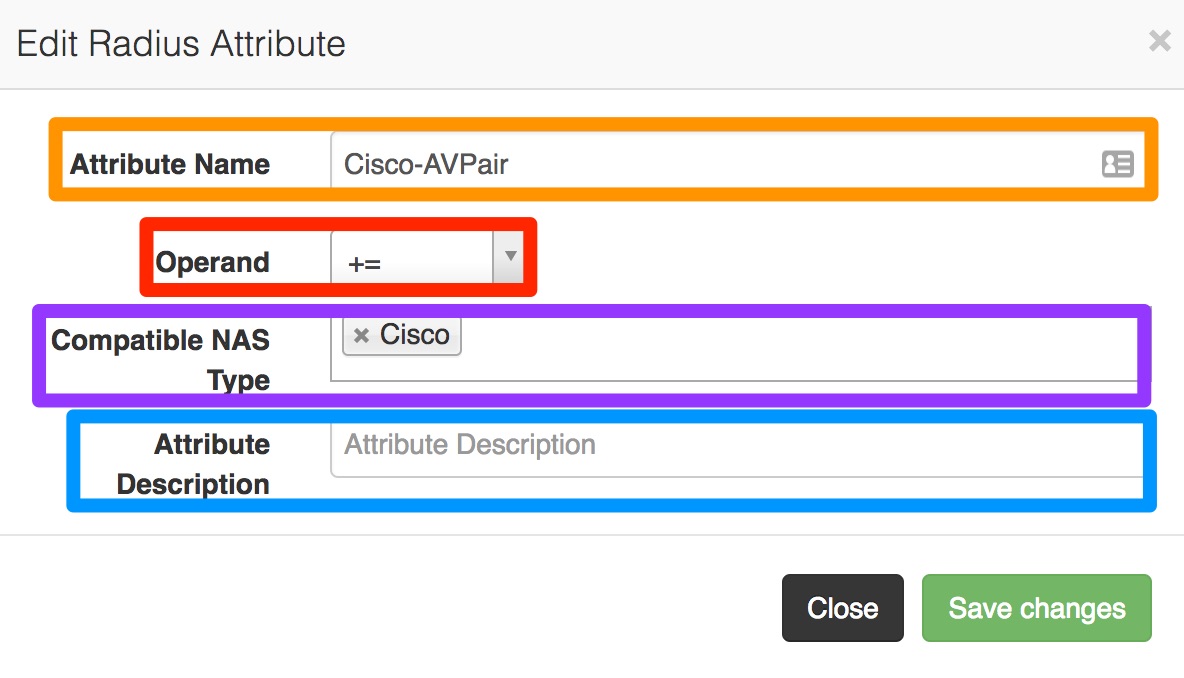
After adding all the details, click on the “Save Changes” button.
3.2. Adding custom attributes to a data product
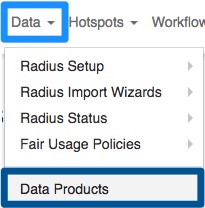
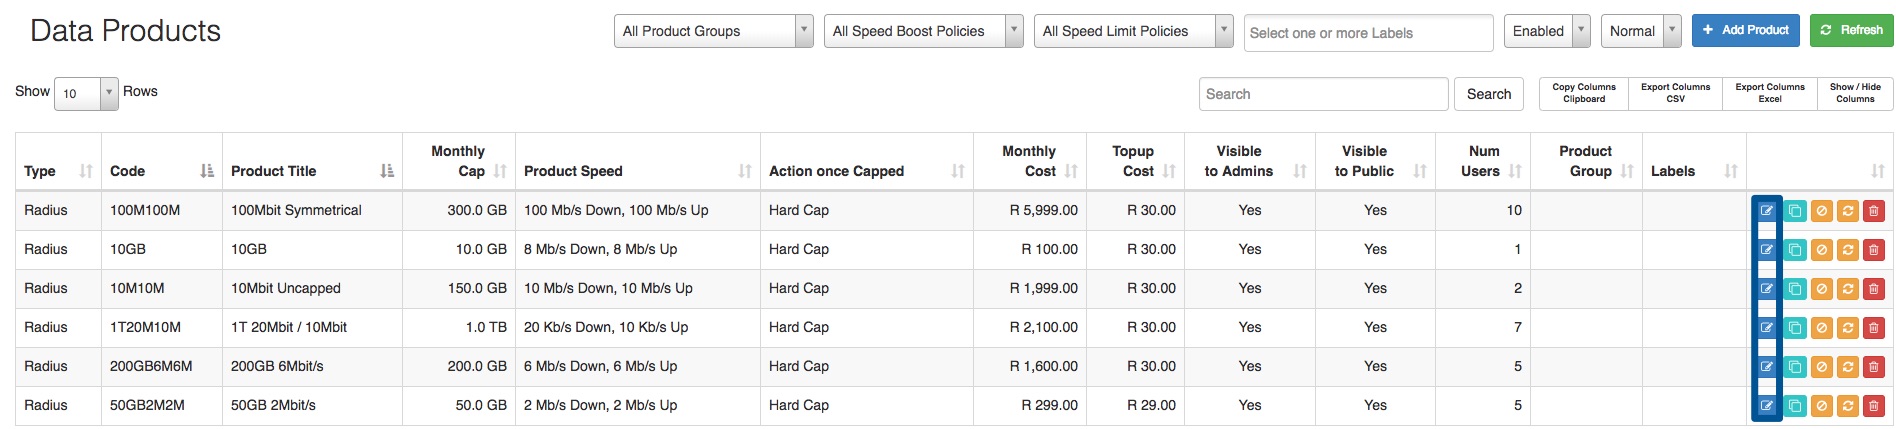
To add a custom attribute to a specific data product, you will need to go to “Data” and then click on the “Data Products” option.
After finding the specific product you would like to add the custom radius attributes to, click on the “Edit” button on the right-hand side of the product.
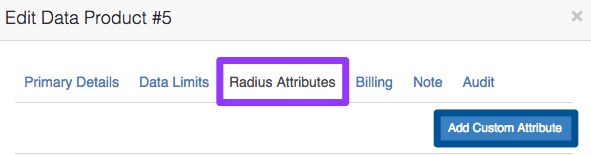
On the pop-up screen, navigate to the “Radius Attribute” tab and then click on the “Add Custom Attribute” button.
On the pop-up screen, you will need to add the following:
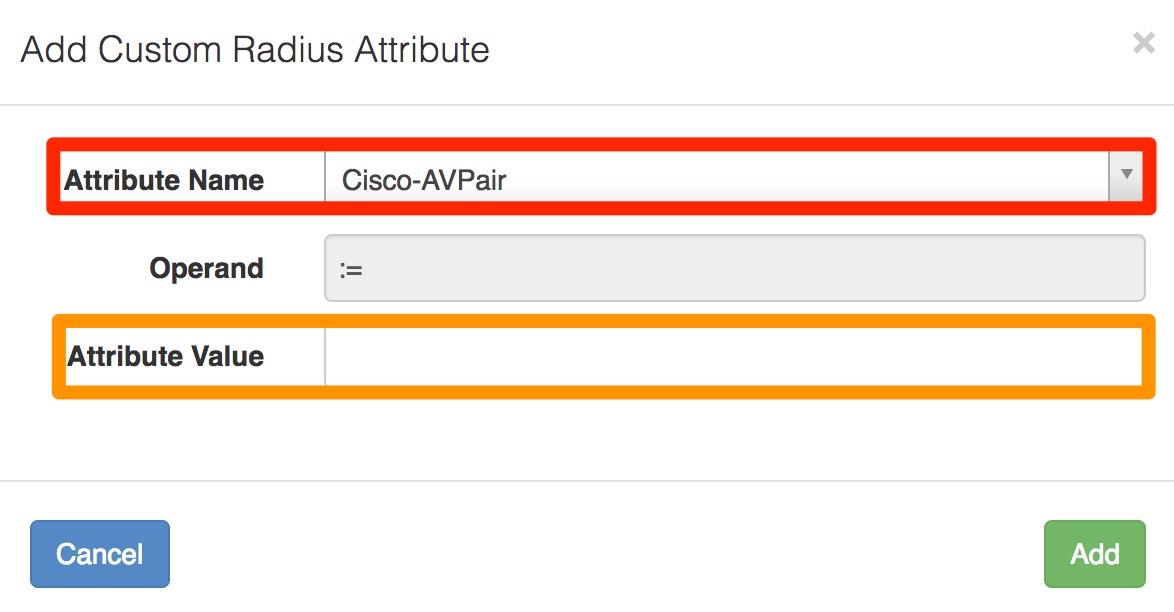
| Red: | Choose the “Cisco-AVPair” attribute here. |
| Orange: | Add the following three Cisco-AVPair attribute values with the quotation marks:
● Value (Your Loopback Interface): “ip:ip-unnumbered=LoopbackXXXX” ○ LoopbackXXXX is the Loopback interface associated with the address pool. ● Value (Your Address Pool): “ip:addr-pool=YYYY” ○ YYYY is the address pool name from which an IP address should be allocated to the user. ● Vallue (Your primary and secondary DNS servers): “ip:dns-servers=a.a.a.a b.b.b.b” ○ Replace a.a.a.a with the IP address of your Primary DNS server and b.b.b.b with your secondary DNS server. |
*Please note that the attributes should not be entered into HeroTill with the quotation marks (“”) at the beginning and end of the text. Please refer to the screenshot below.
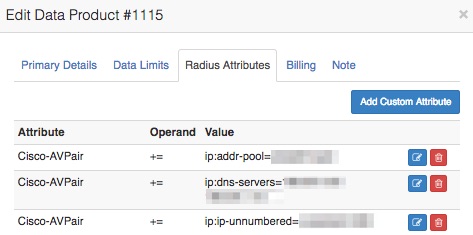
Remember to click on the “Save Changes” button after adding the custom attributes. After you have done this, the radius service can be assigned to a data account and then to a radius user where the Custom Radius Attributes will be applied for IPC Authentication. Below is a screenshot for the custom attributes added to the radius service.
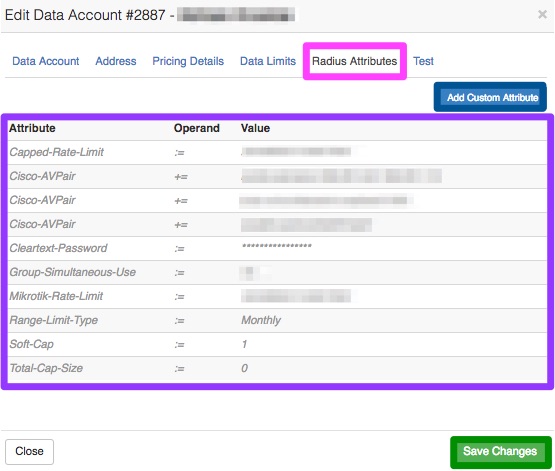
3.3. Adding custom attributes to a specific data account
To view or add custom attributes to a specific data account, go to “Data” and then click on the “Data Accounts” option.
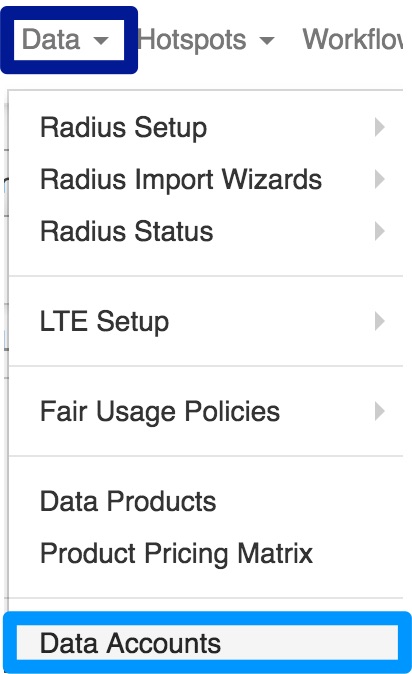
On the following screen, look for the relevant data account to which the attribute should be added and then click on the “Edit” button found on the right-hand side of the data account.

On the pop-up screen, ensure that you are on the “Radius Attributes” tab. Here you will be able to view all custom attributes or add more attributes. Please remember that radius user attributes are automatically assigned after the data account is assigned to the user.
4. Troubleshooting
Various screens are available to monitor the system behaviour regarding radius accounts. To monitor your accounts, go to “Data” → “Radius Sessions” and then click on the relevant option.
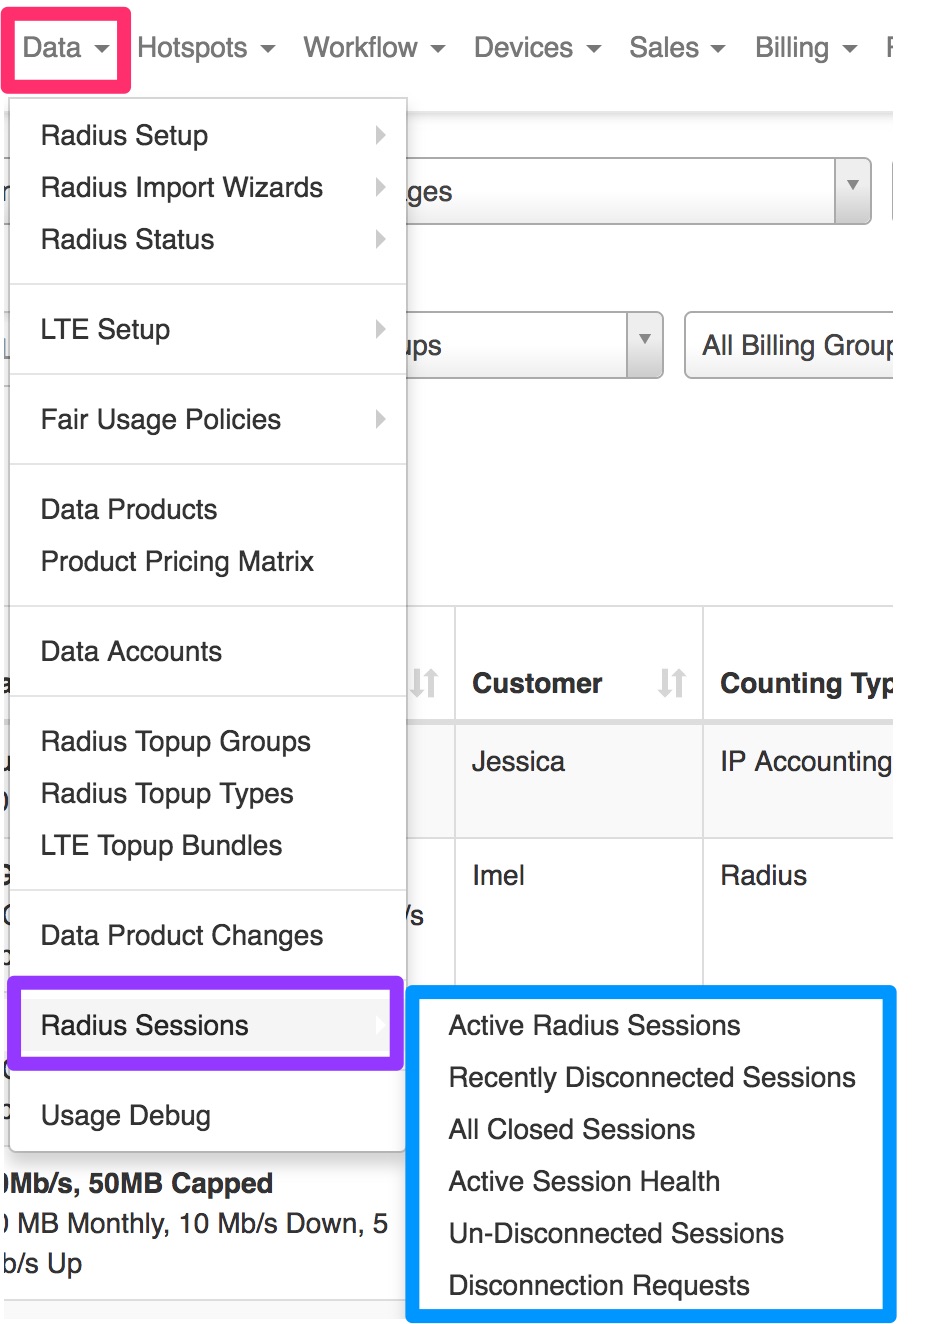
4.1. Active Sessions
All currently active radius sessions are shown on this screen. This includes wireless & fibre accounts, including OpenServe connections.

Sessions can be disconnected from this screen, either individually, or for an entire NAS at a time.
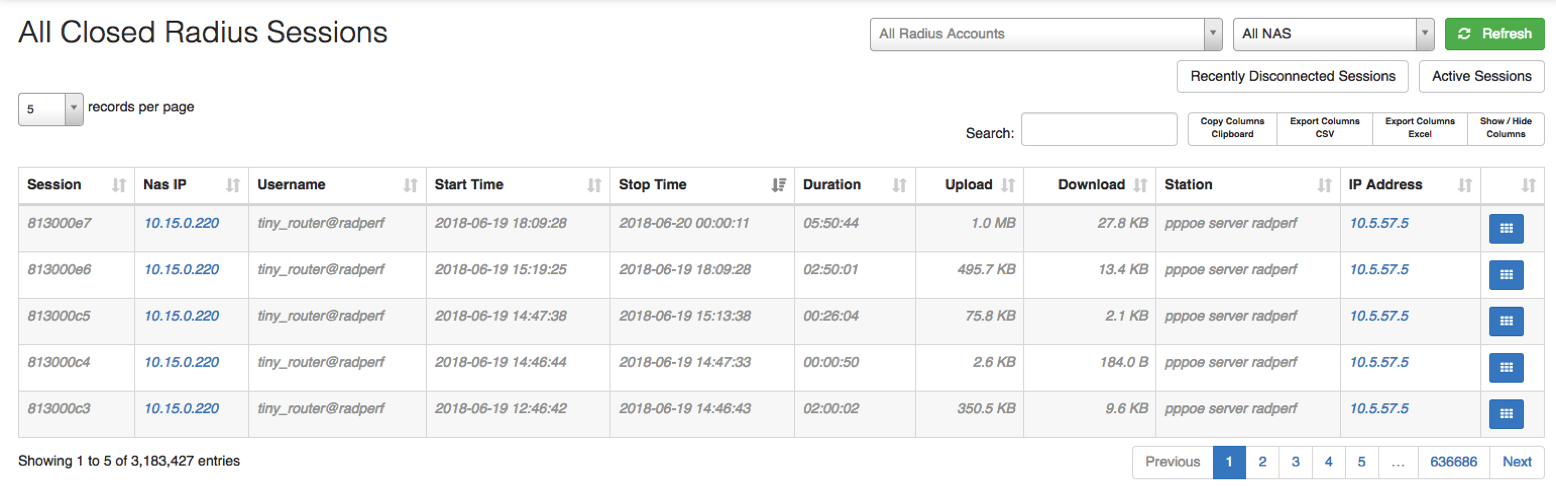
4.2. All Closed Sessions
This screen shows all radius sessions no longer active. This includes wireless and fibre connections.
4.3. Recently Disconnected Sessions
The recently disconnected screen is used to monitor unusual disconnections. Setting the limit down to a few minutes or an hour will show all the radius accounts disconnected in that period, together with the disconnect cause.
Typically, it would highlight a faulty highsite that keeps dropping wireless connections.

4.4. Session Disconnect Requests
The session disconnect request screen displays a log of all radius disconnect requests performed by either freeradius or HeroTill, together with a reason for the disconnect request.
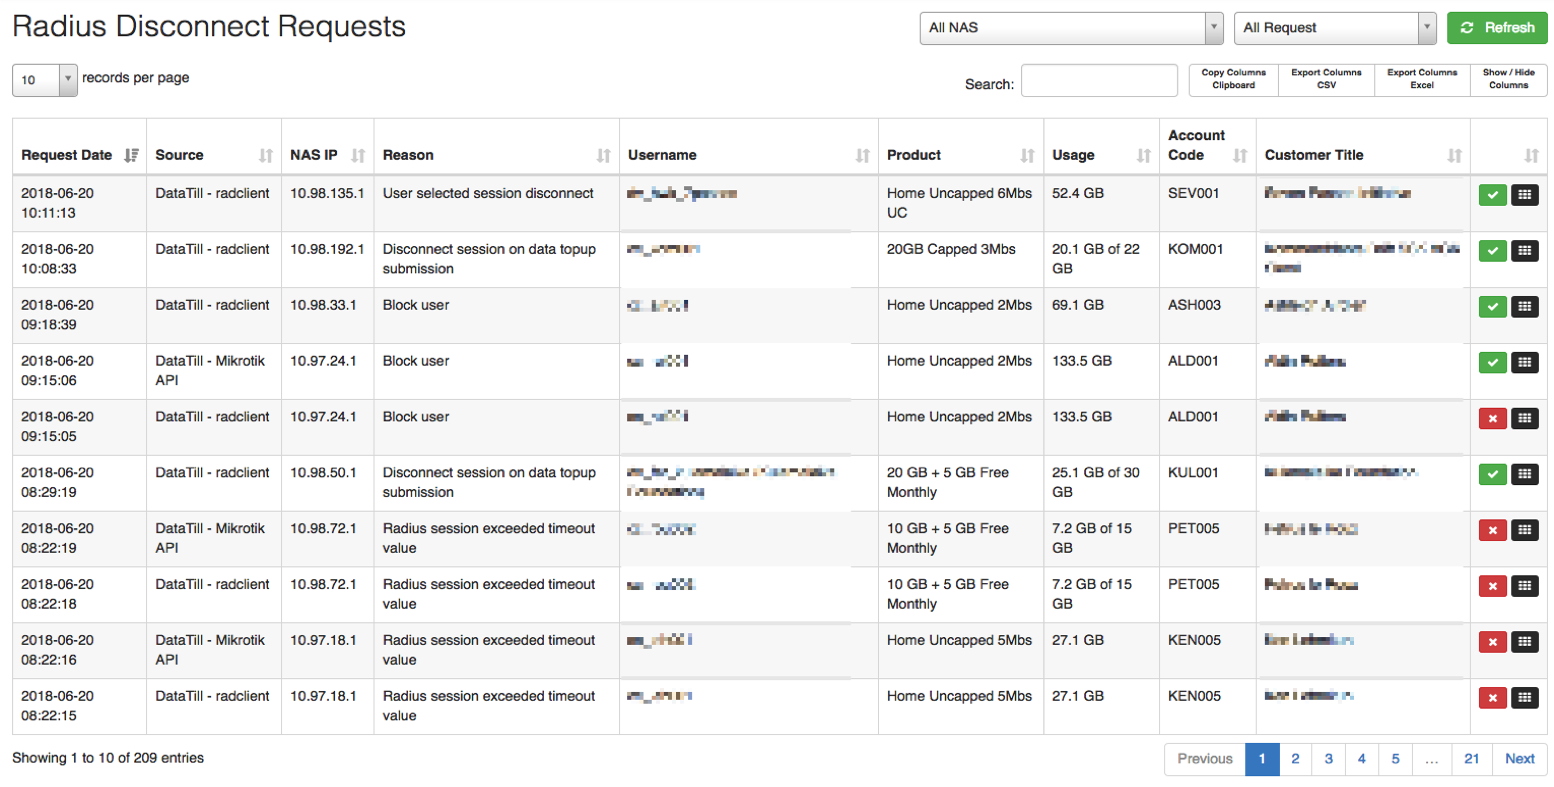
It also indicates whether the request was successful or not and allows you to re-try the disconnect. Failed disconnects could indicate a NAT issue, where the disconnect request appears to originate from an IP address other than the defined radius IP address on the ANS router.
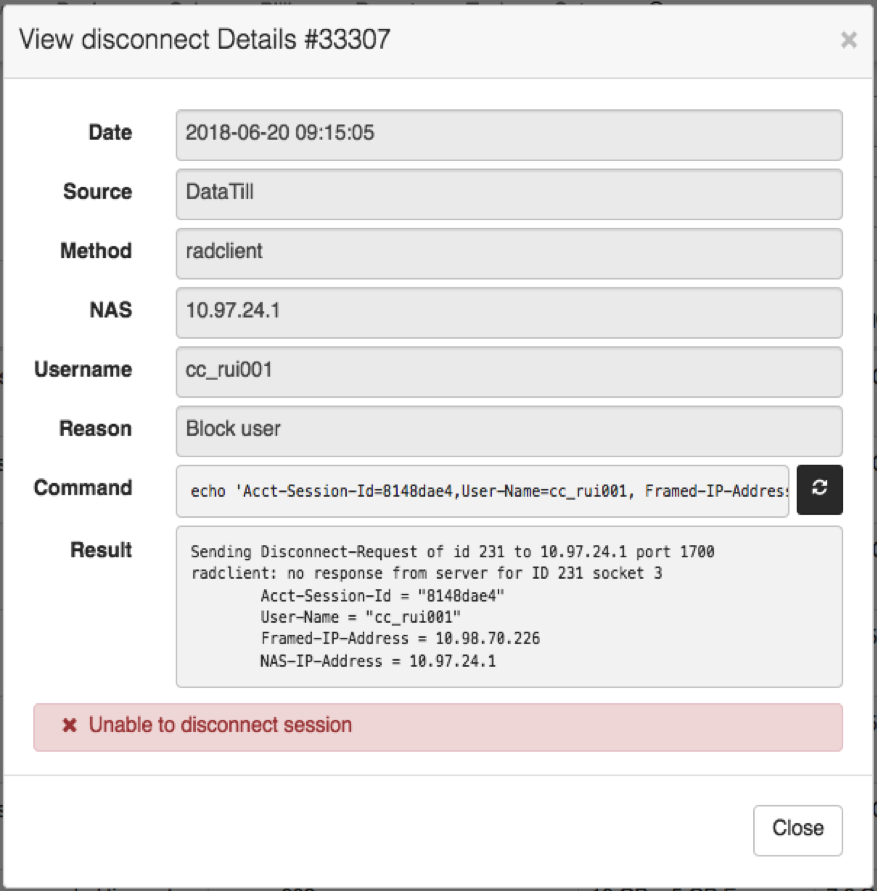
4.4.1. Troubleshooting failed disconnections
If HeroTill fails to disconnect Openserve IPC connections then it is most likely related to NAT or firewall issues. HeroTill sends the radius disconnect request to one of the Telkom radius proxy servers in the 196.43.0.0/16 network range.
The Telkom proxy will only accept requests directed to UDP port 1700 and originating from the IP address associated with your ICP. If the disconnect packets are NAT’ed to another public IP then these requests will be ignored by the Telkom radius proxy.
To test whether your HeroTill instance can successfully communicate with the Telkom proxy run the following command on the command line of your HeroTill server:
Command:
echo ‘User-Name=dummy@testrealm.co.za,Acct-Session-Id=0CA77E20022BAD5S0BAD50,Framed-IP-Address=10.11.12.13,NAS-IP-Address=10.10.10.10’|/usr/local/bin/radclient -c ‘1’ -n ‘1’ -r ‘1’ -t ‘1’ -x 196.43.1.86:1700 disconnect telkom_radius_secret
4.4.1.1. A successful response would look like this:
Sending Disconnect-Request of id 89 to 196.43.1.86 port 1700
User-Name = “dummy@testrealm.co.za”
Acct-Session-Id = “0CA77E20022BAD5S0BAD50”
Framed-IP-Address = 10.11.12.13
NAS-IP-Address = 10.10.10.10
rad_recv: Disconnect-NAK packet from host 196.43.1.86 port 1700, id=89, length=26
Error-Cause = Session-Context-Not-Found
The “rad_recv” line indicates a valid response received back from the Telkom radius proxy. The error in the result indicates that the session we wanted disconnected does not exist on their end.
4.4.1.2. An unsuccessful response will look like this:
Sending Disconnect-Request of id 136 to 196.43.1.86 port 1700
User-Name = “dummy@testrealm.co.za”
Acct-Session-Id = “0CA77E20022BAD5S0BAD50”
Framed-IP-Address = 10.11.12.13
NAS-IP-Address = 10.10.10.10
radclient: no response from server for ID 136 socket 3
Note the ‘no response’ section. This indicates that either the packet did not arrive at the Telkom radius proxy or the Telkom radius proxy ignored the request as it originated from a non authorised source IP.
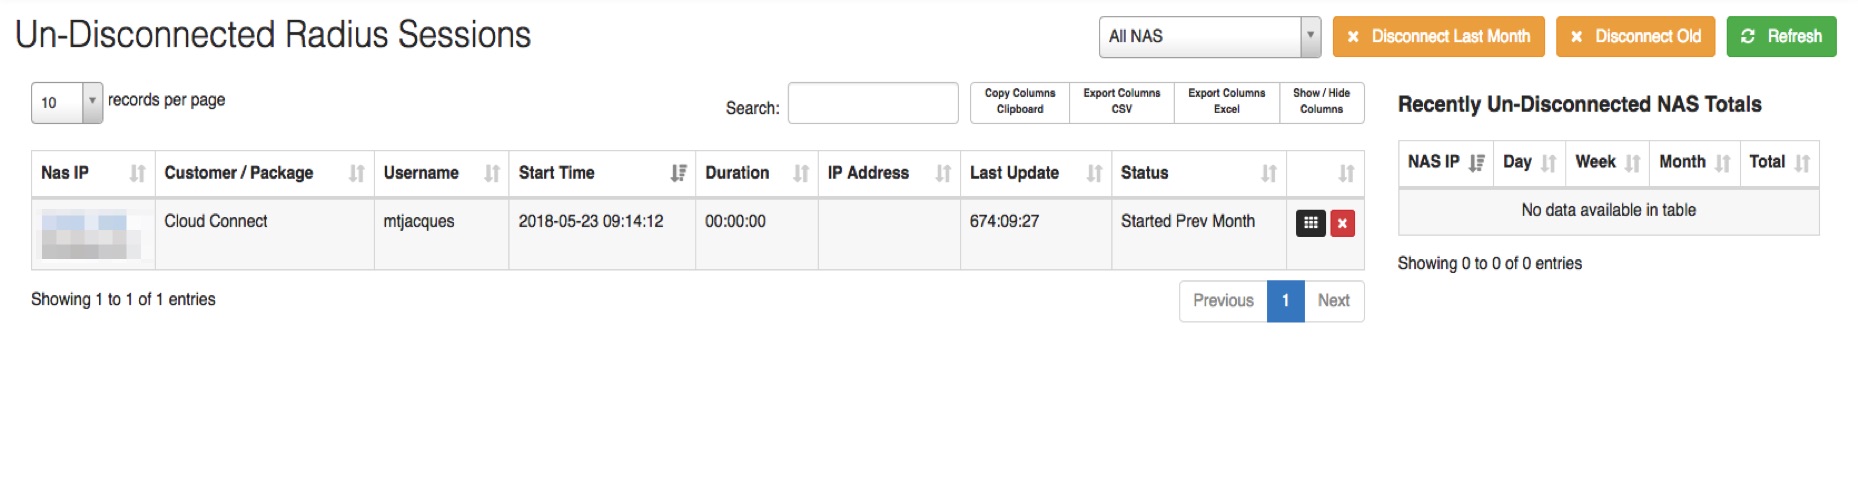
4.5. Un-Disconnected Sessions
The un-disconnected screen shows all active radius sessions that could not be disconnected automatically. This typically includes all sessions started in the previous month.
On the right-hand side, a list of all NAS devices that are unable to disconnect accounts will appear. The most likely cause for NAS devices to appear here is if there is an issue with either the incoming radius port (1700) or disconnect packets originating from the wrong (NAT’ed) IP address.