NetFlow Monitoring gives the user a broad overview to where their usage is going.
Please note that it’s impossible to see exactly where all the usage is going as many protocols are encrypted, however, broad generalisations and common accesses are logged which greatly helps with traffic analysis.
The NetFlow monitoring needs to be enabled on HeroTill, and the router needs to be configured to send NetFlow data to HeroTill.
You can monitor your entire network (resource intensive) or just individual customer routers. NetFlow must be enabled on a router where the traffic has not been NATted.
If you enable NetFlow on your core, it only has to be enabled on one router through which the traffic is flowing. This router would typically be one of the last routers that all the traffic goes through before going onto the public network. Note: For additional analysis, a port 80 proxy can be used to capture traffic patterns.
To do the Configuration of NetFlow on the HeroTill Side, go to Setup / Usage Logging and follow the guide below:  How to set up the MikroTik side
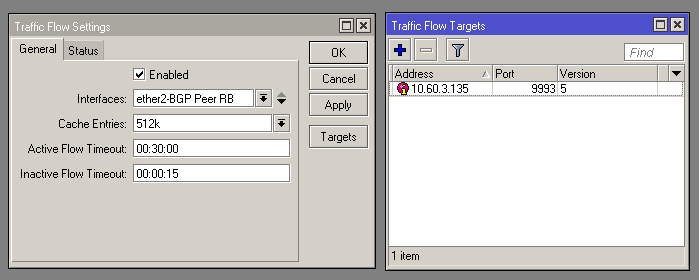
When setting up the MikroTik side, please ensure that you select the correct interface through which traffic is flowing.
This IP address of this interface must match the interface in HeroTill.
In many WISP networks this is typically the PPPoE interface.
NetFlow should be enabled on your core router (remember when doing on a client router instead, use the PPPoE interface).
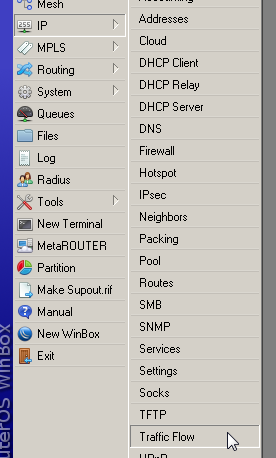
Winbox setup: