
5. Job Cards:
The next phase in the workflow is where the customer’s job will be scheduled and take place.
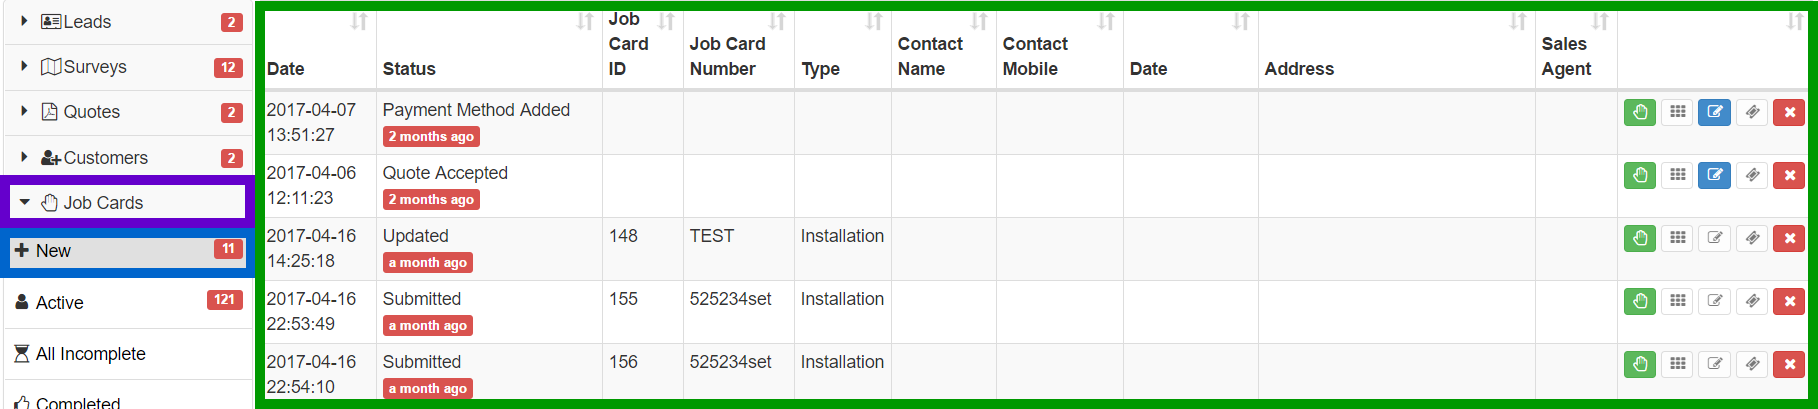
| Purple: | This is to show you that we are currently in the job card phase of the workflow.
|
| Blue: | All leads of customer’s that have been successfully created and verified will appear under the “New” subheading.
|
| Green: | This is a list of all the installations that now need to be scheduled and completed. |
5.1. How are job cards generated?
5.1.1. Sales lead process:
By following the sales lead process, is the first way in which job cards are created. After the customer has been successfully created, their billing method has been added and their recurring billing has been set up, the lead will move to the job cards new phase of the workflow. A job card will automatically be generated.
5.1.2. From tickets:
This manner will be used by helpdesk technicians who need to a call out for the customer. The helpdesk technician will not be able to schedule the job itself, but once the job card has been created, it will automatically be assigned to the co-ordination department who will then schedule the job.
To create a job card from a ticket, look for the Job Card section on the right-hand side. Click the “Add Job Card” button.
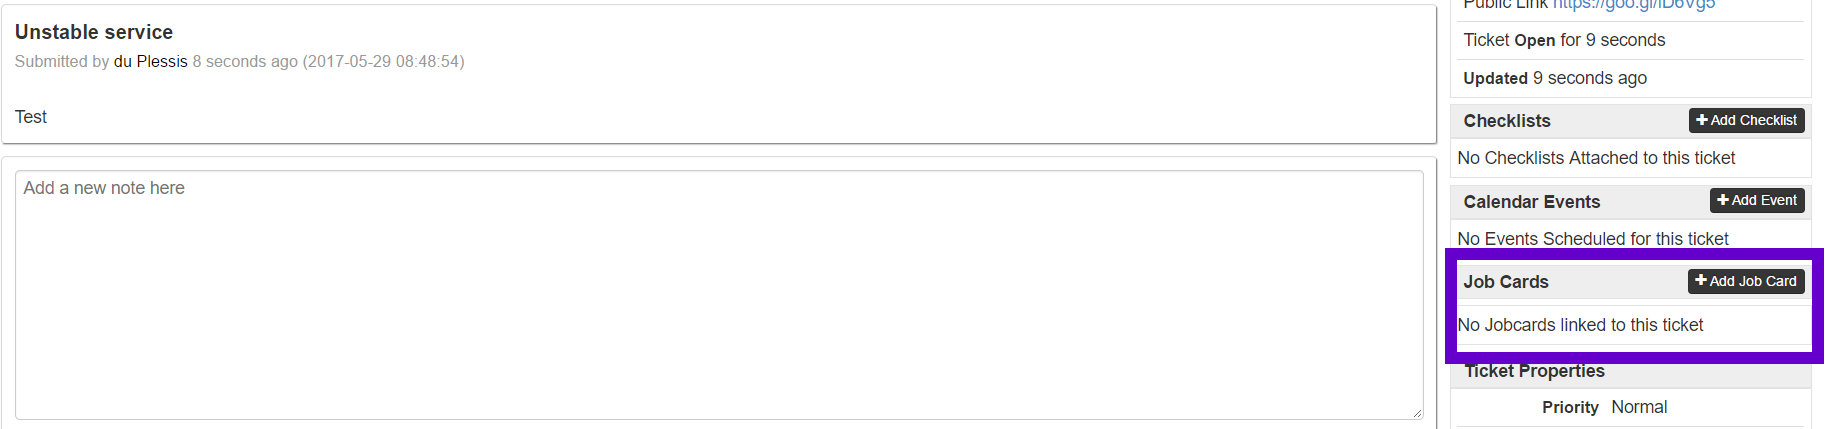
A pop-up screen will appear. To create a job card for the customer, click on “Add Jobcard”. If you do not want to create a job card for the customer, click on “Cancel”

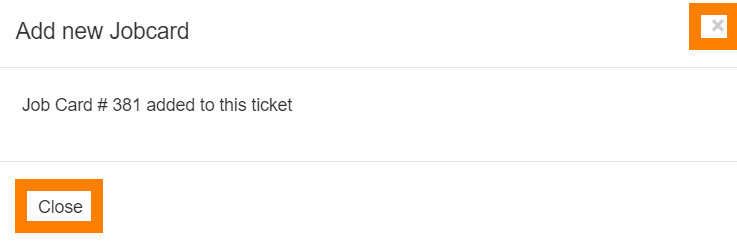
If the job card has been successfully created, a pop-up screen will appear to confirm that the job card has been added to the ticket. Click on the x or close button to close the pop-up screen.
5.1.3. From the Job cards workflow section:
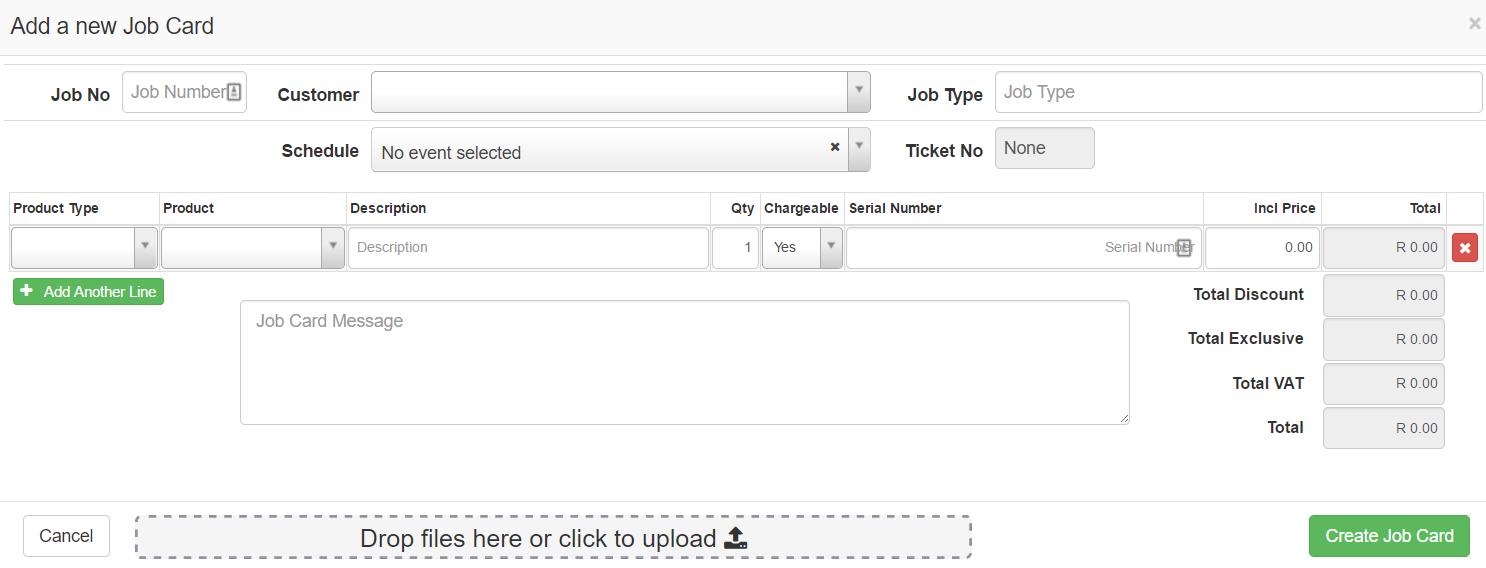
To manually add a job card, go to the “Job cards” phase of the workflow. On the right-hand side of the screen, look for the “Add Job Card” button and then click on it.
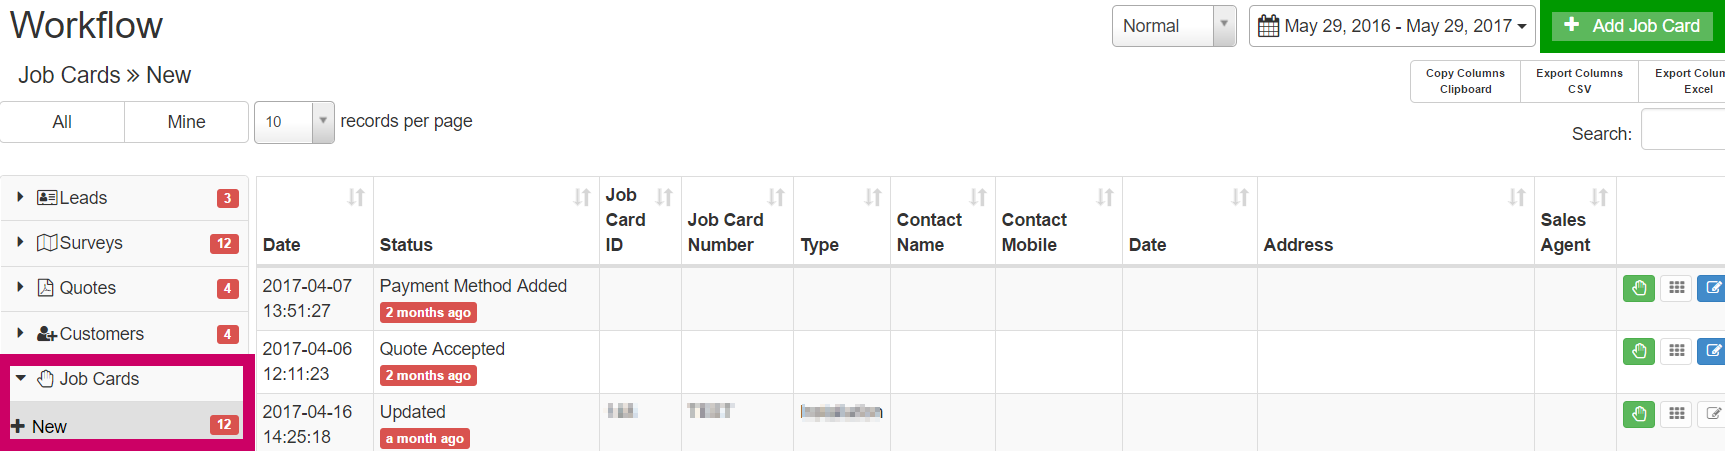
A pop-up screen with a blank job card will now appear. You can now start filling in the necessary details as well as schedule the job. For more details on how to fill in the job card, please view the section 6.2 covering the job card overview.
*Please note that all new job cards that are created can be found under job cards – new. Only once a job card has been scheduled on the calendar will it be moved to Job cards – Active.
5.2. Job card overview:
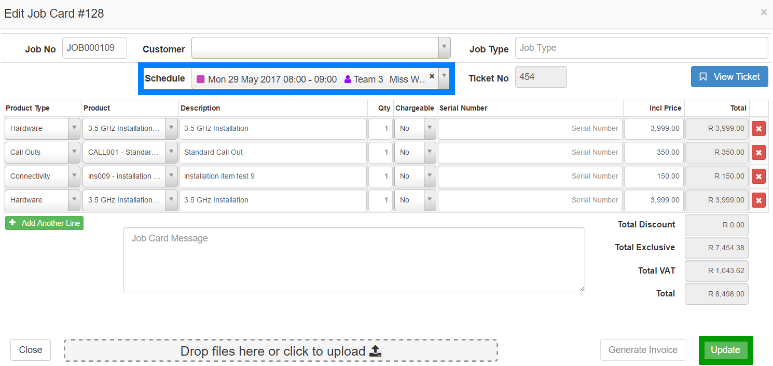
On the right-hand side of the sales lead you will find a green button. Click on this button to start scheduling the job.

A pop-up screen will appear. On this pop-up screen the quote can be updated and the job can be scheduled.
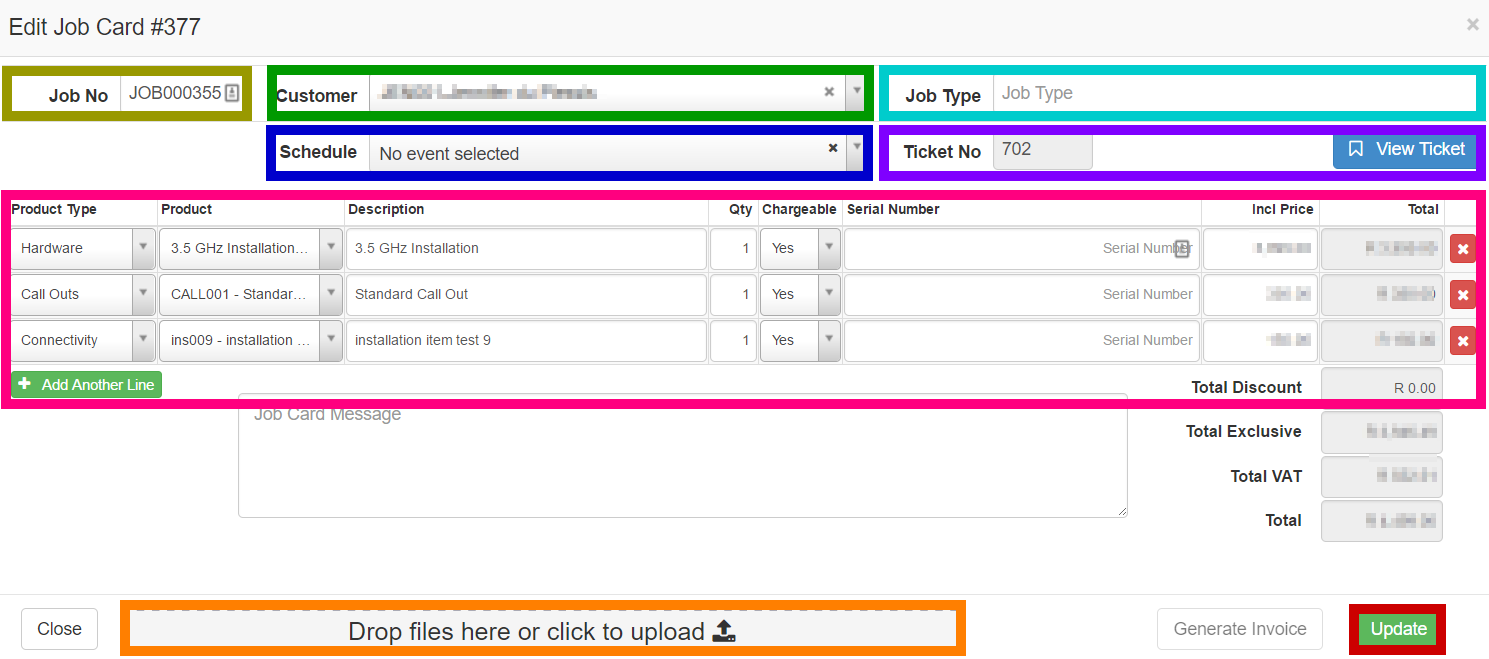
| Yellow: | Here you can view the job card number. |
| Green: | This shows you to which customer the job card is assigned to. |
| Light Blue: | Choose what type of job it is. A list with options will appear as you start typing. For example:
– Call Out – Non-chargeable – Installation – Installation Removal |
| Dark Blue: | This section allows you to schedule the job on the calendar. |
| Purple: | Here you can see the ticket number. If you click on the blue button, the ticket will open in a new tab. |
| Pink: | Here you can view the original quote that was made out to the customer. You are still able to update the quote if need be. |
| Orange: | All files that need to be uploaded can be dragged here. |
| Red: | After all the necessary changes have been made and the job has been scheduled, click on the update button to save the changes. |
After the job has been scheduled, the job card will be moved to job cards – Active.
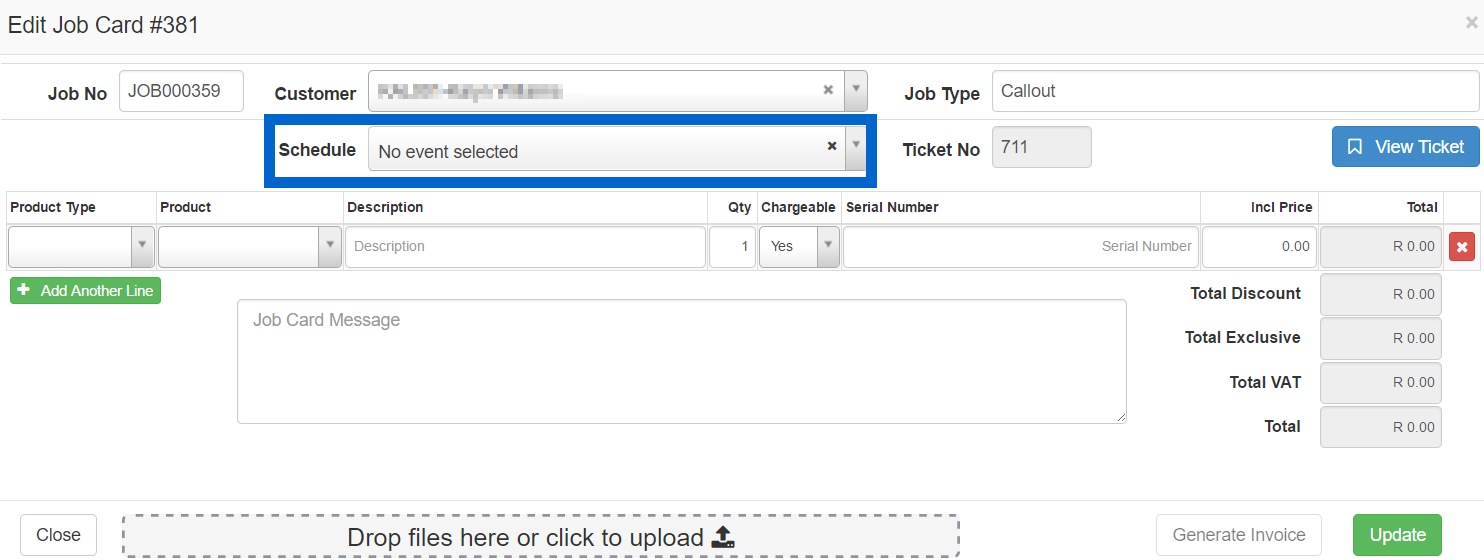
2.3. Scheduling Jobs:
To schedule a job, click on the “Schedule” dropdown menu.
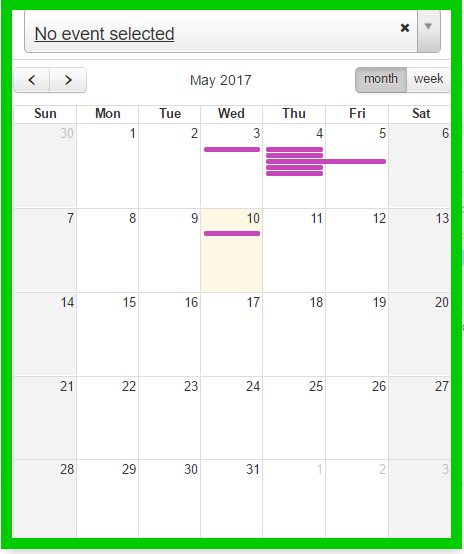 |
Step 1:
To schedule an event, click on the drop-down menu found next to Schedule. Once you can view the calendar, click on the day that you want to schedule the event on. |
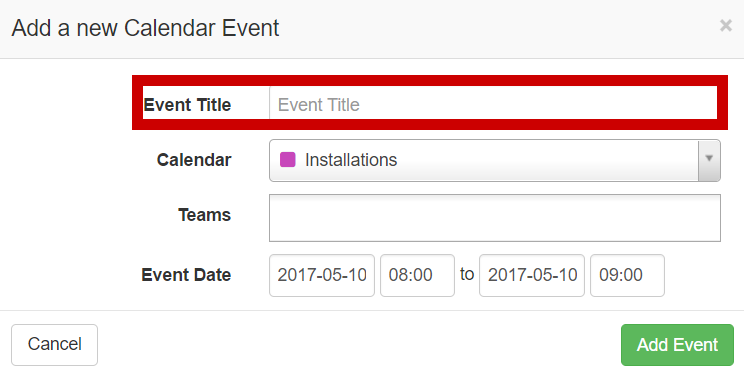 |
Step 2:
Type in the event title. Please keep this relevant to the event being scheduled for example: Miss Williams – Installation / Miss Williams – Call Out. |
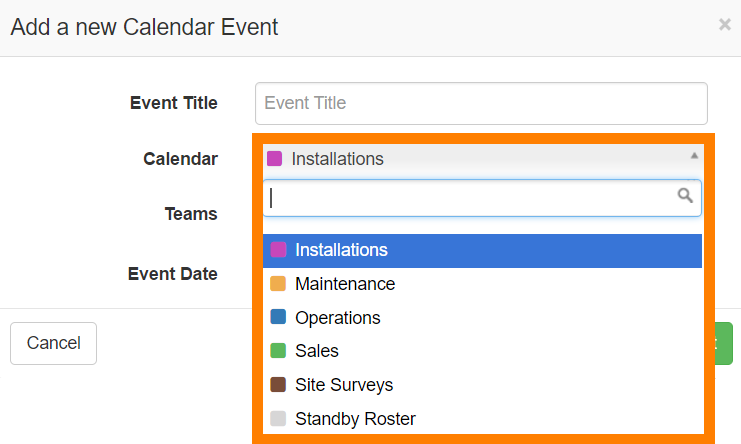 |
Step 3:
Next, is choosing on which calendar you want to schedule the event. Click on the drop-down menu and then choose the relevant calendar for example:: Installations. |
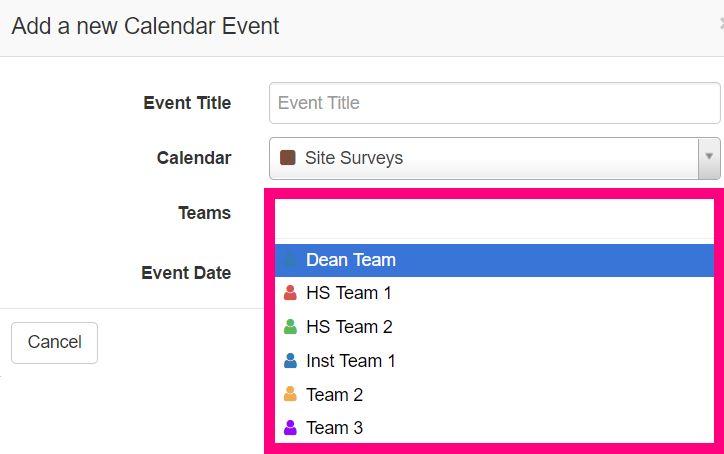 |
Step 4:
The next step requires you to allocate the even to a team. Click on the drop-down list next to Teams and select the team that you want to schedule for the event. |
|
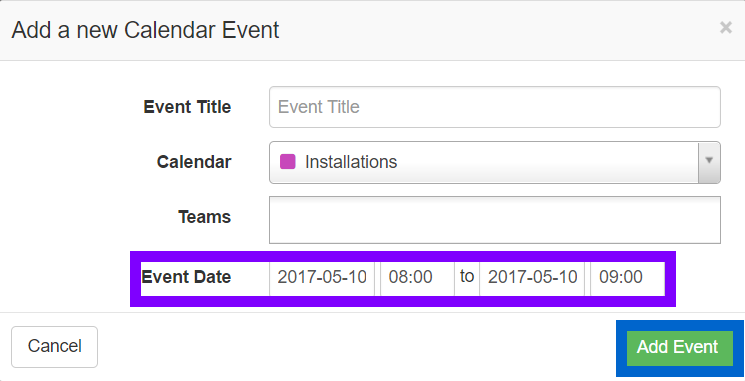
Step 5:
Ensure that you schedule the event on the correct date and time.
When all the required fields have been filled in, click on the “Add Event” button. |
 |
Step 6:
In the blue section, you can see the date, time and team that has been assigned to the event. If you are happy with this, click on the Update button. |
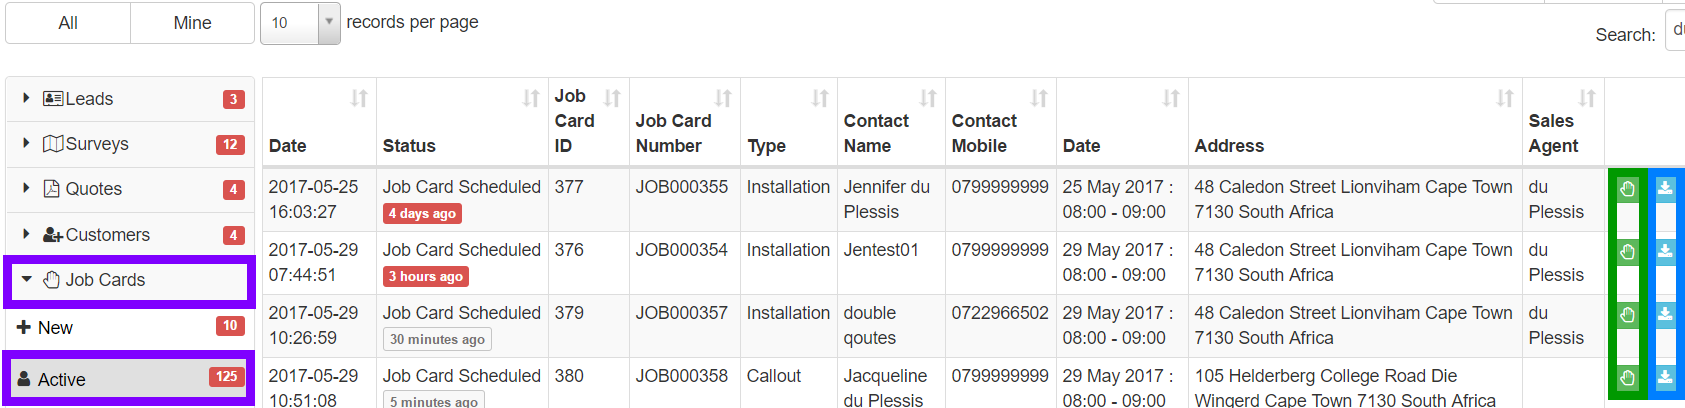
5.4. Job cards – active:
This is a list of all jobs that are currently scheduled to happen. On this screen, you are able to download and print the physical job card as well as update the job card or mark the job as complete.
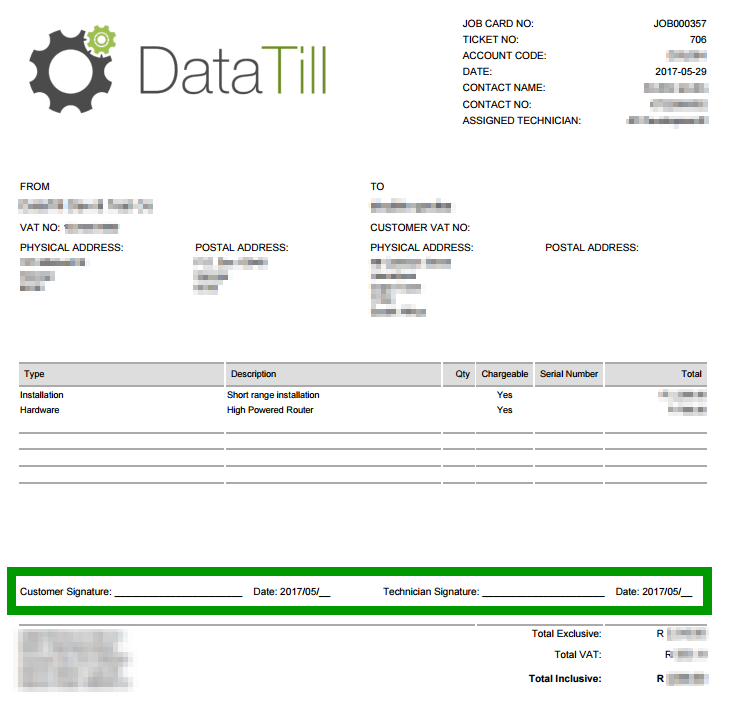
5.4.1. What does the job card look like?
This is an example of what the job card looks like. Once a job is scheduled, a pdf version of this job card is automatically attached to the customer ticket. At the bottom of the job card there is a space for the customer as well as the technician to sign off on the job.
5.4.2. Completing the job:
To mark a job as completed, click on the green hand found on the right-hand side of the lead that you want to work on (see 5.3). You will now be able to update the job card and/or complete the job.
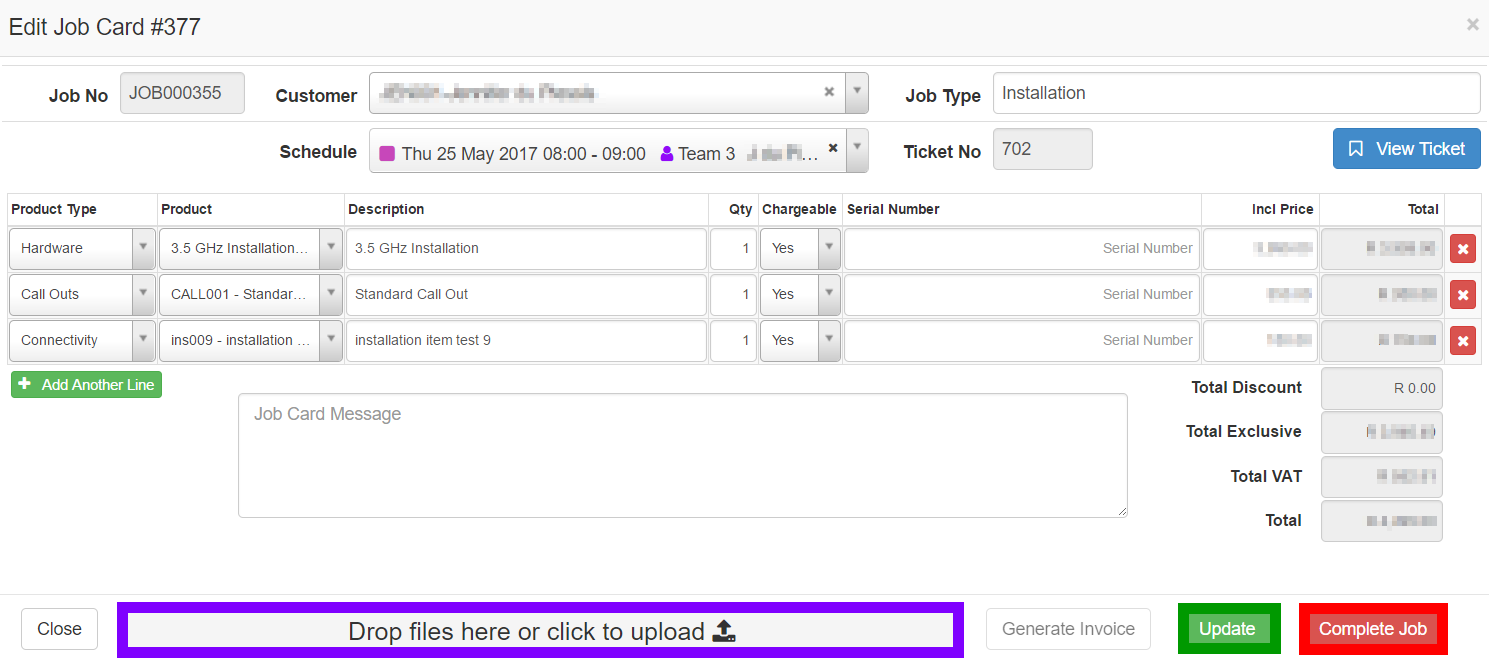
| Purple: | Here you can add files that you want to upload for example:
· Photos of the job that has been done · The signed job card.
*Do this before clicking on the complete job button. |
| Green: | If any changes were made to the job card, click on the update button to save these changes. |
| Red: | After the job has been completed and all necessary files have been uploaded, click on the “Complete Job” button. |
After clicking on the “Complete Job” button, a pop-up screen will appear. To mark the job as completed, click on the “OK” button. To go back and make changes or add files to the job card, click on the “Cancel” button.
5.5. What happens once the job has been completed?
After the job has been completed, the job card will move to the invoicing phase of the workflow. The job card can be found under Invoicing – New. The job card will remain under job cards – Active until the job has been completed.