1. Introduction
Data top-ups can be done by either providing the customers with predefined top-ups or allowing them to choose their own top-up size. Top-ups can be done via any one of the following manners (depending on your setup):
- Customer mobile app
- Customer portal
- Customers call in and requests a top-up
- By sending a top-up SMS.
- Automatic top-ups set up on the customer profile.
This manually will specifically focus on setting up your top-ups as well as how to enable to SMS top-up functionality.
2. How to set up your top-ups
Your top-ups can be set up in two different ways:
- Predefined fixed top-ups
- Top-ups for specific data products.
Please note that you will only be able to choose one of the top methods.
2.1. Radius Top-up Types
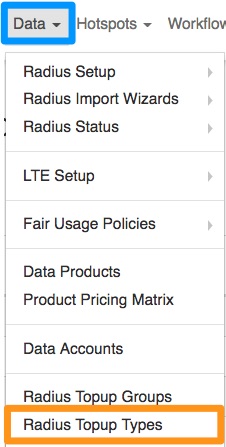
Using the radius top-up types will allow you to create global top-ups which will then be applied to all customers, no matter on which data product they are. To do this, go to “Data” and then click on the “Radius Topup Types” option.
On the following screen, you will be able to see a list of all your current top-up types.

2.1.1. Adding new top-up types
To add a top-up type, click on the “Add Topup Type” button.

You will now see the following screen:

| Black: | Here, you will need to give your top-up a name. |
| Yellow: | This section, will allow you to determine what size the top-up should be. You will need to enter the top-up size and then you will be able to choose between the following from the drop-down menu:
|
| Red: | Here, you will need to enter the top-up price. |
| Orange: | This option will allow you to determine whether this top-up is available in SMS replies. If not, please ensure that this top-up is not added to the SMS top-up suffix (section 3.3.) |
| Pink: | Here, you will be able to determine whether this top-up should be available from your website. |
| Purple: | Please note that this function is currently still under development. |
| Light Blue: | This section will allow you to determine whether the top-up is currently available for customers to use or not. |
| Dark Blue: | Please note that if you are integrated with SageOne, then this section will automatically be populated once the product is created and has successfully synced with SageOne. |
After adding all the details, click on the “Add Product” button.
2.2. Data Product Top-ups
The second method which can be used is to determine the top-up price on the specific data product. This means, when creating the original data product, you will determine what the top-up cost should be. You will then also be able to overwrite the top-up cost for specific customers.
2.2.1. Default pricing
This section will show you how to set up the default pricing for a Data Product. This means that all customers using this data product will be billed the default pricing amount – unless otherwise specified on the specific customer profile (section 2.2.2.). This can be used to determine the different top-up prices for business, premium or home users i.e. premium users pay R15 per GB where a home users pays R10 per GB.
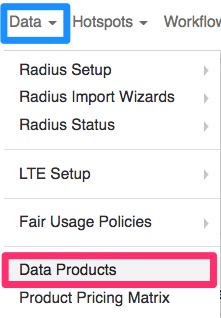
To set up your top-up prices for data products, go to “Data” and then click on “Data Products“.
Find the data product which you would like to amend and then click on the “Edit” button found on the right-hand side of the screen.

On the following pop-up screen, go to the “Billing” tab. In the red section, you will be able to determine what customers using this package should pay for top-ups.
*Please note that this will be applied to all customers using this package – unless otherwise determined on the customer profile.
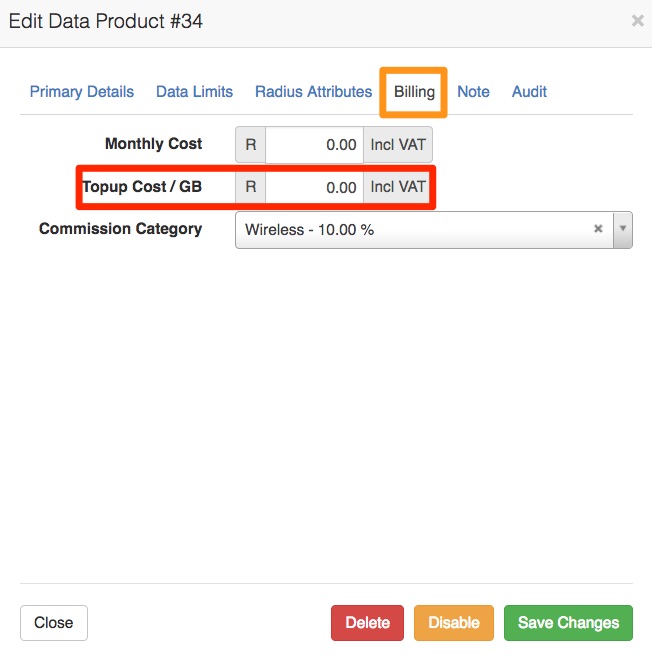
Remember to click on the “Save Changes” button after making any changes.
2.2.2. Custom customer pricing
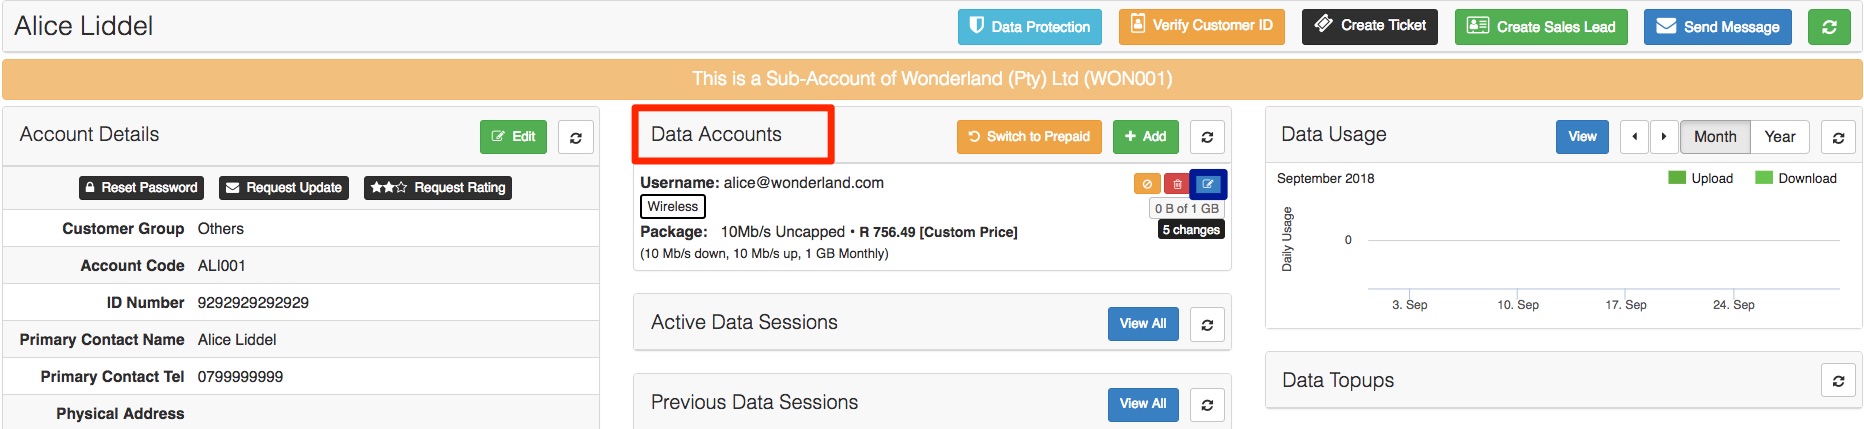
If the customer has a special arrangement or custom pricing arrangement with the ISP, then you will be able to determine this pricing on the customer’s profile. Once on the customer profile, find the relevant data account and then click on the “Edit” button.
On the pop-up screen, click on the “Pricing Details” tab.
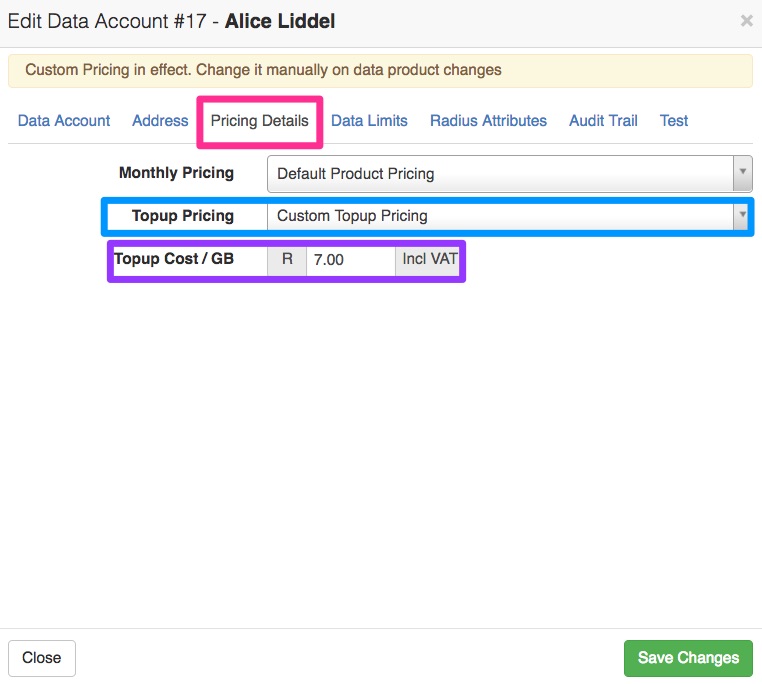
Change the “Topup Pricing” section from default product pricing to Custom Topup Pricing. You will now be able to change the topup cost / GB to what the customer should pay.
Remember to click on the “Save Changes” button after making any changes.
3. SMS Functionality
3.1. How do SMS top-ups work
Automatic top-ups can be done via the SMS top-up feature. When a customer’s account is capped or they receive a Usage Notifications, the customer will have the option to reply to the SMS with the top-up size that they would like.
The top-up size can either be predefined by the ISP using top-up types i.e. 1GB 5GB 10GB 15GB or the ISP can allow the customer to reply with any size top-up i.e. 1GB 2GB 3GB 4GB etc.
3.2. Setting up your SMS gateway
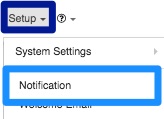
If you are planning on making use of SMS top-ups, you will need to ensure that you have set up your SMS gateway. To do this, go to “Setup” and then click on the “Notification” option.
Once the screen has loaded, scroll down to the bottom of the screen. You will now be able to choose your relevant SMS gateway as well as enter your gateway username and password.

3.3. SMS Top-up setup
After setting up your top-ups, you will need to enable the SMS reply top-up functionality. To do this, go to “Setup” and then click on the “Notification” option.
On the following page, look for the “Enable customer Topups via SMS Reply” option.
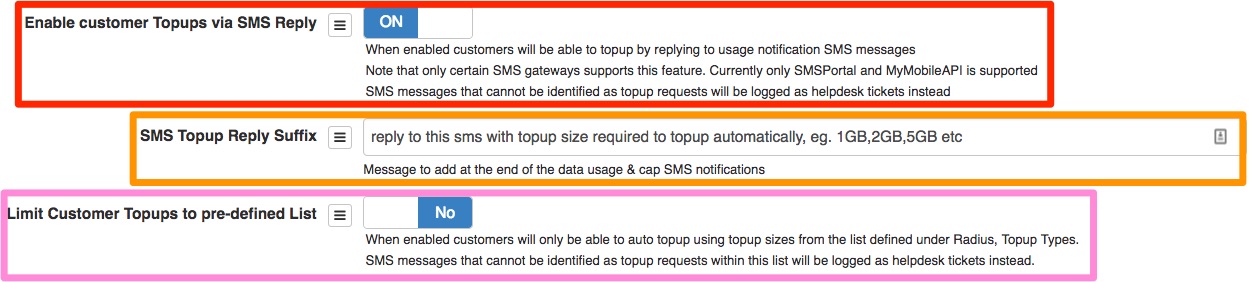
| Red: | Switch the toggle button to “Yes” to enable a customer to update via SMS. |
| Orange: | This section refers to the end of the data usage and cap SMS notification. If the pink section is switched to “Yes”, you will need to list all the specific top-ups as per defined in your radius top-ups types (section 2.1.). If the pink section is switched to “No”, then you can list the top-ups as 1GB,2GB,3GB,4GB,5GB etc. |
| Pink: | If the pink section is switched to “Yes”, customers will only be able to respond to SMS’s with the specific top-up sized as per your top-ups types (section 2.1.).
If the pink section is switched to “No”, then the customer will be able to reply with any top-up size in the SMS. |
3.4. Customer Replies for top-ups
If you have enabled the “Limit Customer Topups to pre-defined List” option (section 3.3.) then customers will need to respond the SMS with the specific top-up sized listed there. Should the customer reply with a top-up size which is not listed, then no top-up will be done for the customer.
If this option is disabled, then customers will be able to reply with any top-up size and their account will be topped up.
In the case that the customer should reply with any of the following phrases, their account will automatically be updated with 1GB.
- TOPUP
- TOP UP
- TOP-UP
- TOPUP PLEASE
- Please topup
- Please top up
- Please top up. Thank-you
- Please topup. Thank-you
3.4.1. Message Log
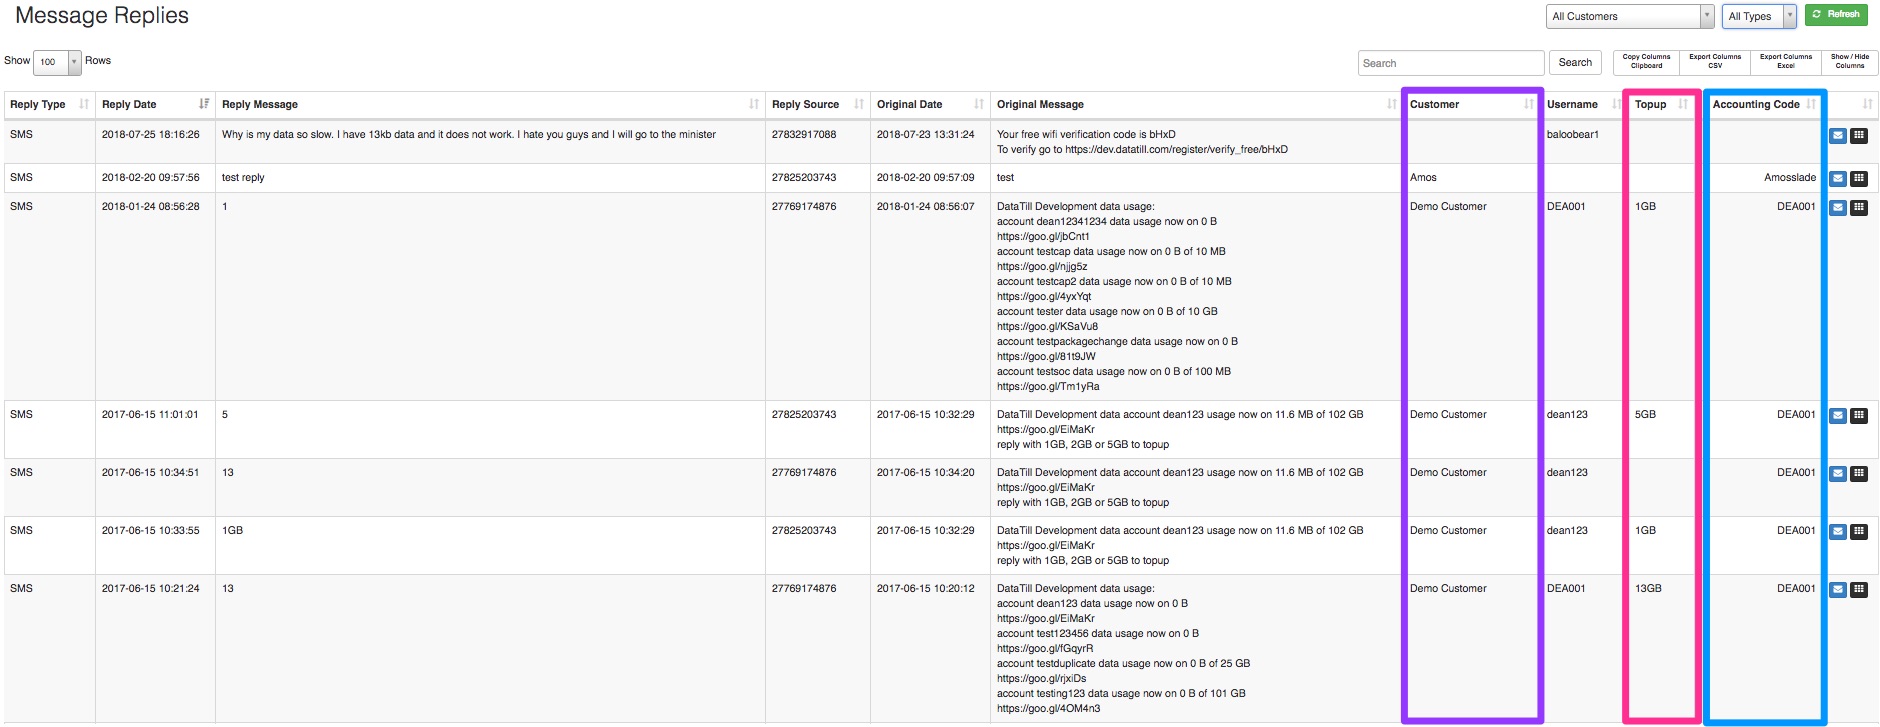
In the message replies log, you will be able to view the top-up size with which the customer has responded. To find the message replies log, go to “Tools” – “Messages” and then click on the “Message Replies” option.
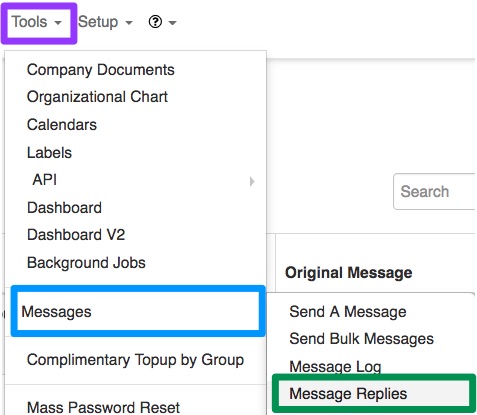
On the following screen, you will be able to see customer name, customer accounting code and the top-up size that the customer has requested.