
Tired of remembering passwords for your accounts across the internet? You can log in with your social media accounts on HeroTill.
This feature works for admin users and for customers on the customer portal.
How to link your HeroTill account with a social media account:
Go to “My Account” at the top right corner of the screen.
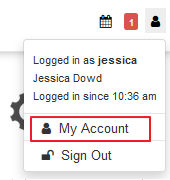
Then scroll down to “Link an existing Social Media Account to your DataTIll account for easy login”
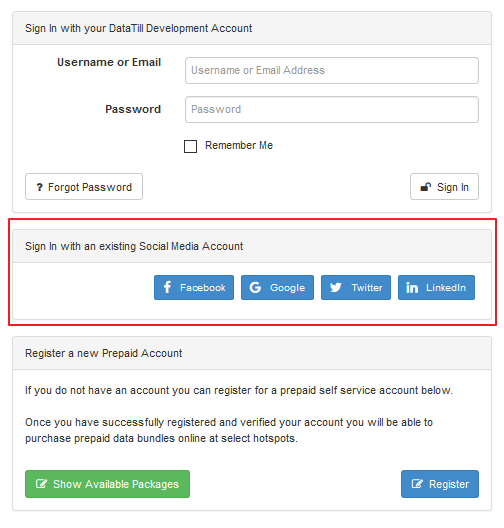
Click on the social media buttons to add an account to link.

After you have linked a social media account with your HeroTill system account, the social media login is a one click login. (No need to type in passwords again.)
Sign in page with social media logins enabled:
How to enable the social media logins on your HeroTill system:
Go to Setup –> System Settings –> Social Media Logins
Then turn the social media integration and social media logins on.
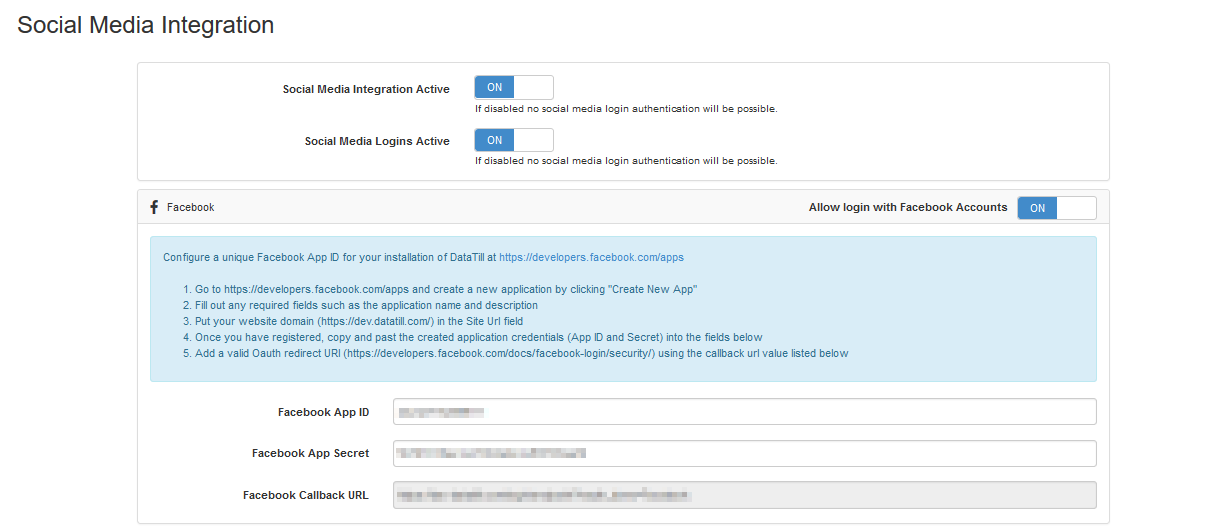
Facebook login setup instructions:
Configure a unique Facebook App ID for your installation of HeroTill at https://developers.facebook.com/apps
- Go to https://developers.facebook.com/apps and create a new application by clicking “Create New App”
- Fill out any required fields such as the application name and description
- Put your website domain (https://dev.datatill.com/) in the Site Url field
- Once you have registered, copy and past the created application credentials (App ID and Secret) into the fields below
- Add a valid Oauth redirect URI (https://developers.facebook.com/docs/facebook-login/security/) using the callback url value listed below
Google login setup instructions:
Configure a unique Google App ID for your installation of HeroTill at https://code.google.com/apis/console/
- Go to https://code.google.com/apis/console/ and create a new project
- Go to API Access under API Project. After that click on Create an OAuth 2.0 client ID to create a new application
- A pop-up named “Create Client ID” will appear, fill out any required fields such as the application name and description
- Click on Next
- On the popup set Application type to Web application and switch to advanced settings by clicking on (more options)
- Provide this URL as the Callback URL for your application: https://dev.datatill.com/login/endpoint?hauth.done=Google
- Once you have registered, copy and past the created application credentials (Client ID and Secret) into the fields below
Twitter login setup instructions:
Configure a unique Twitter App ID for your installation of HeroTill at https://dev.twitter.com/apps
- Go to https://dev.twitter.com/apps and create a new application
- Fill out any required fields such as the application name and description
- Put your website domain (https://dev.datatill.com/) in the Website field
- Provide this URL as the Callback URL for your application: https://dev.datatill.com/login/endpoint?hauth.done=Twitter
- Once you have registered, copy and past the created application credentials (Consumer Key and Secret) into the fields below
Linkedin login setup instructions:
Configure a unique LinkedIn App ID for your installation of HeroTill at https://www.linkedin.com/secure/developer
- Go to https://www.linkedin.com/secure/developer (or https://www.linkedin.com/secure/developer?newapp=) and create a new application
- Fill out any required fields such as the application name and description
- Put your website domain (https://dev.datatill.com/) in the Integration URL and OAuth Redirect URL fields
- Once you have registered, copy and past the created application credentials (Consumer Key and Secret) into the fields below